Build an Object Recognizer with React and Sign in with Google
Introduction
In this tutorial, we'll guide you through building an object recognizer in React, authenticated with Google. Try it out yourself, or check out complete source code on GitHub
Prerequisite
Before getting started, ensure you have:
- A Google account.
- An OpenAI developer account with credits.
Setup Sign in with Google
First let's create a Google Cloud project. Head to Google Cloud console. Click on the project selector on top and click New Project.
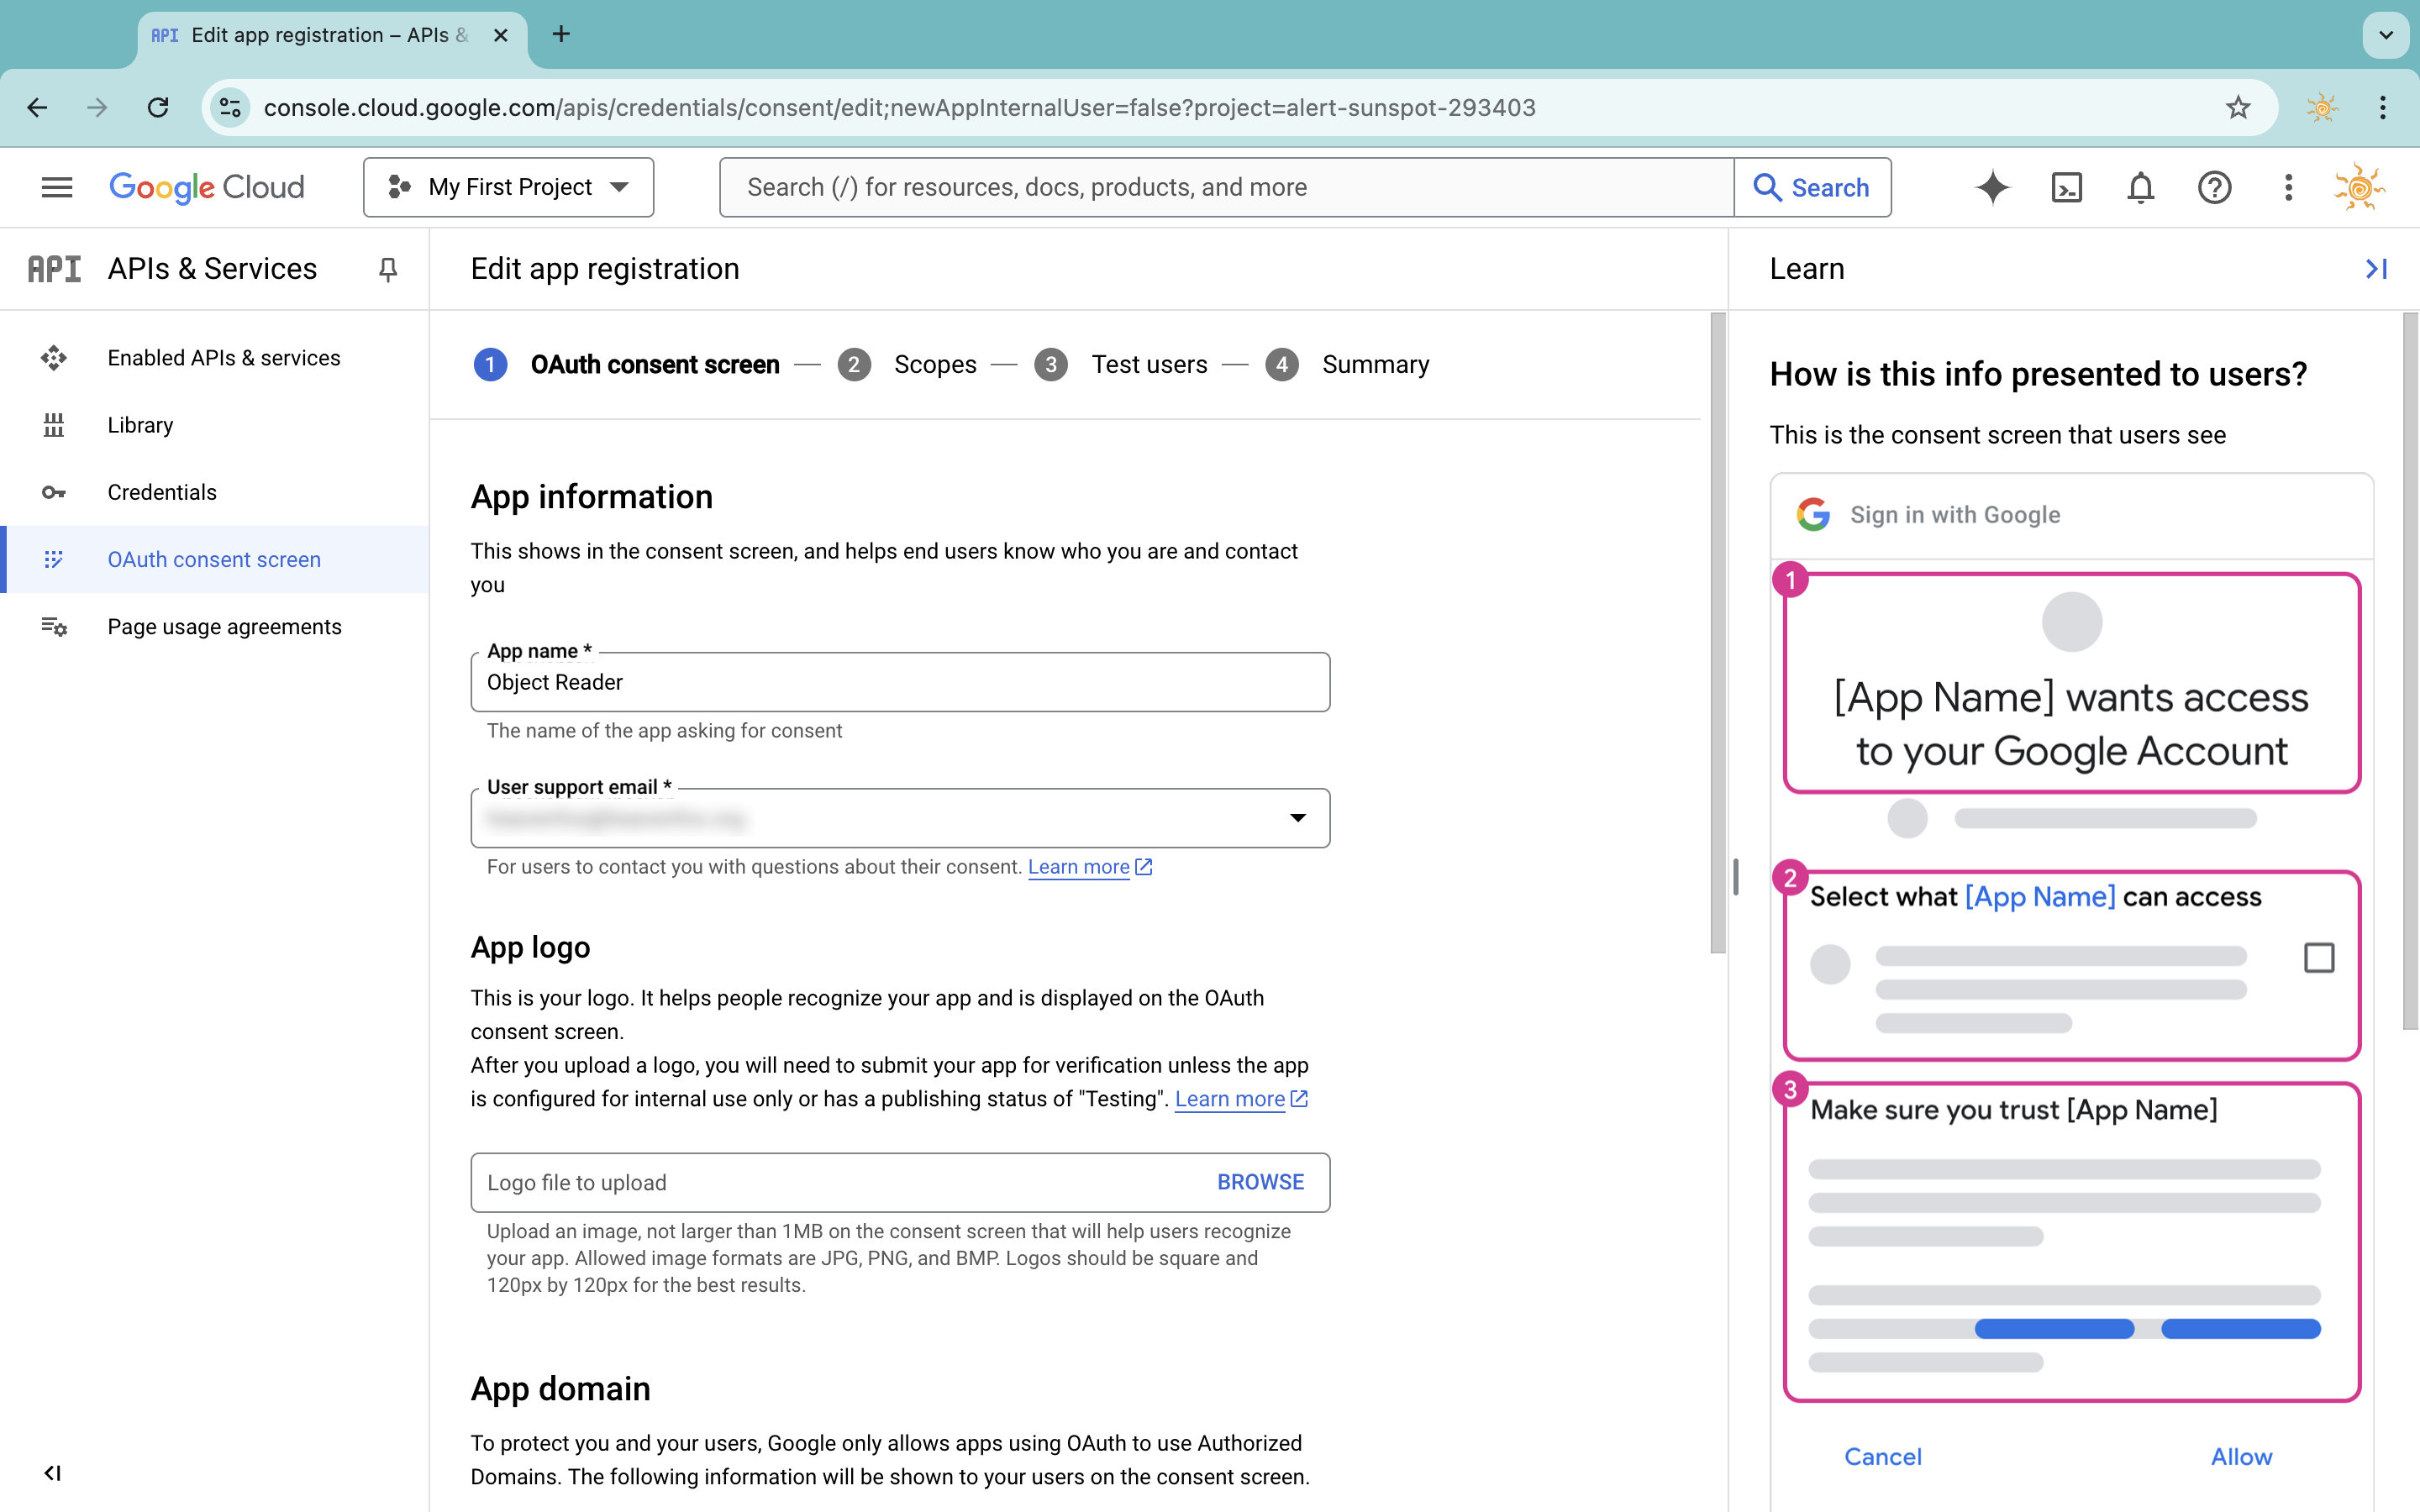
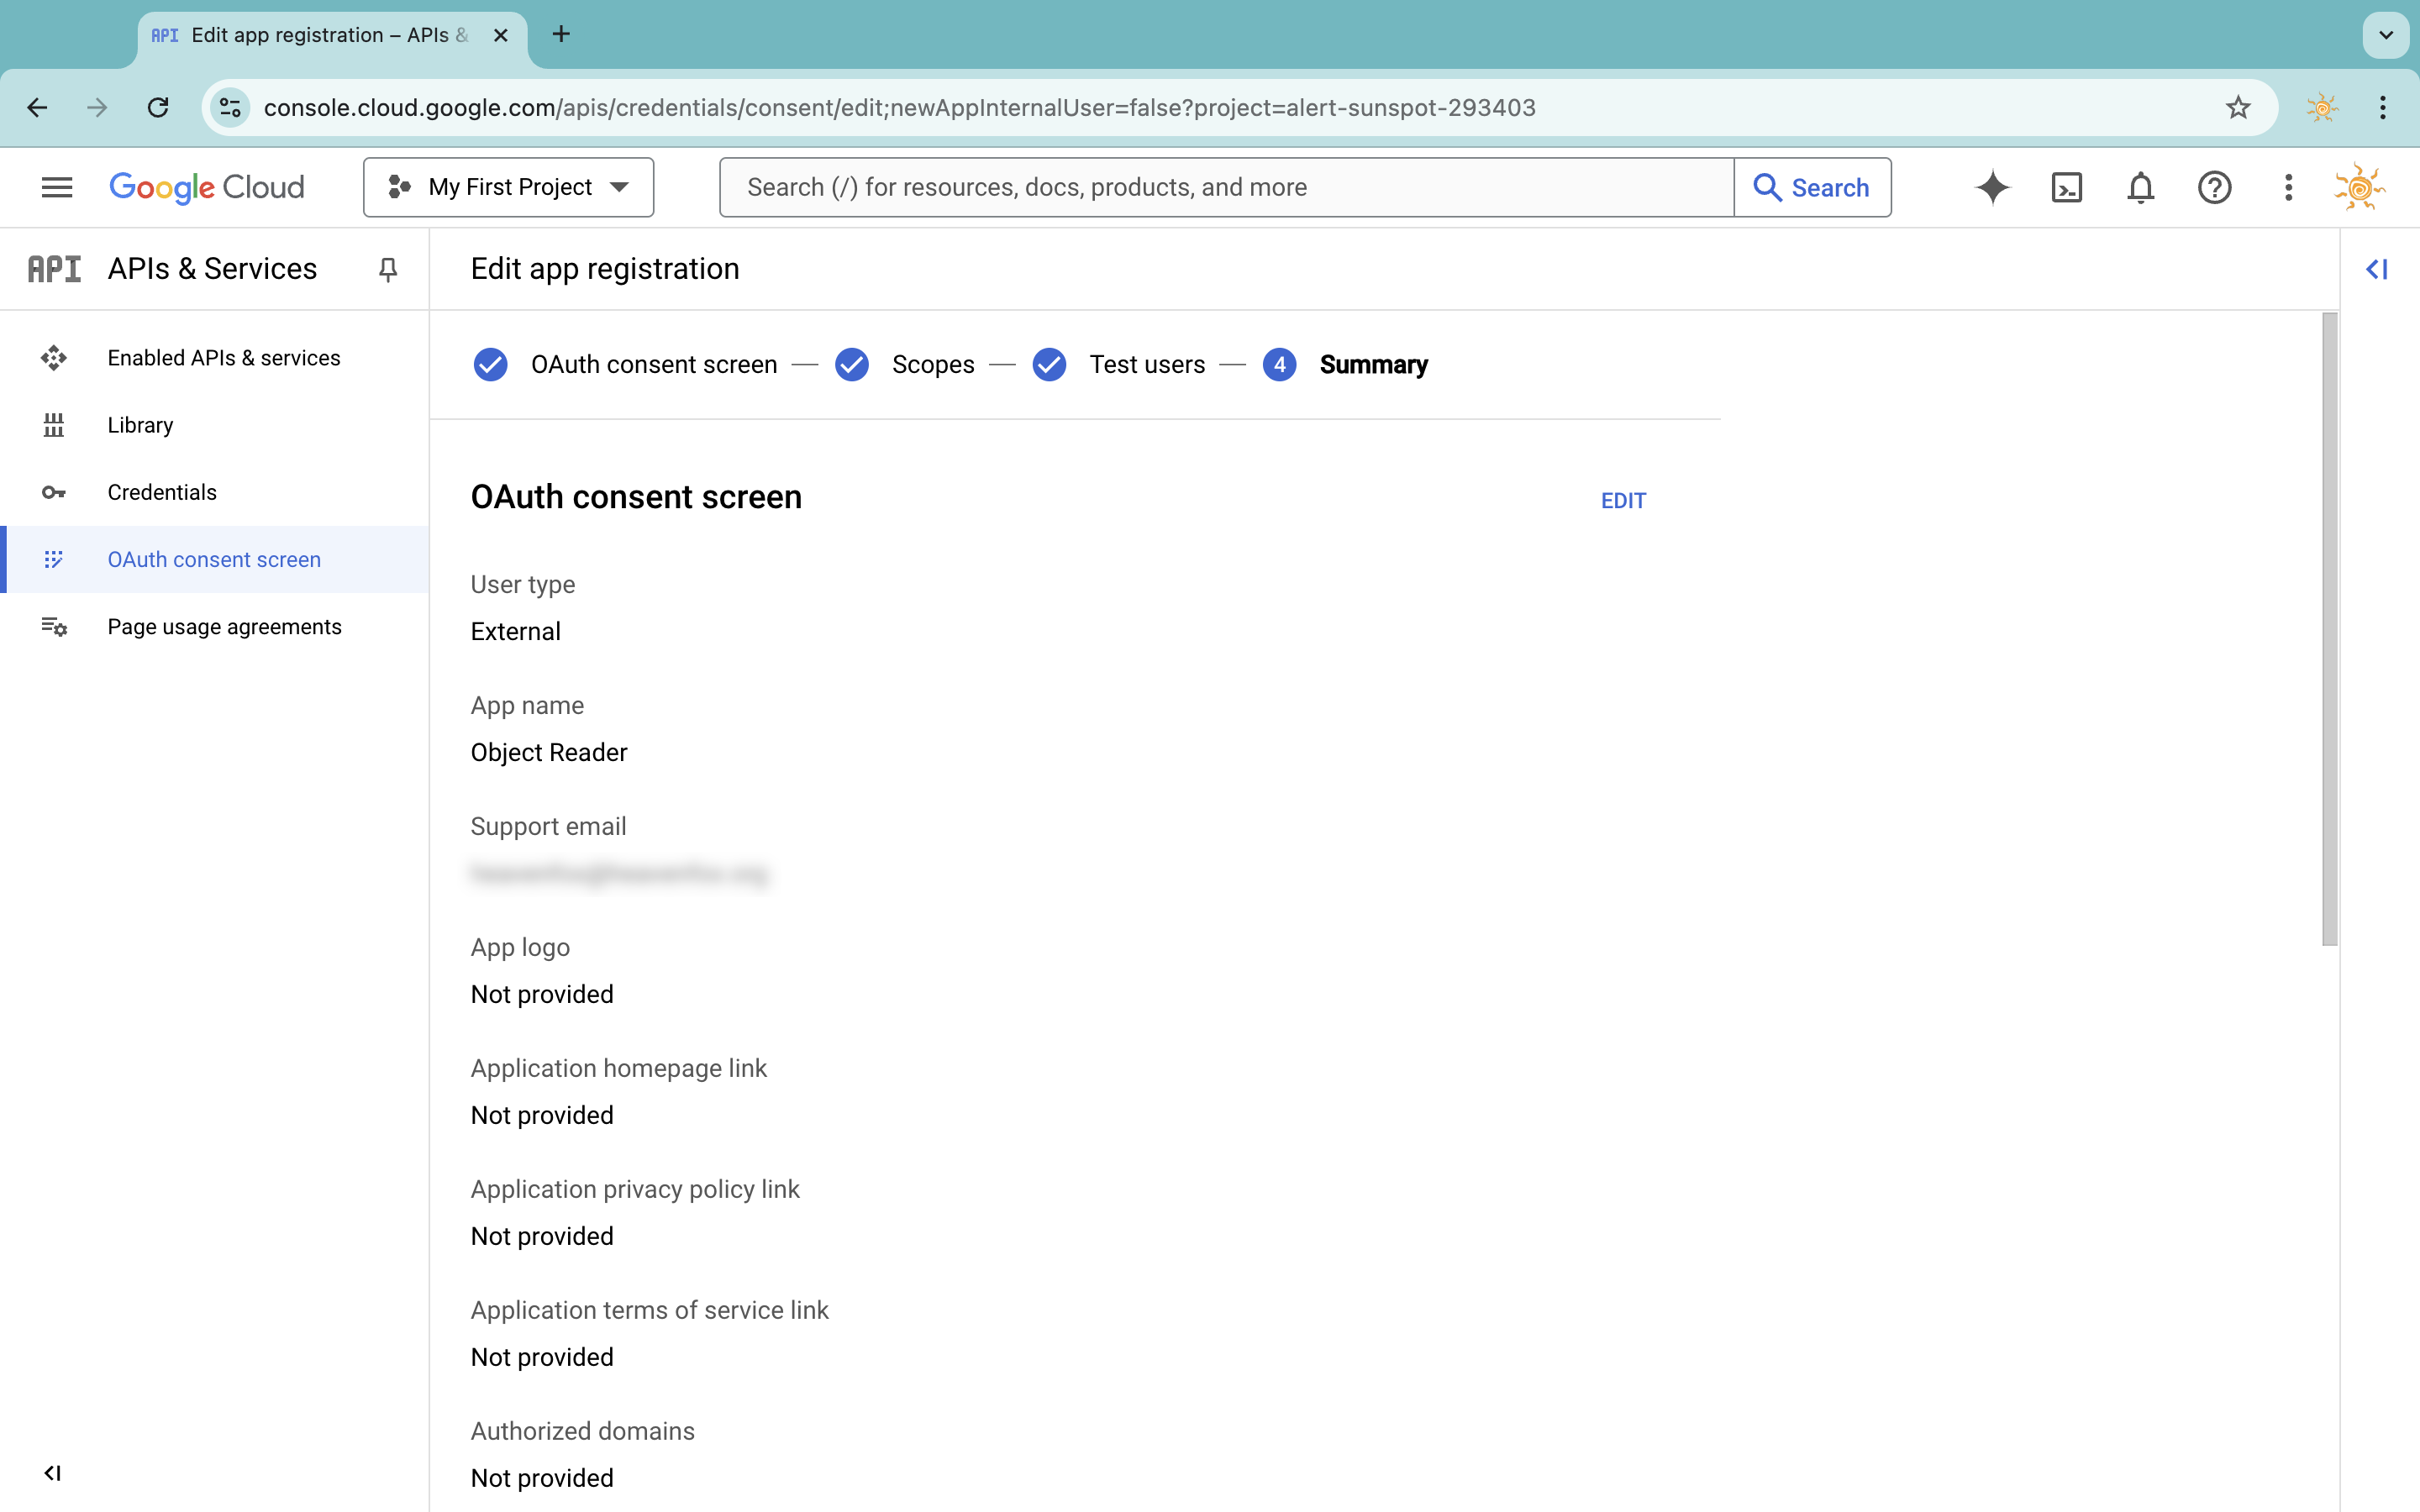
Head to the OAuth consent screen page and configure the consent screen. Choose External for user type.

Enter an app name and click Next
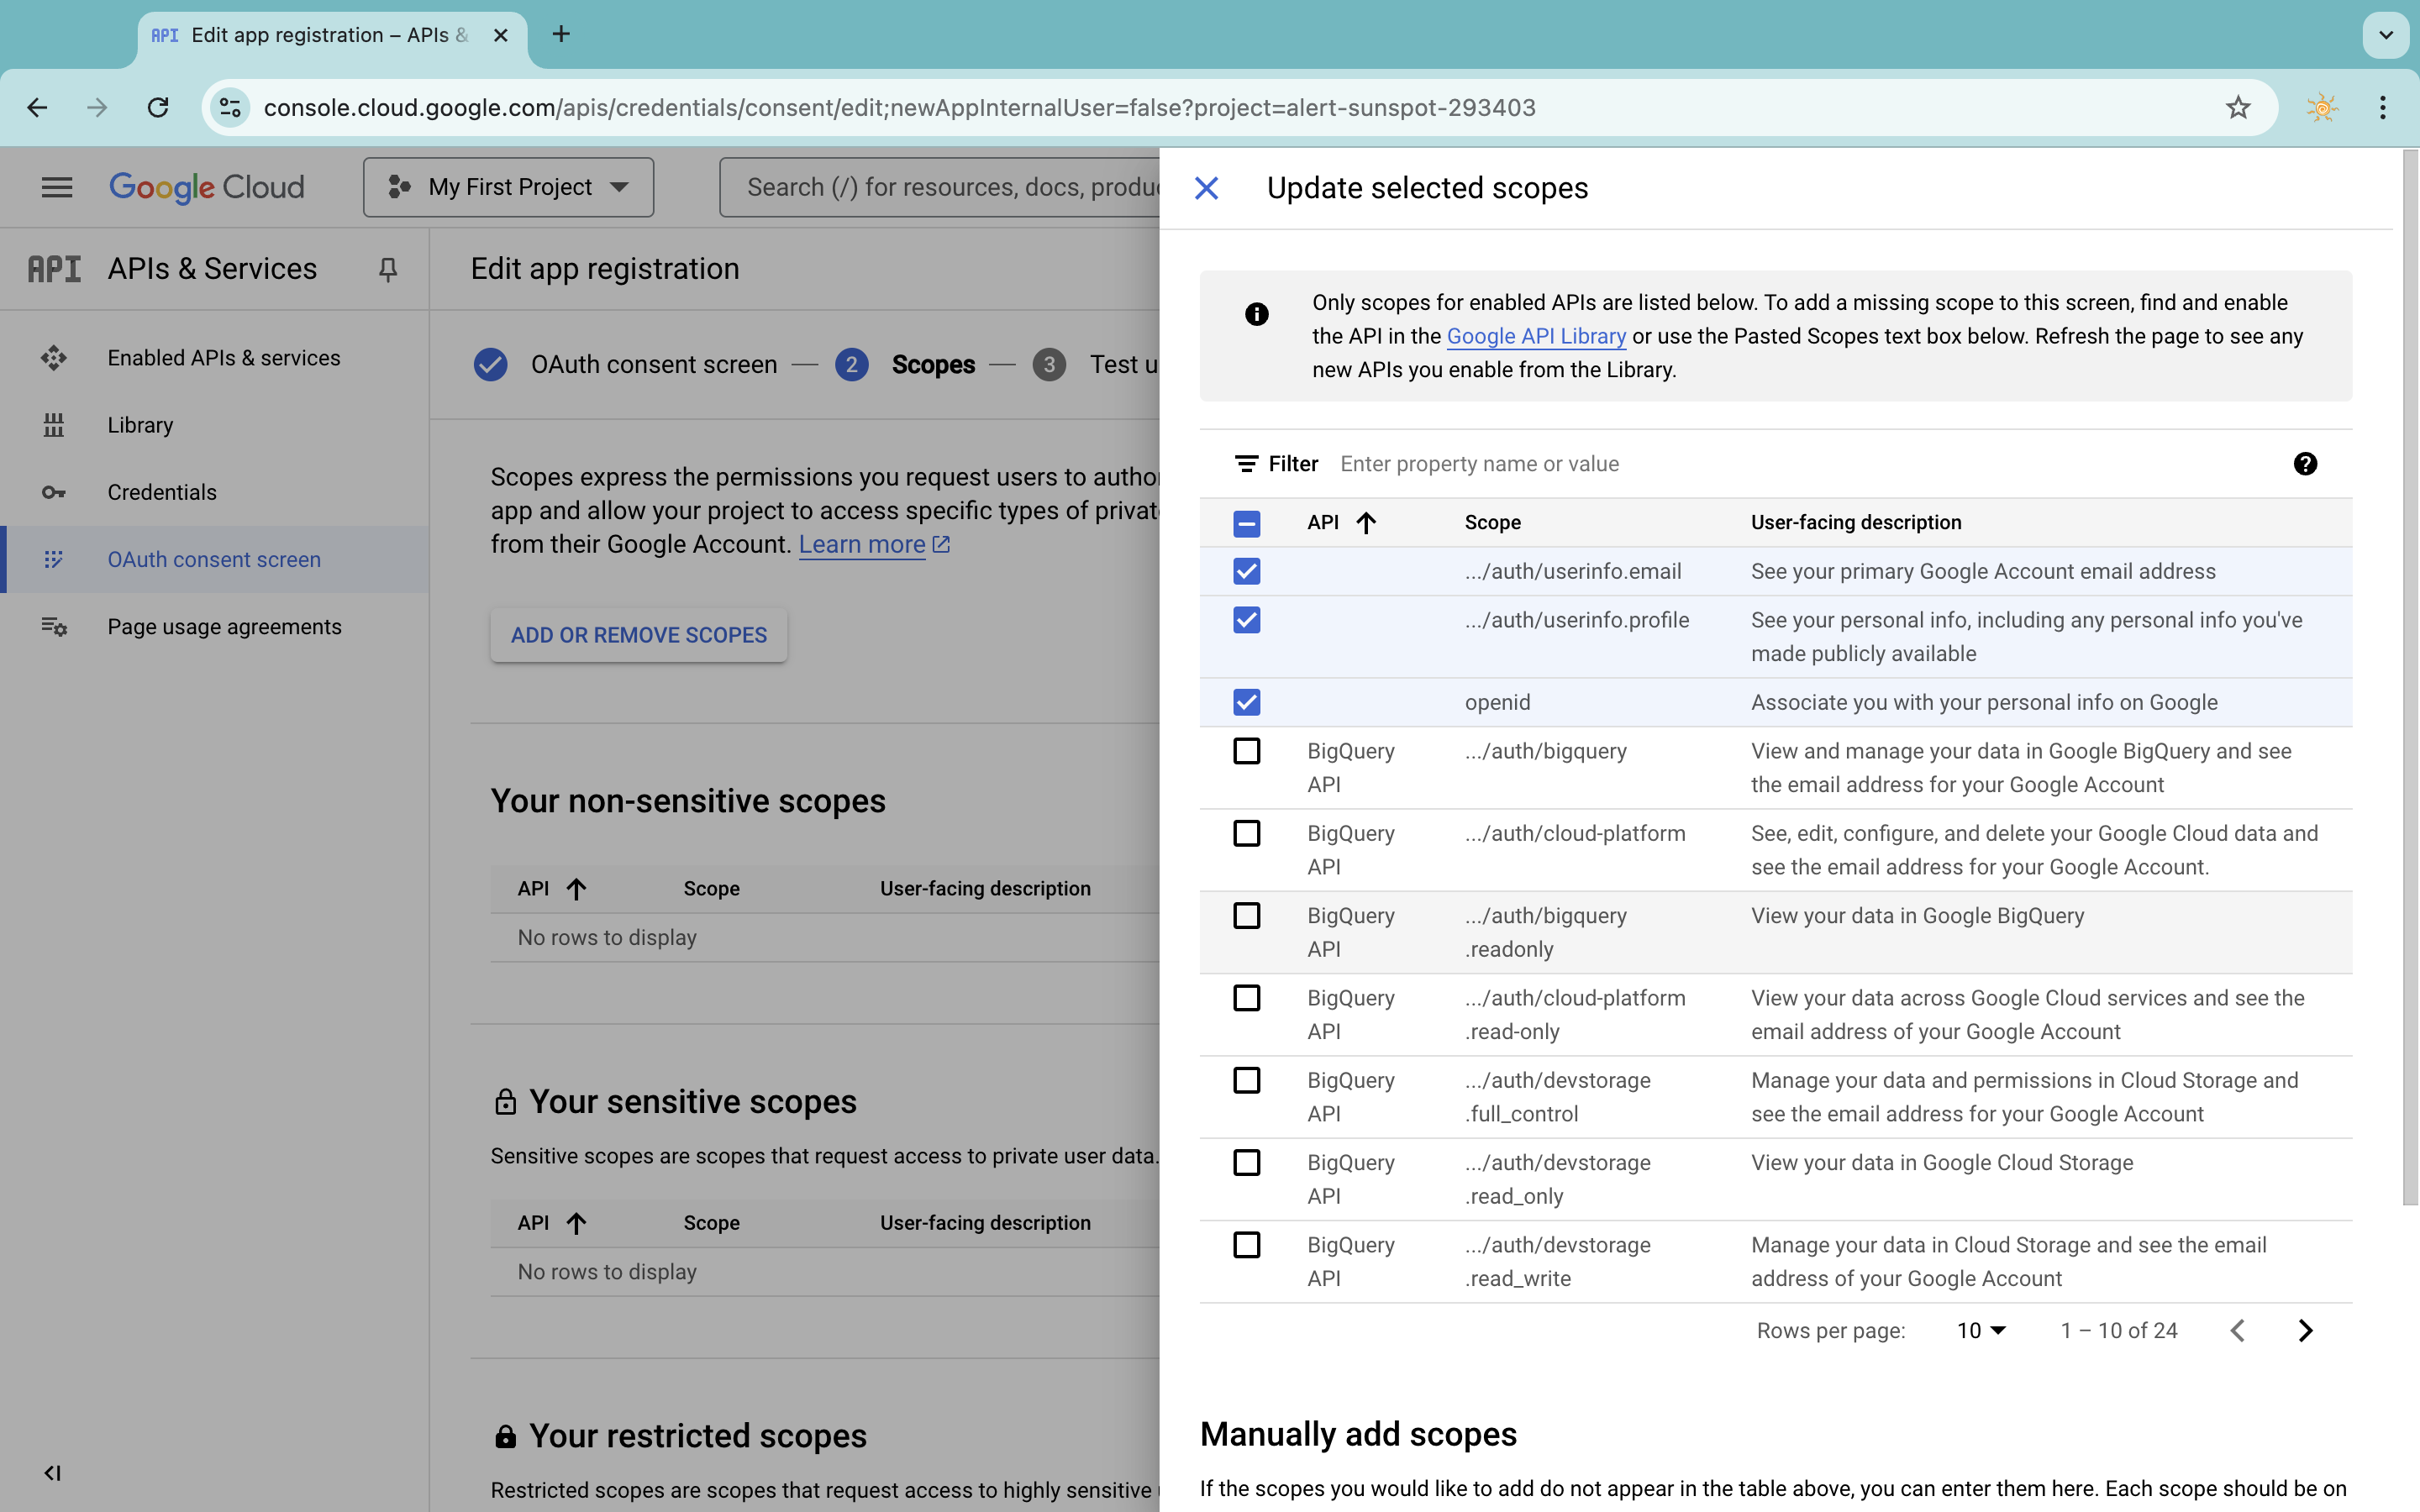
In Scopes, add the openid scope, as well as ../auth/userinfo.email and ../auth/userinfo.profile
Add test users as necessary
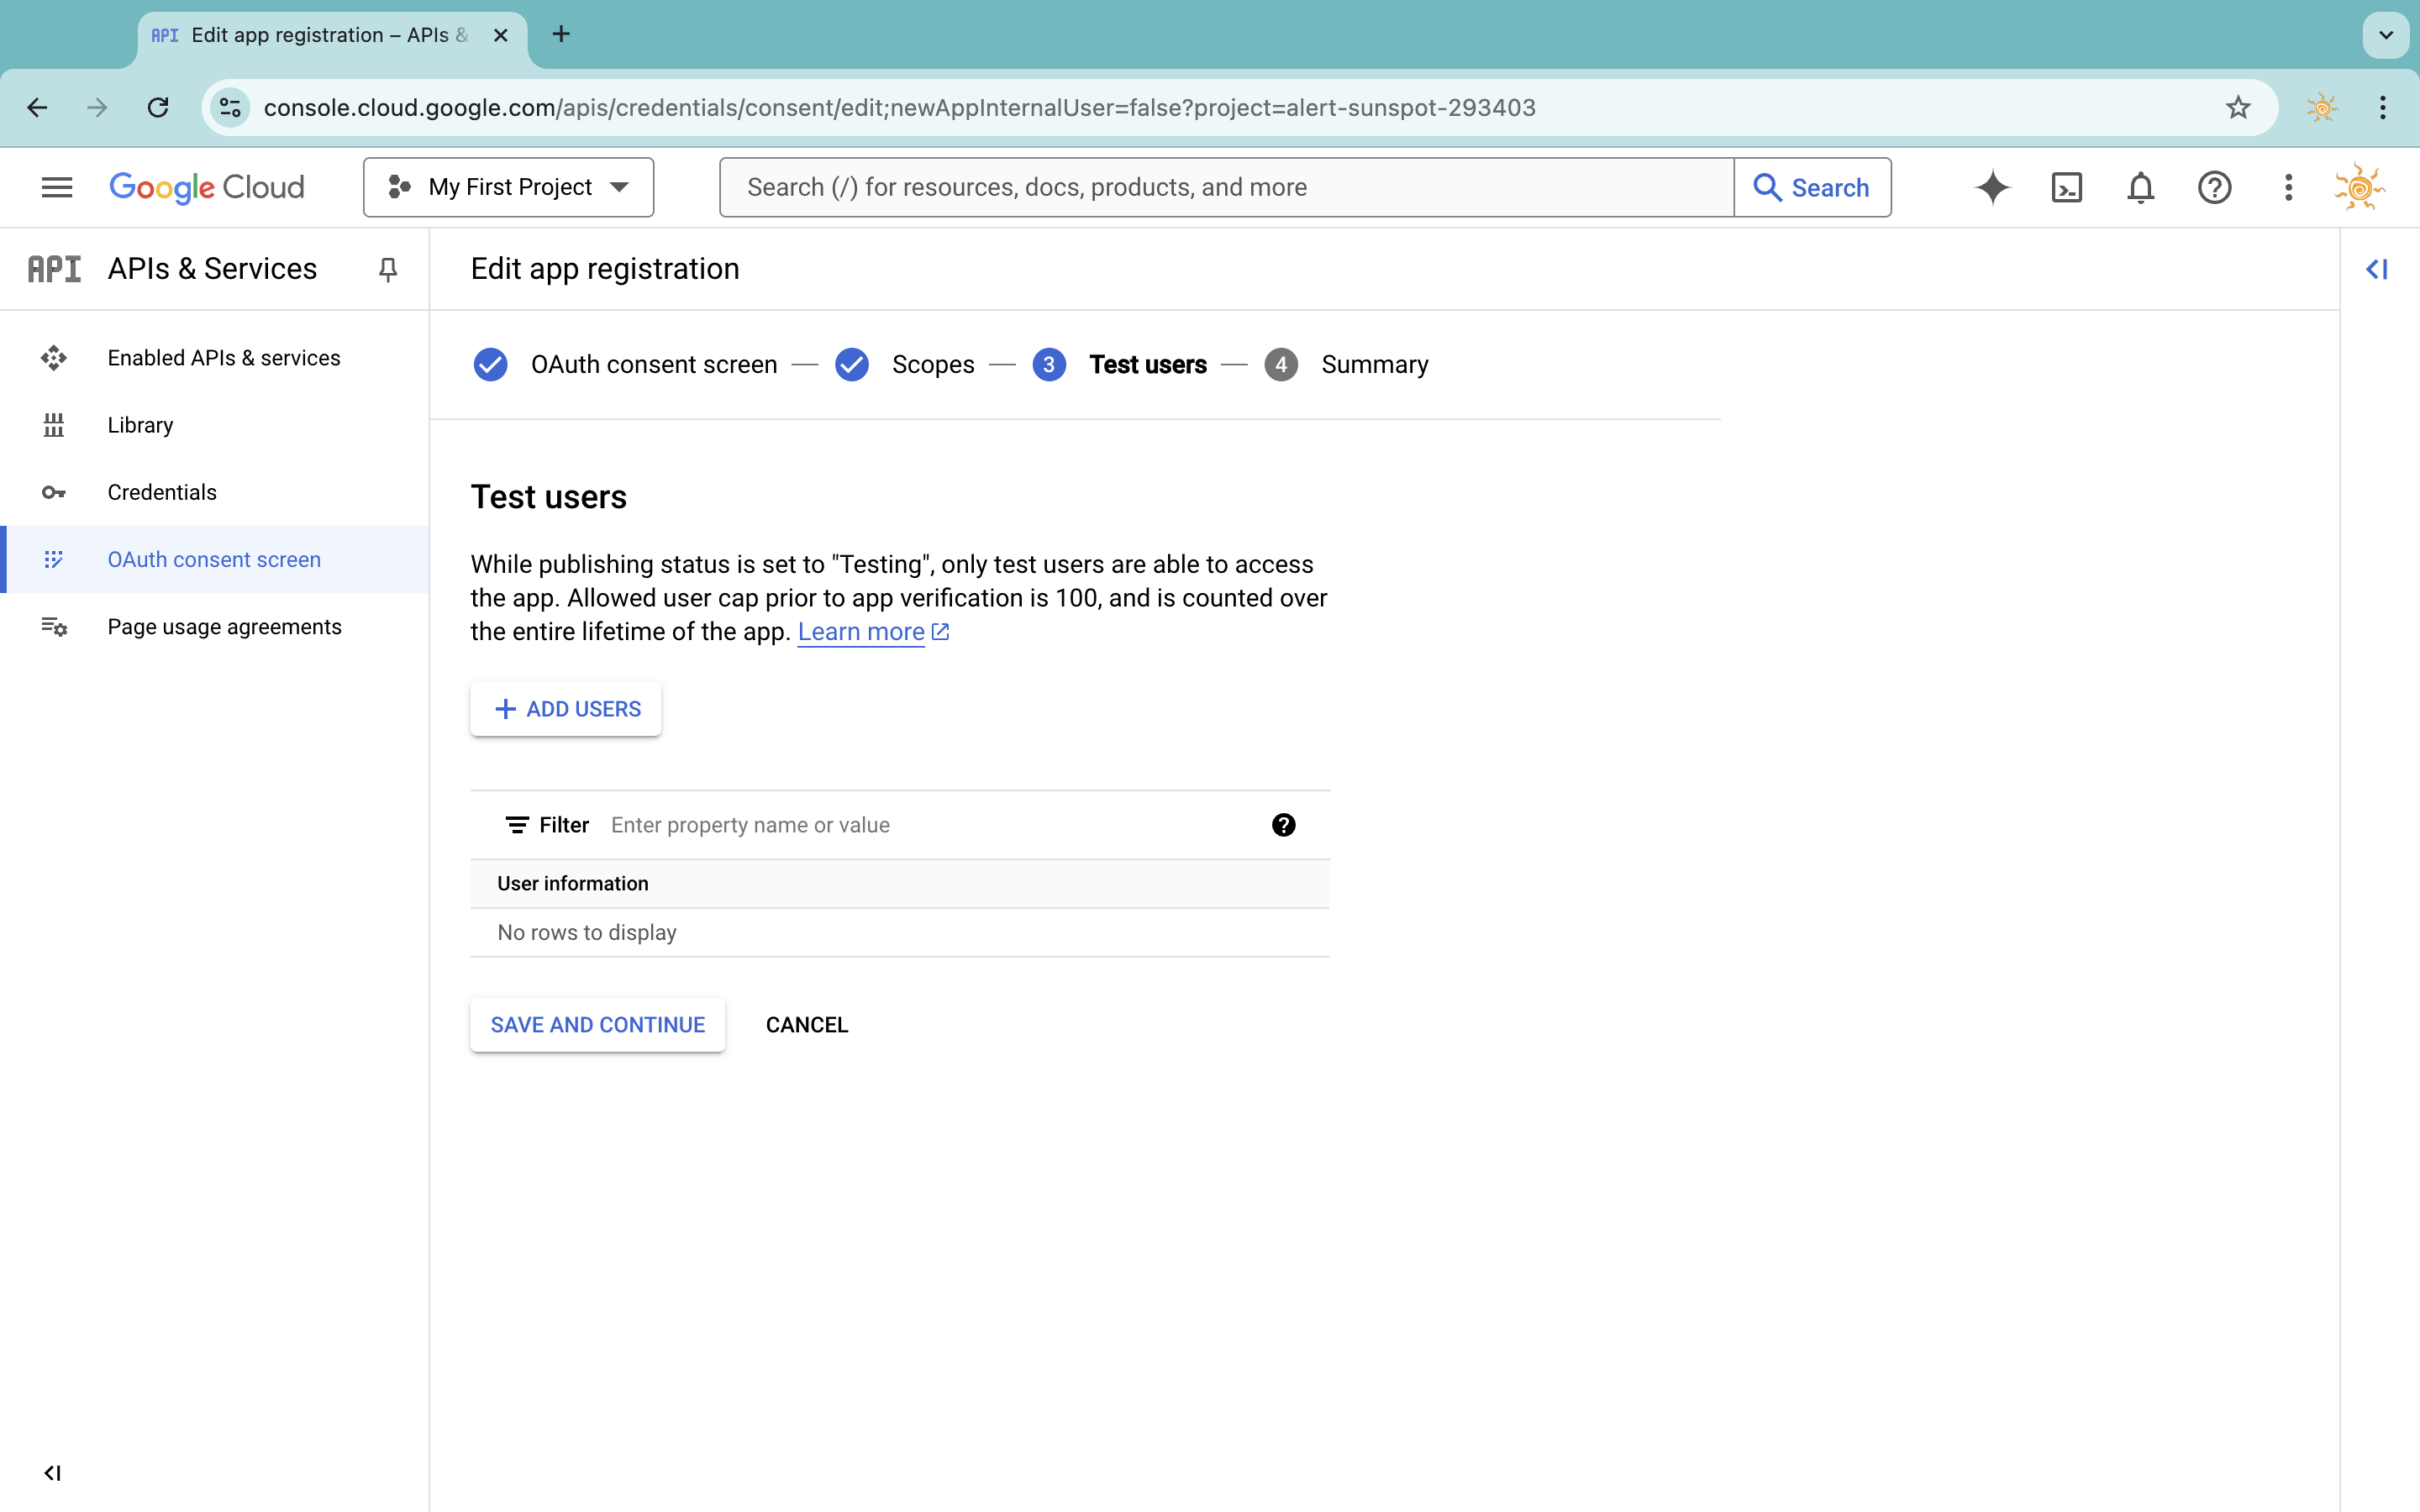
The consent screen is now configured.
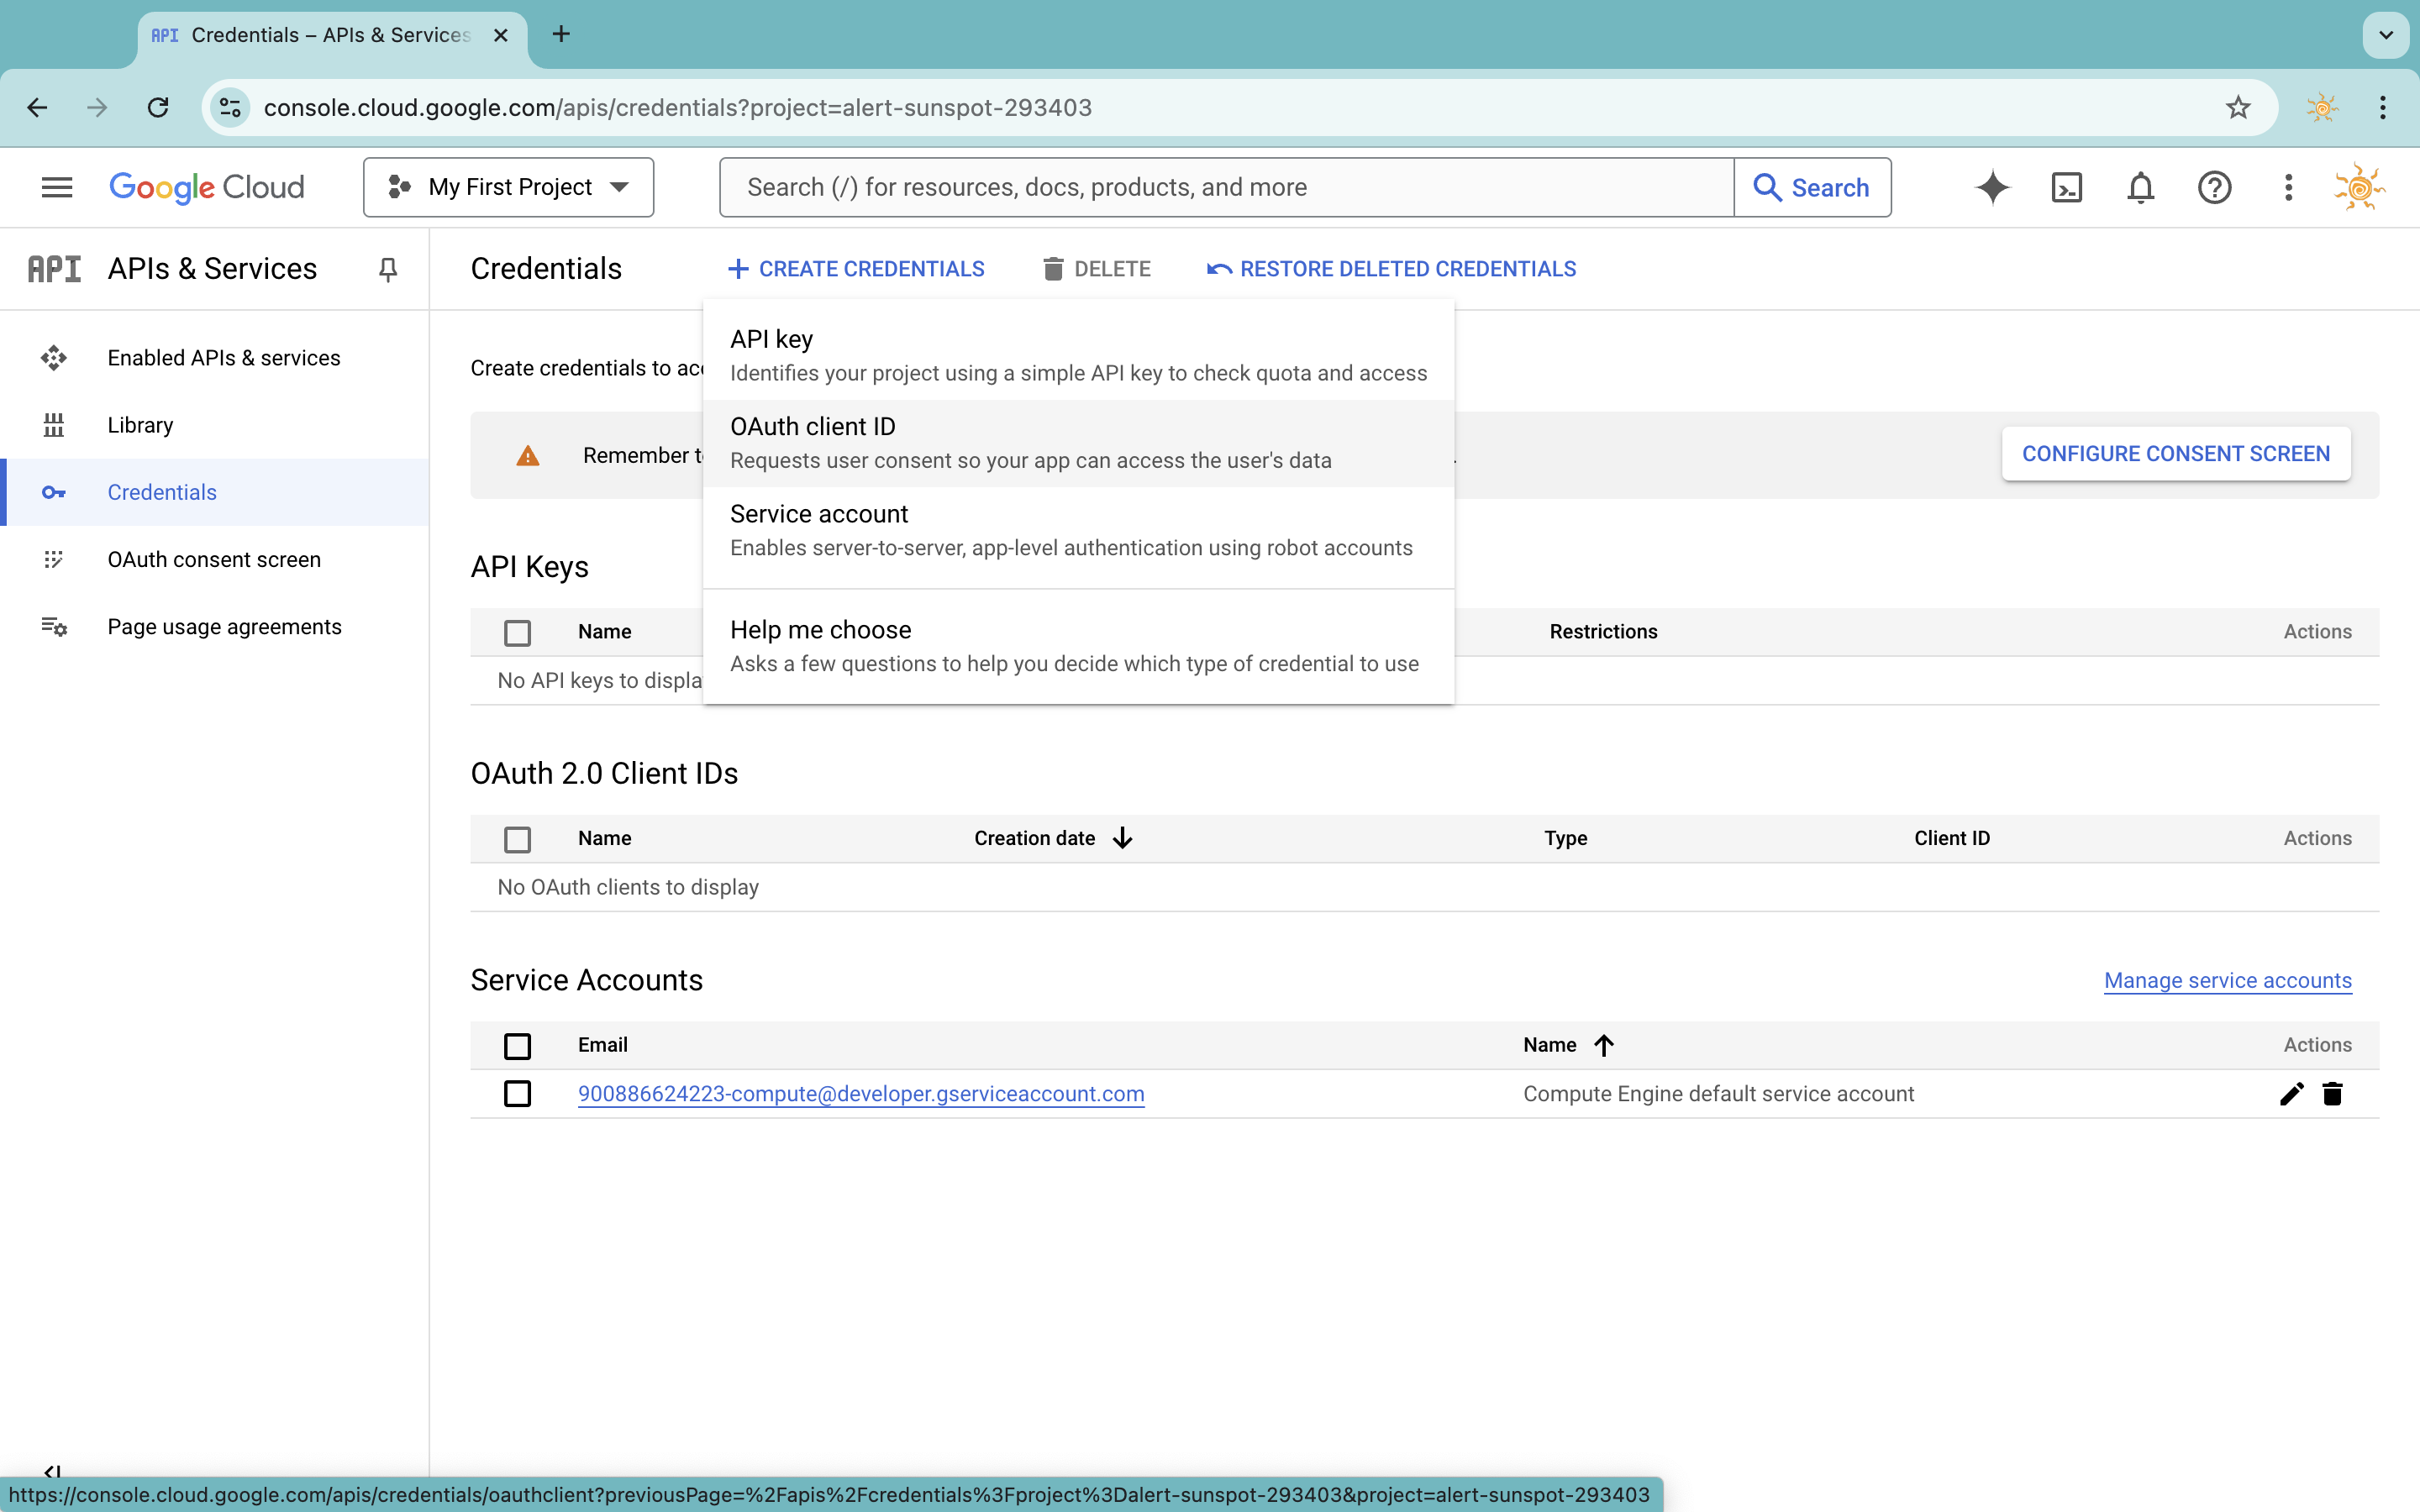
Head to the Credentials page and click Create Credentials. Choose OAuth client ID.
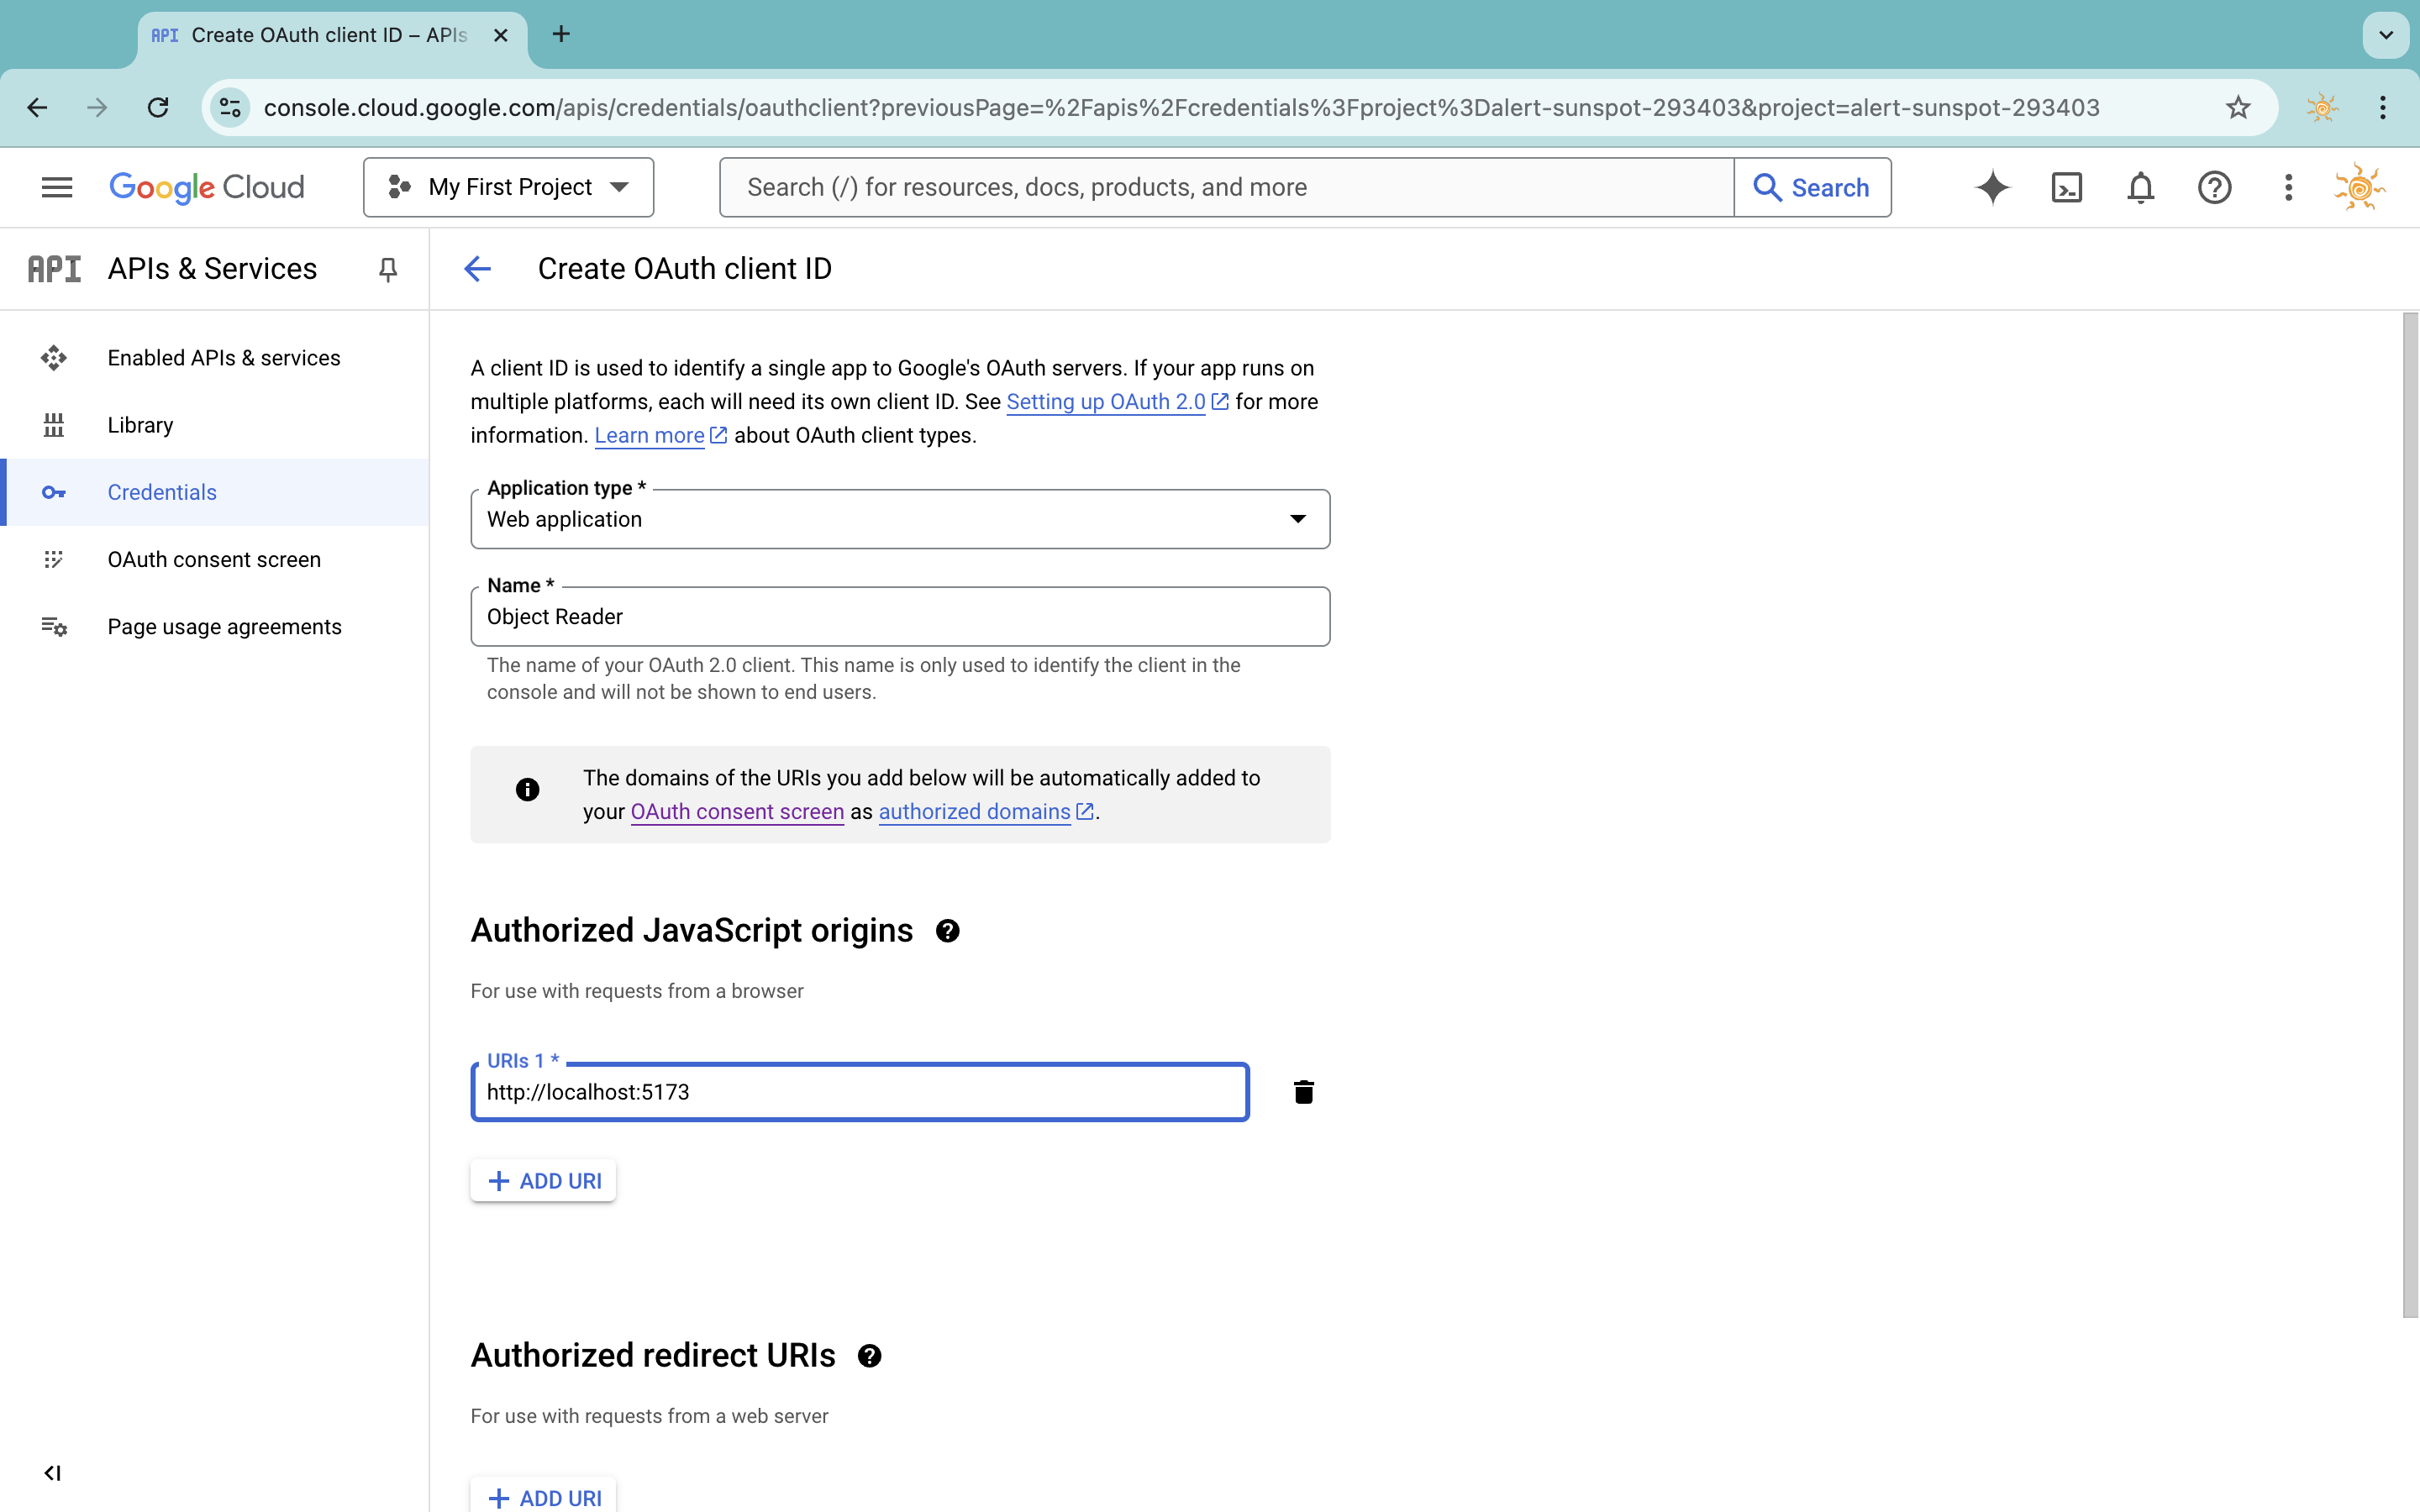
In the page, choose Web Application as the application type, and give it a name. for your client ID. Add the dev host to the authorized origins. In Vite it should be http://localhost:5173
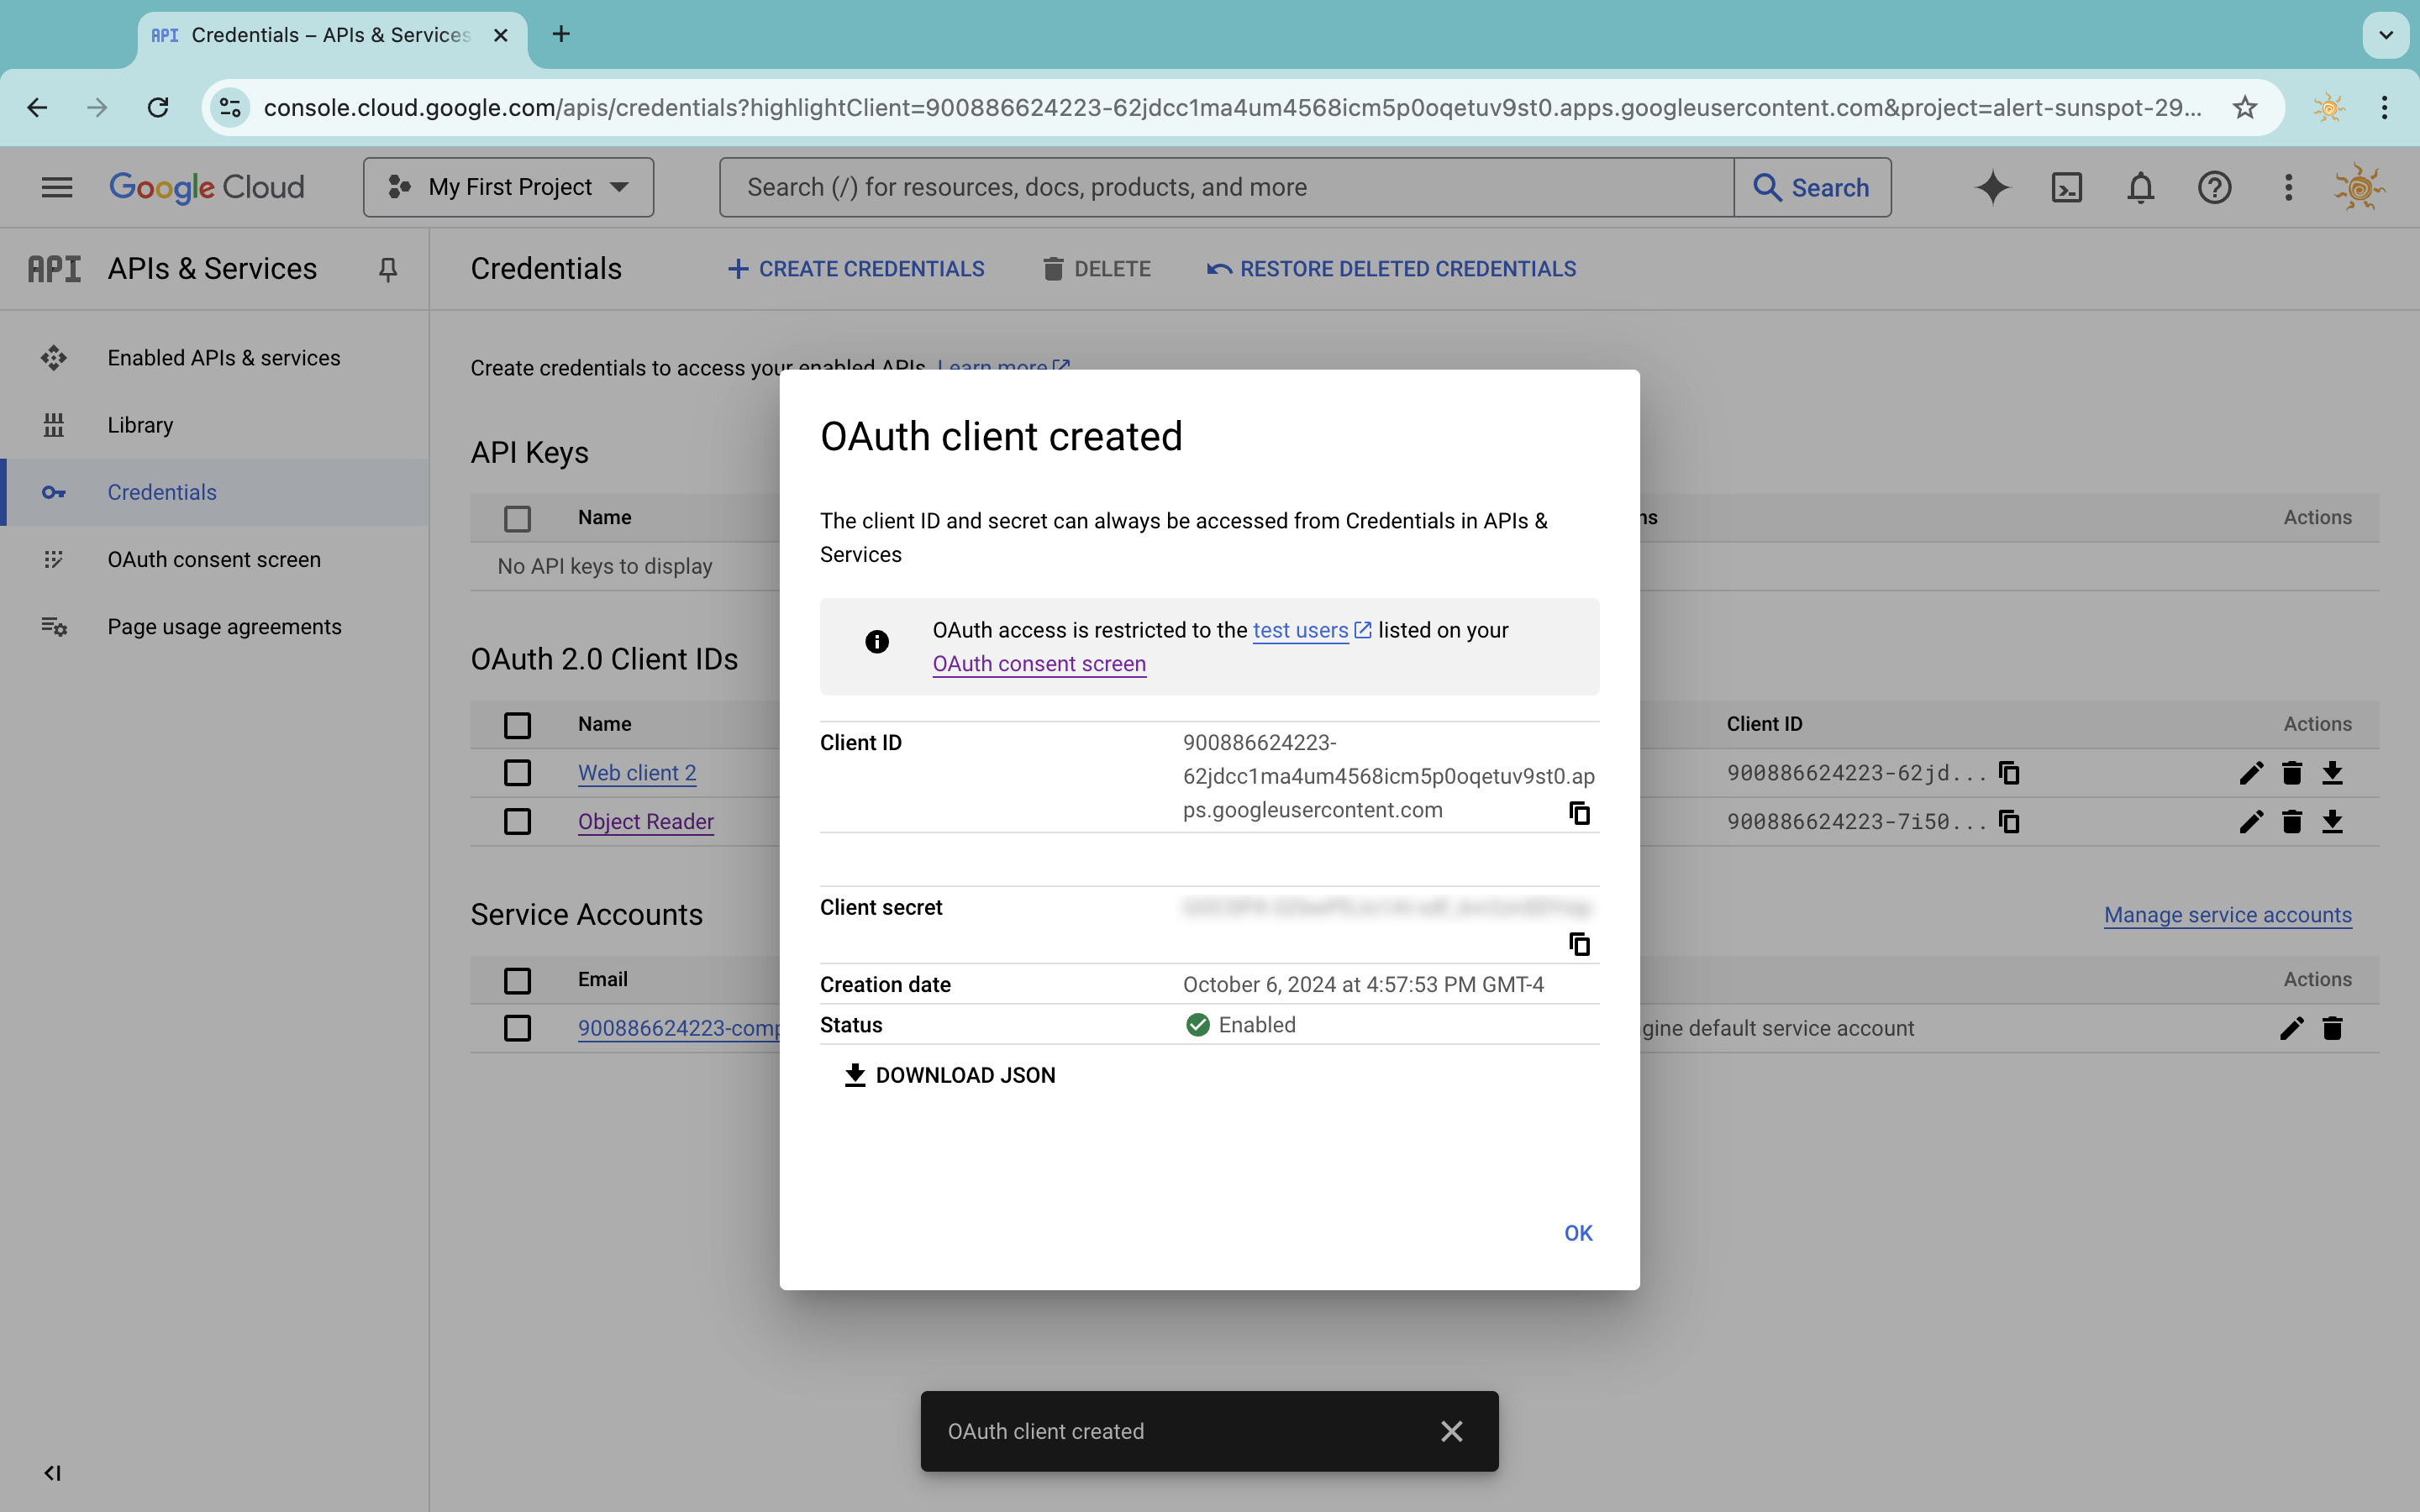
You are done. Take a note of the Client ID. You will need this to configure both ServerlessAI project and React.
Setting Up Your ServerlessAI Project
If you do not have a ServerlessAI account, or want to create a new project
-
Register for ServerlessAI
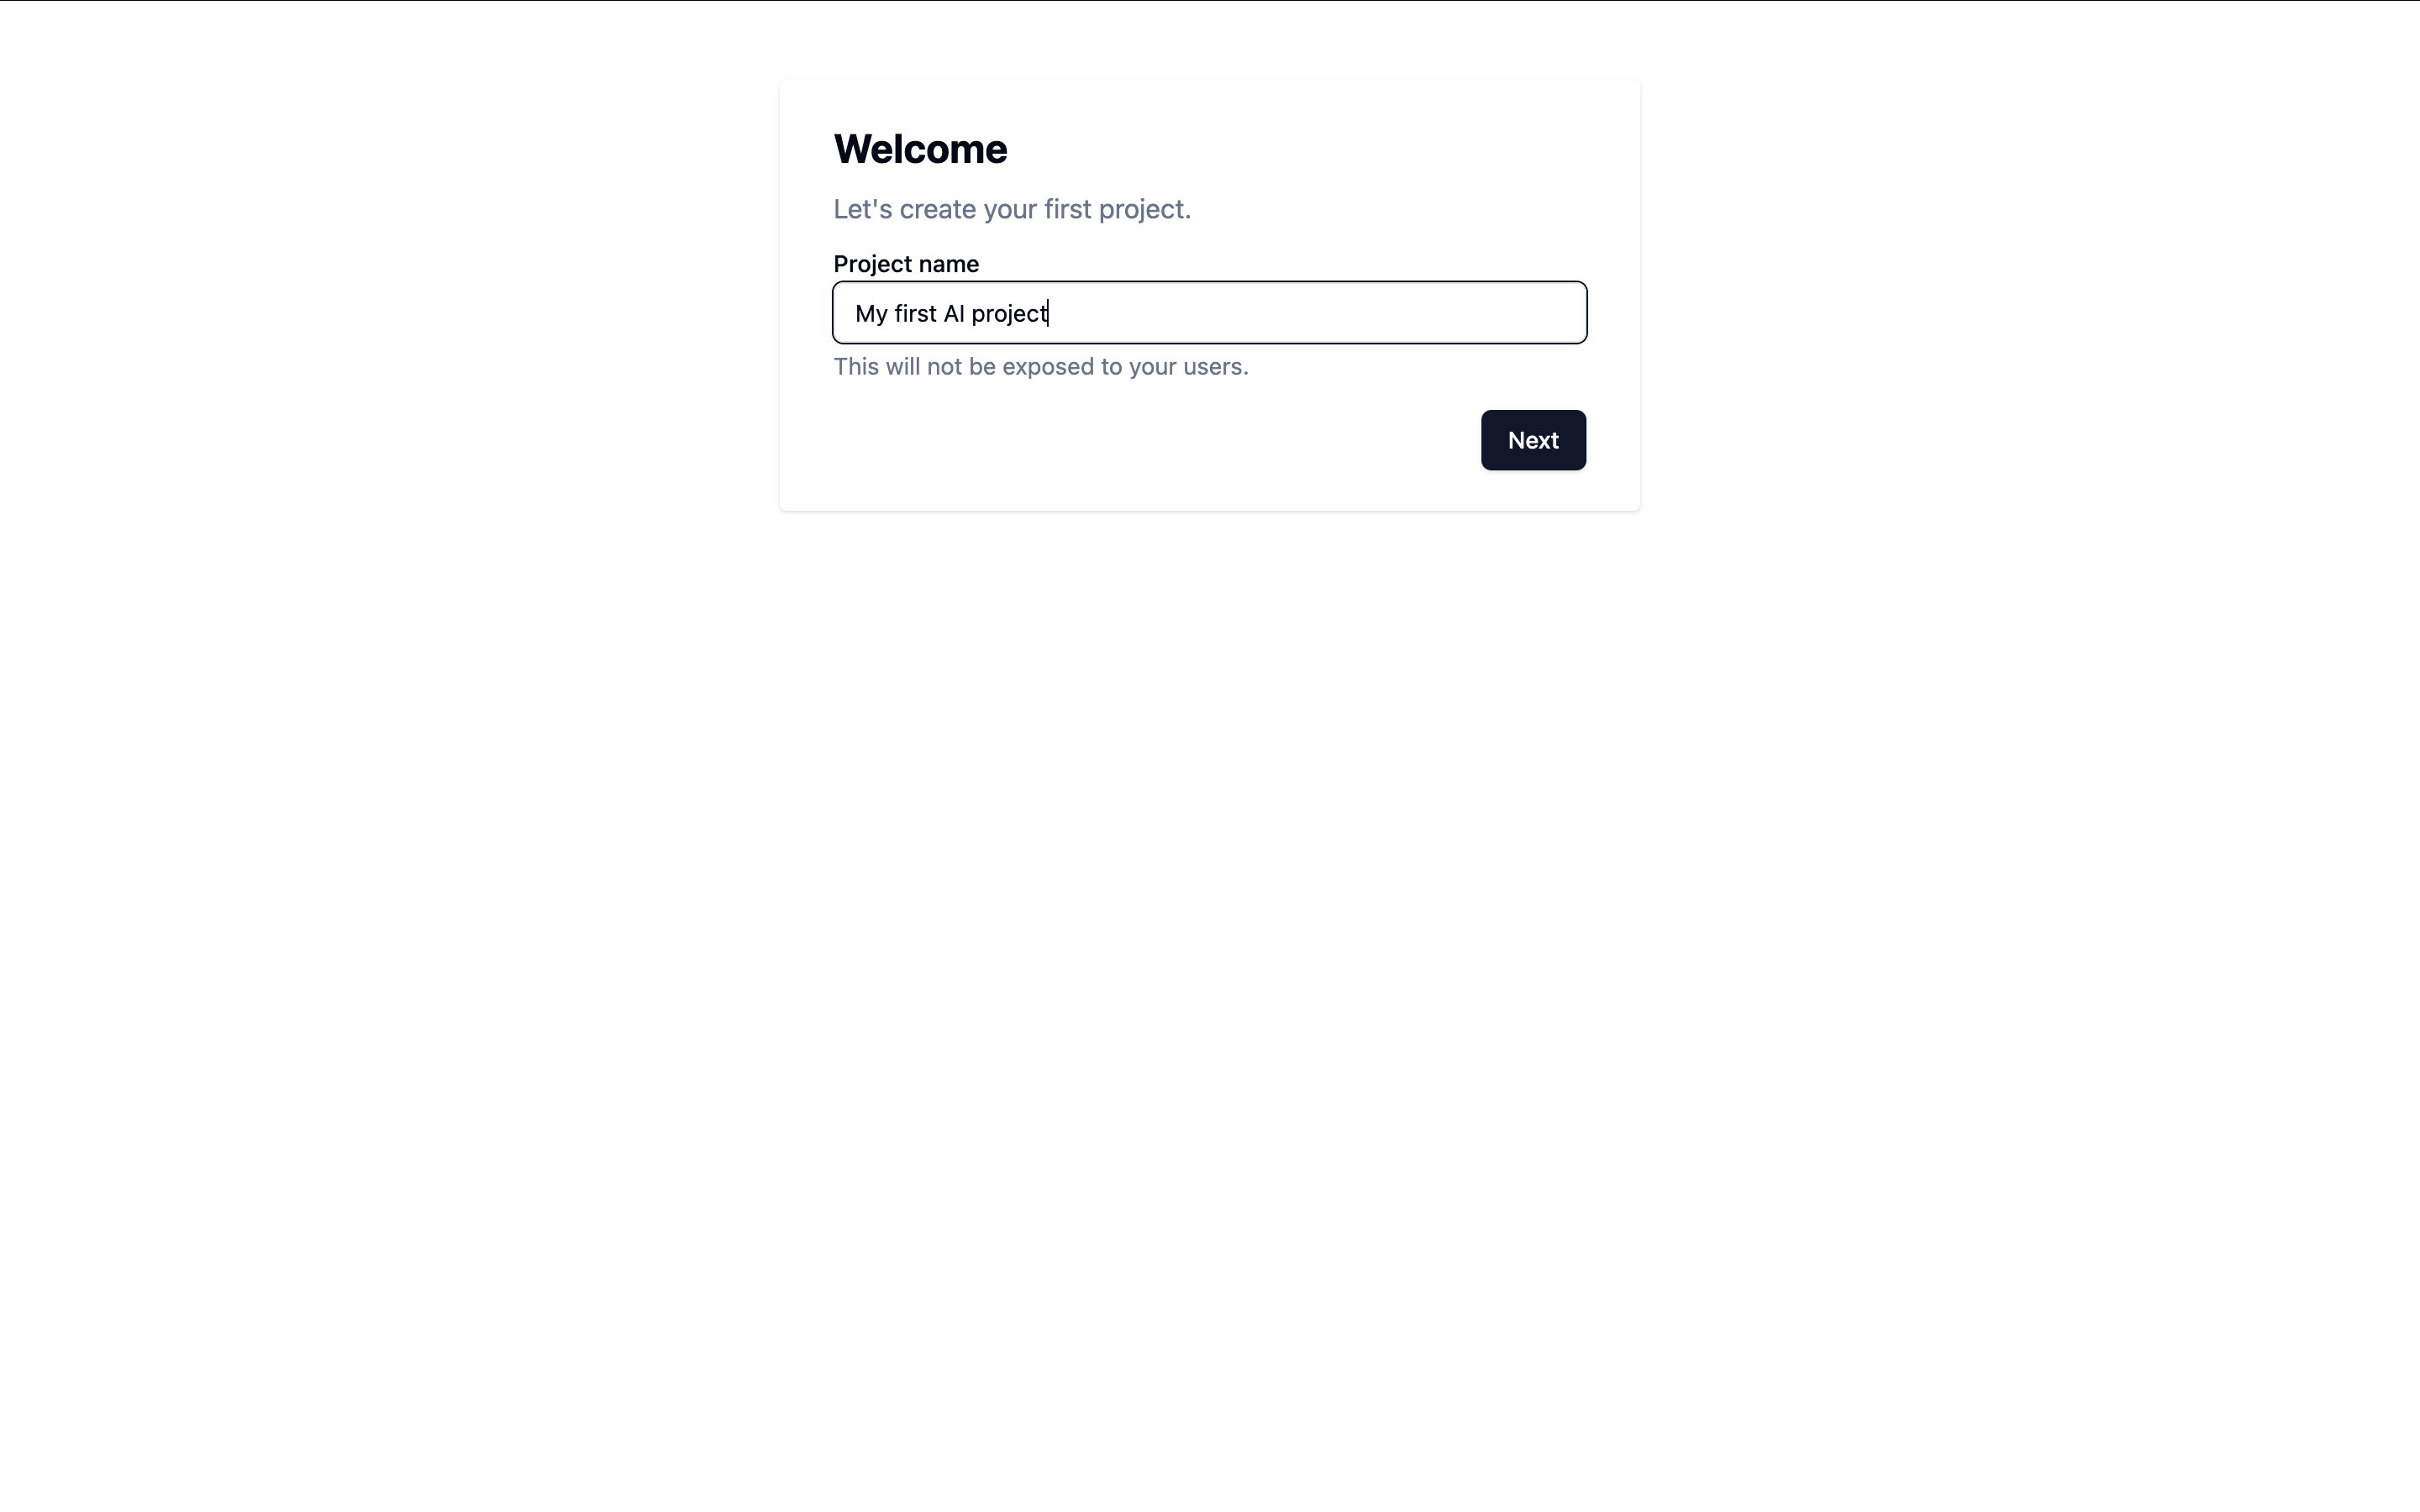
Head to ServerlessAI and sign up. Once registered, follow the wizard to create a new project.If you have already created an account and want to create a new project, Click "Create project" in the project selector dropdown on upper left corner.
-
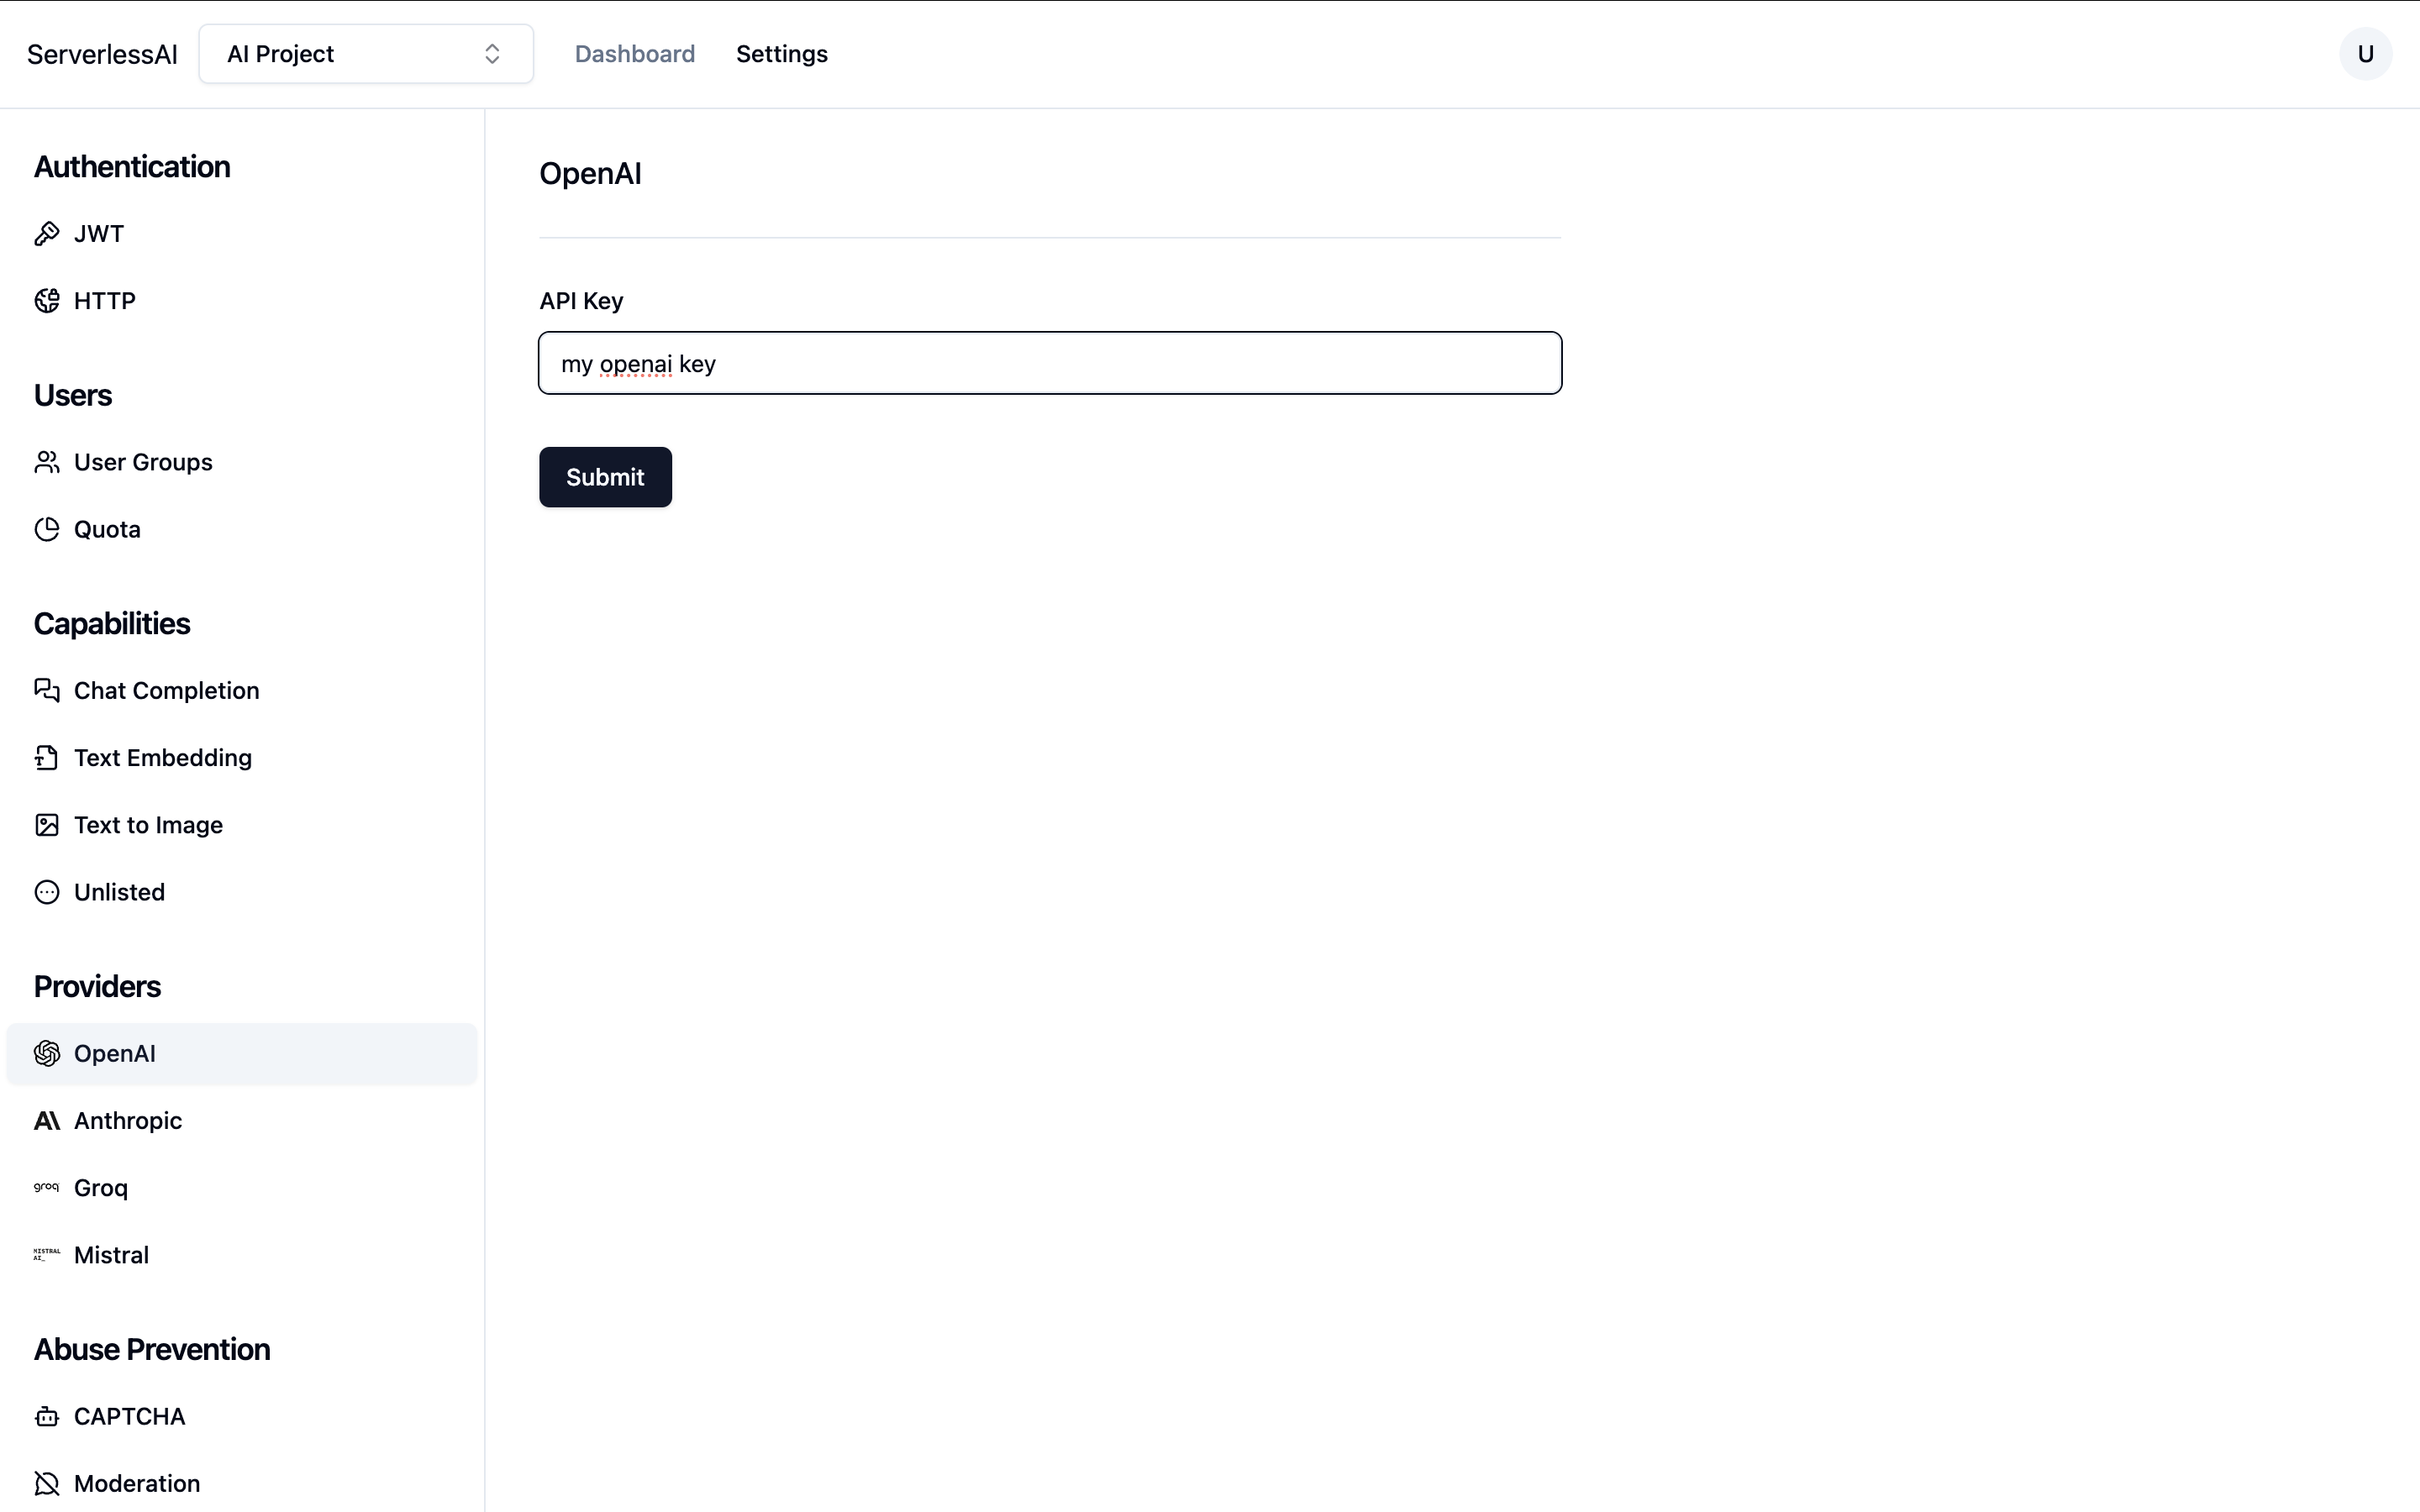
Add the OpenAI Provider
Add OpenAI as a provider by entering your OpenAI API key.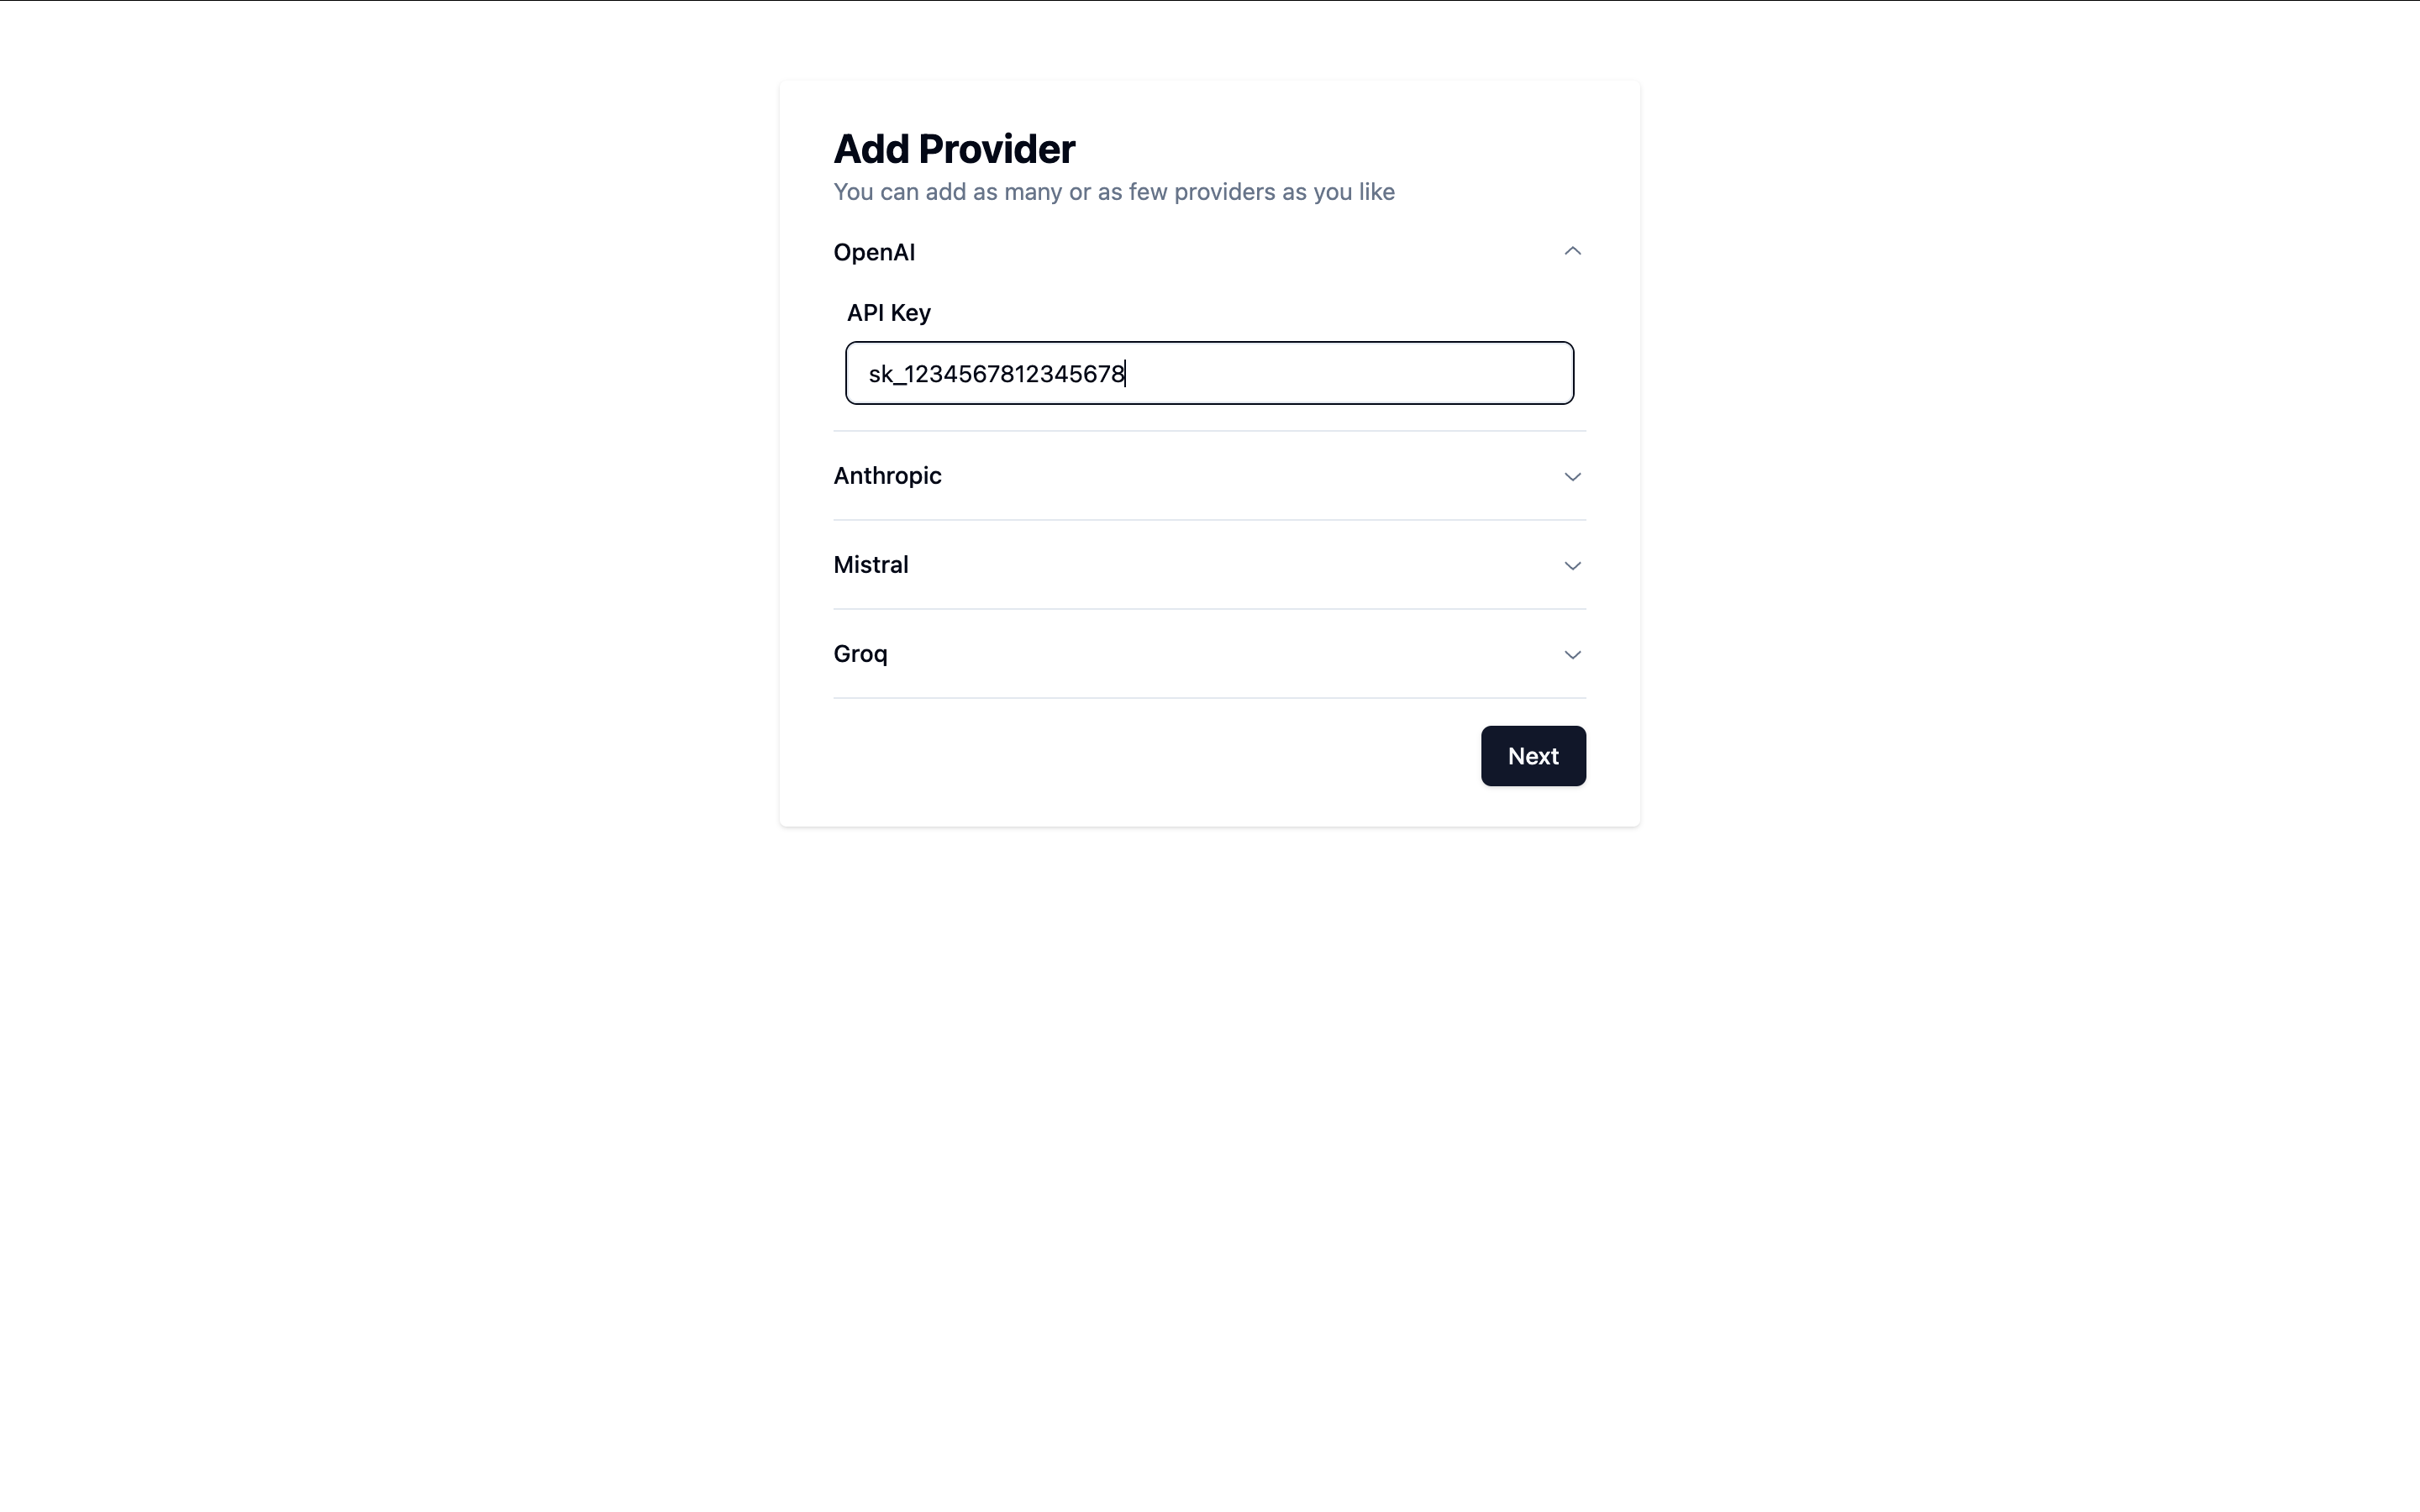
-
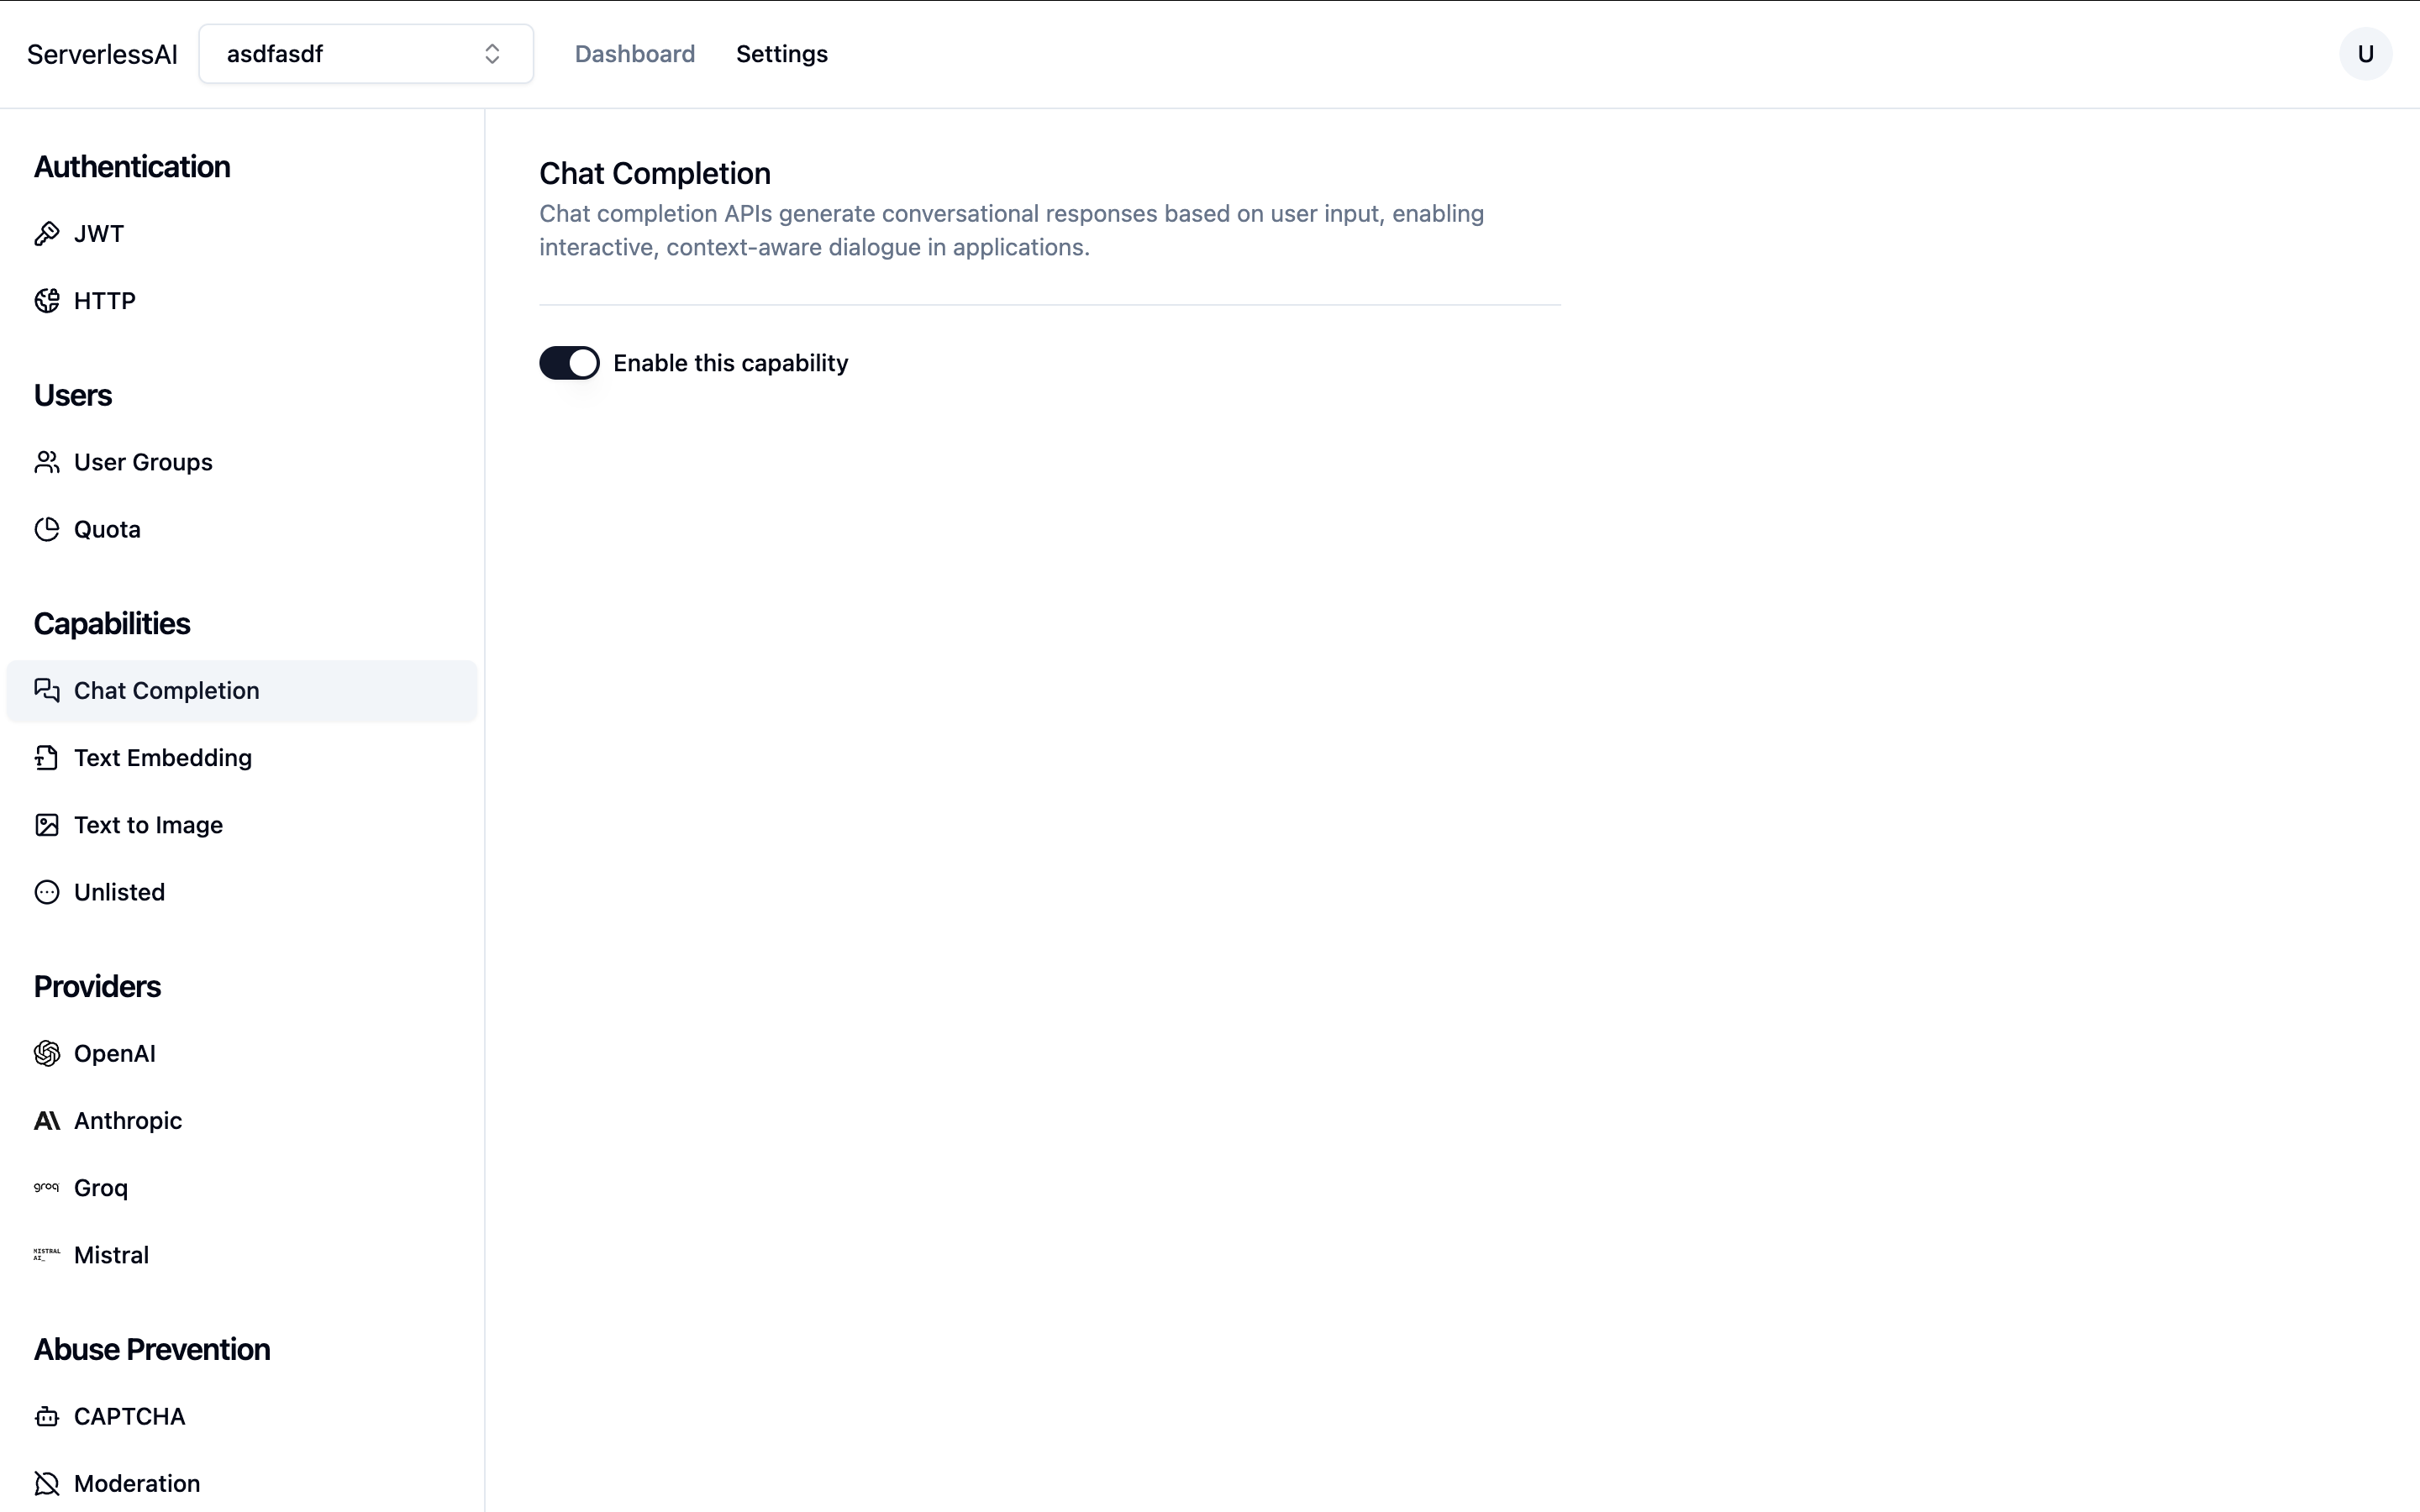
Enable Chat Completion Capability
Enable the chat completion capability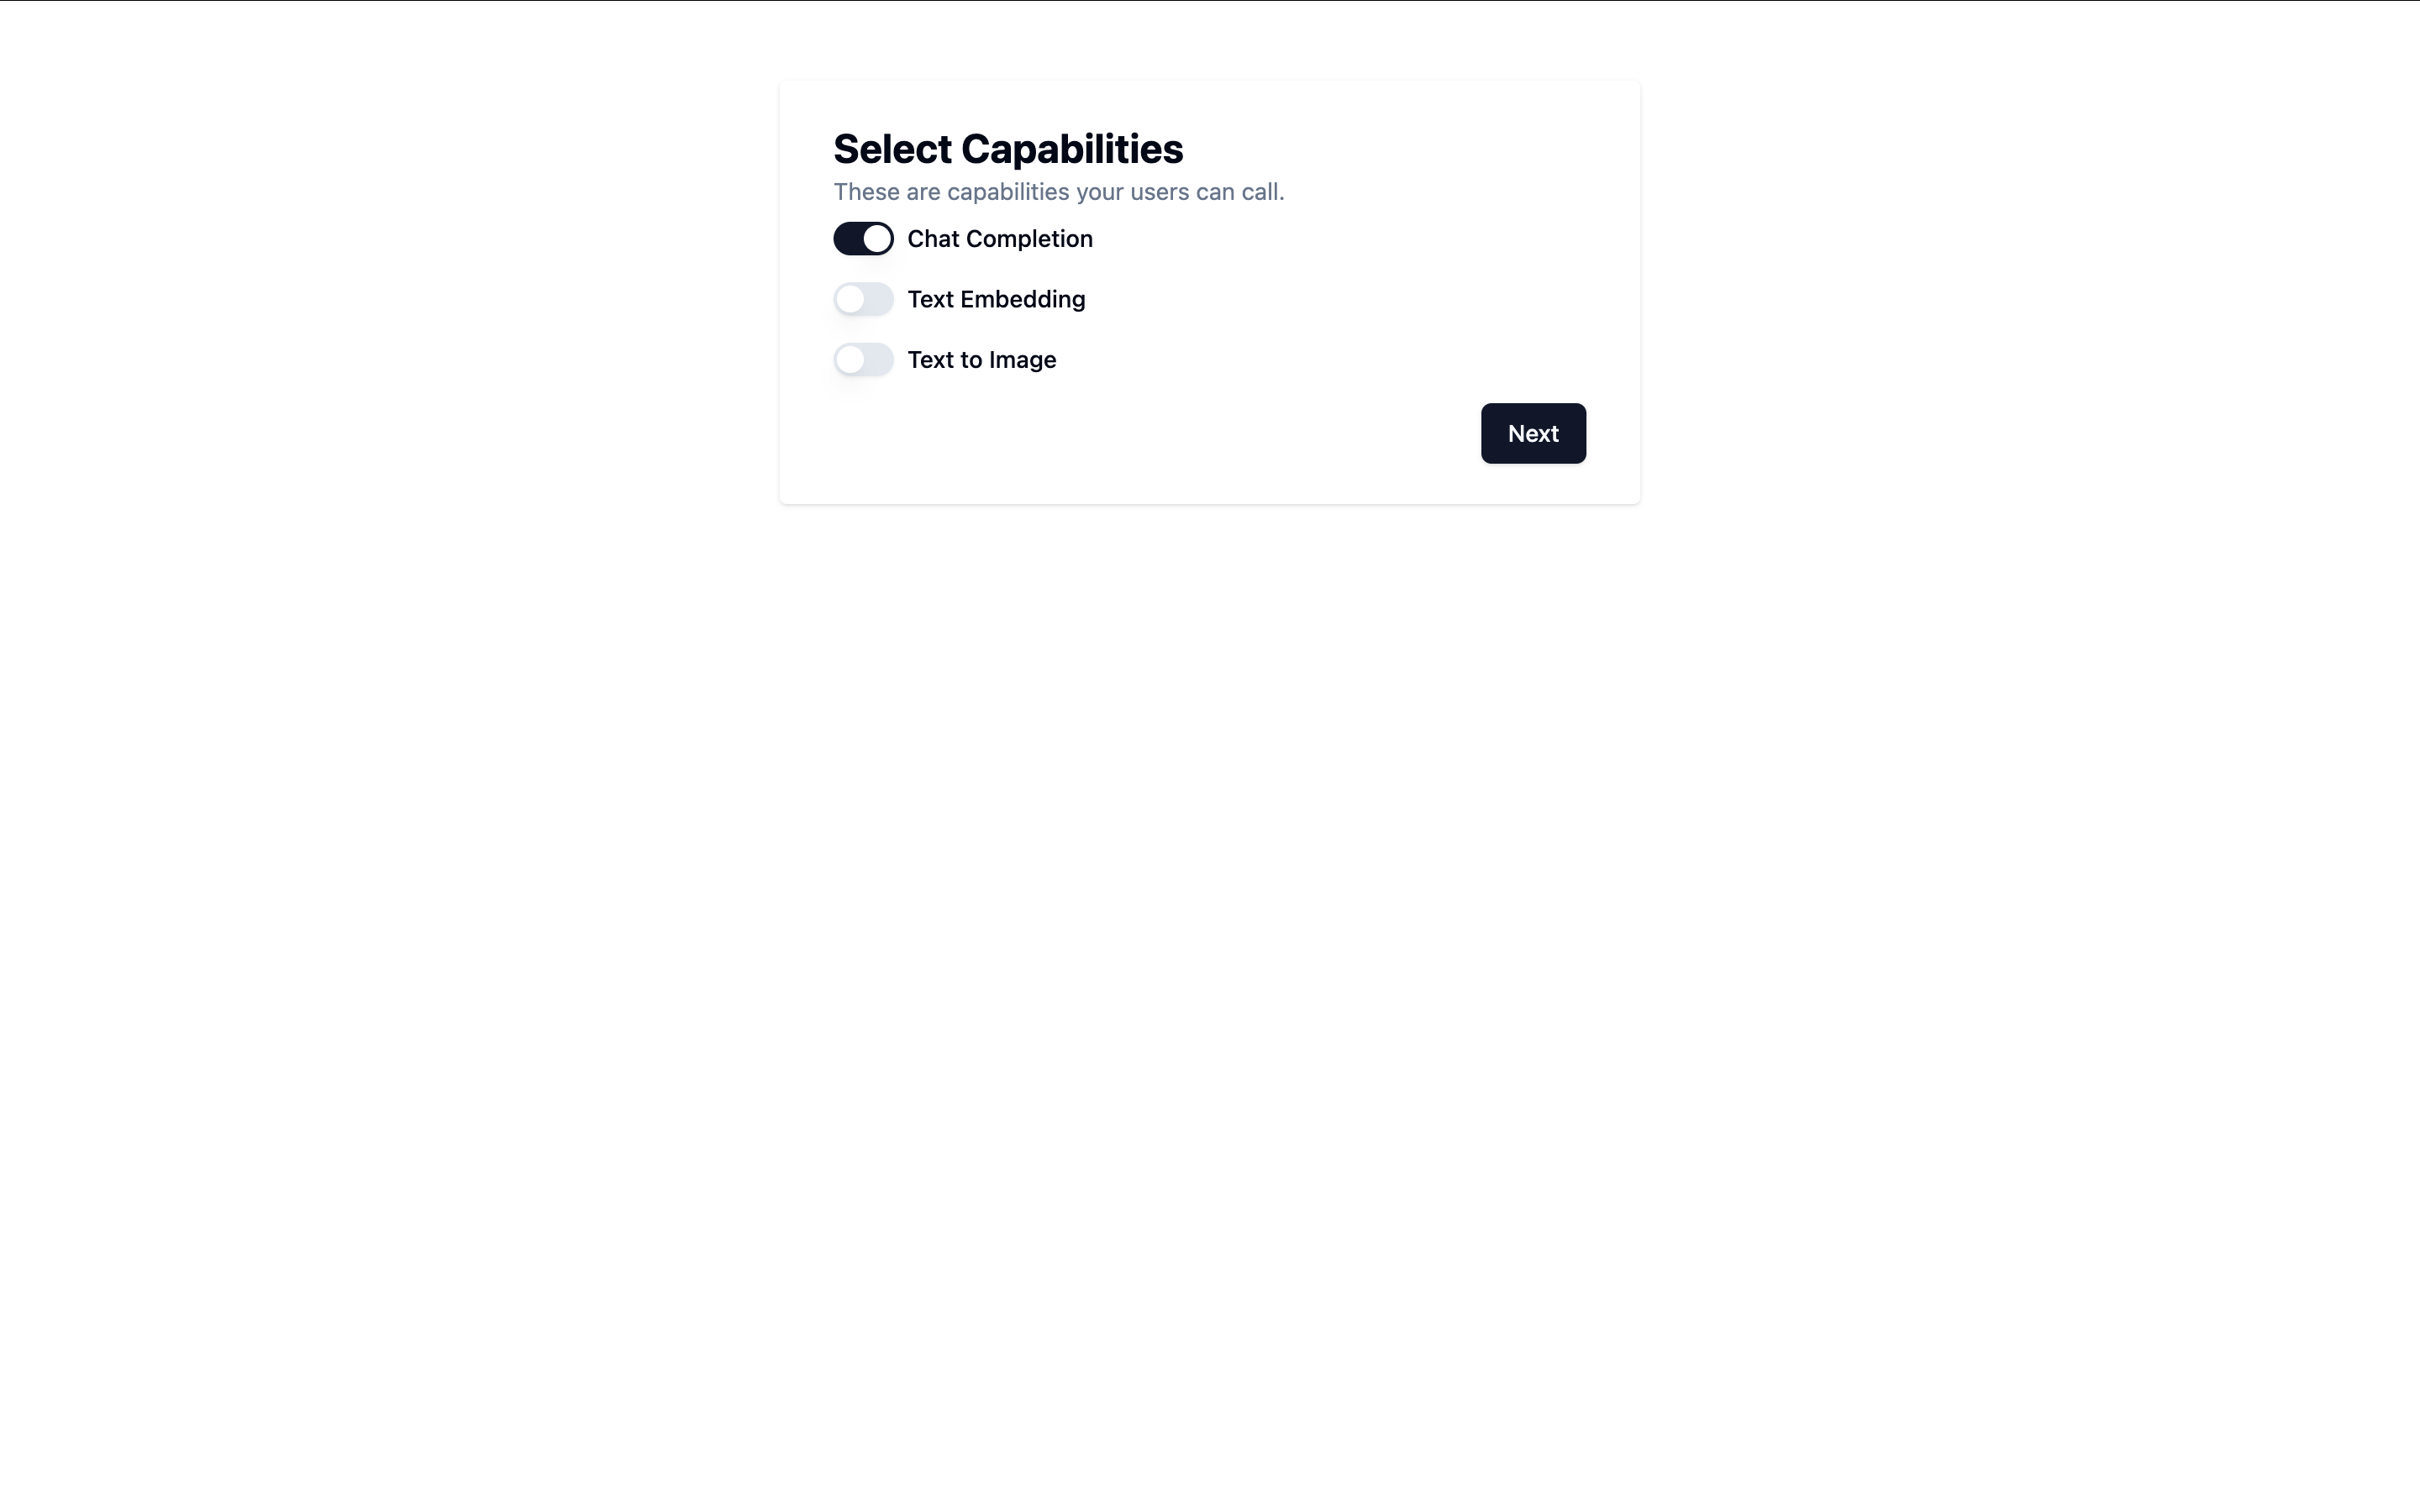
-
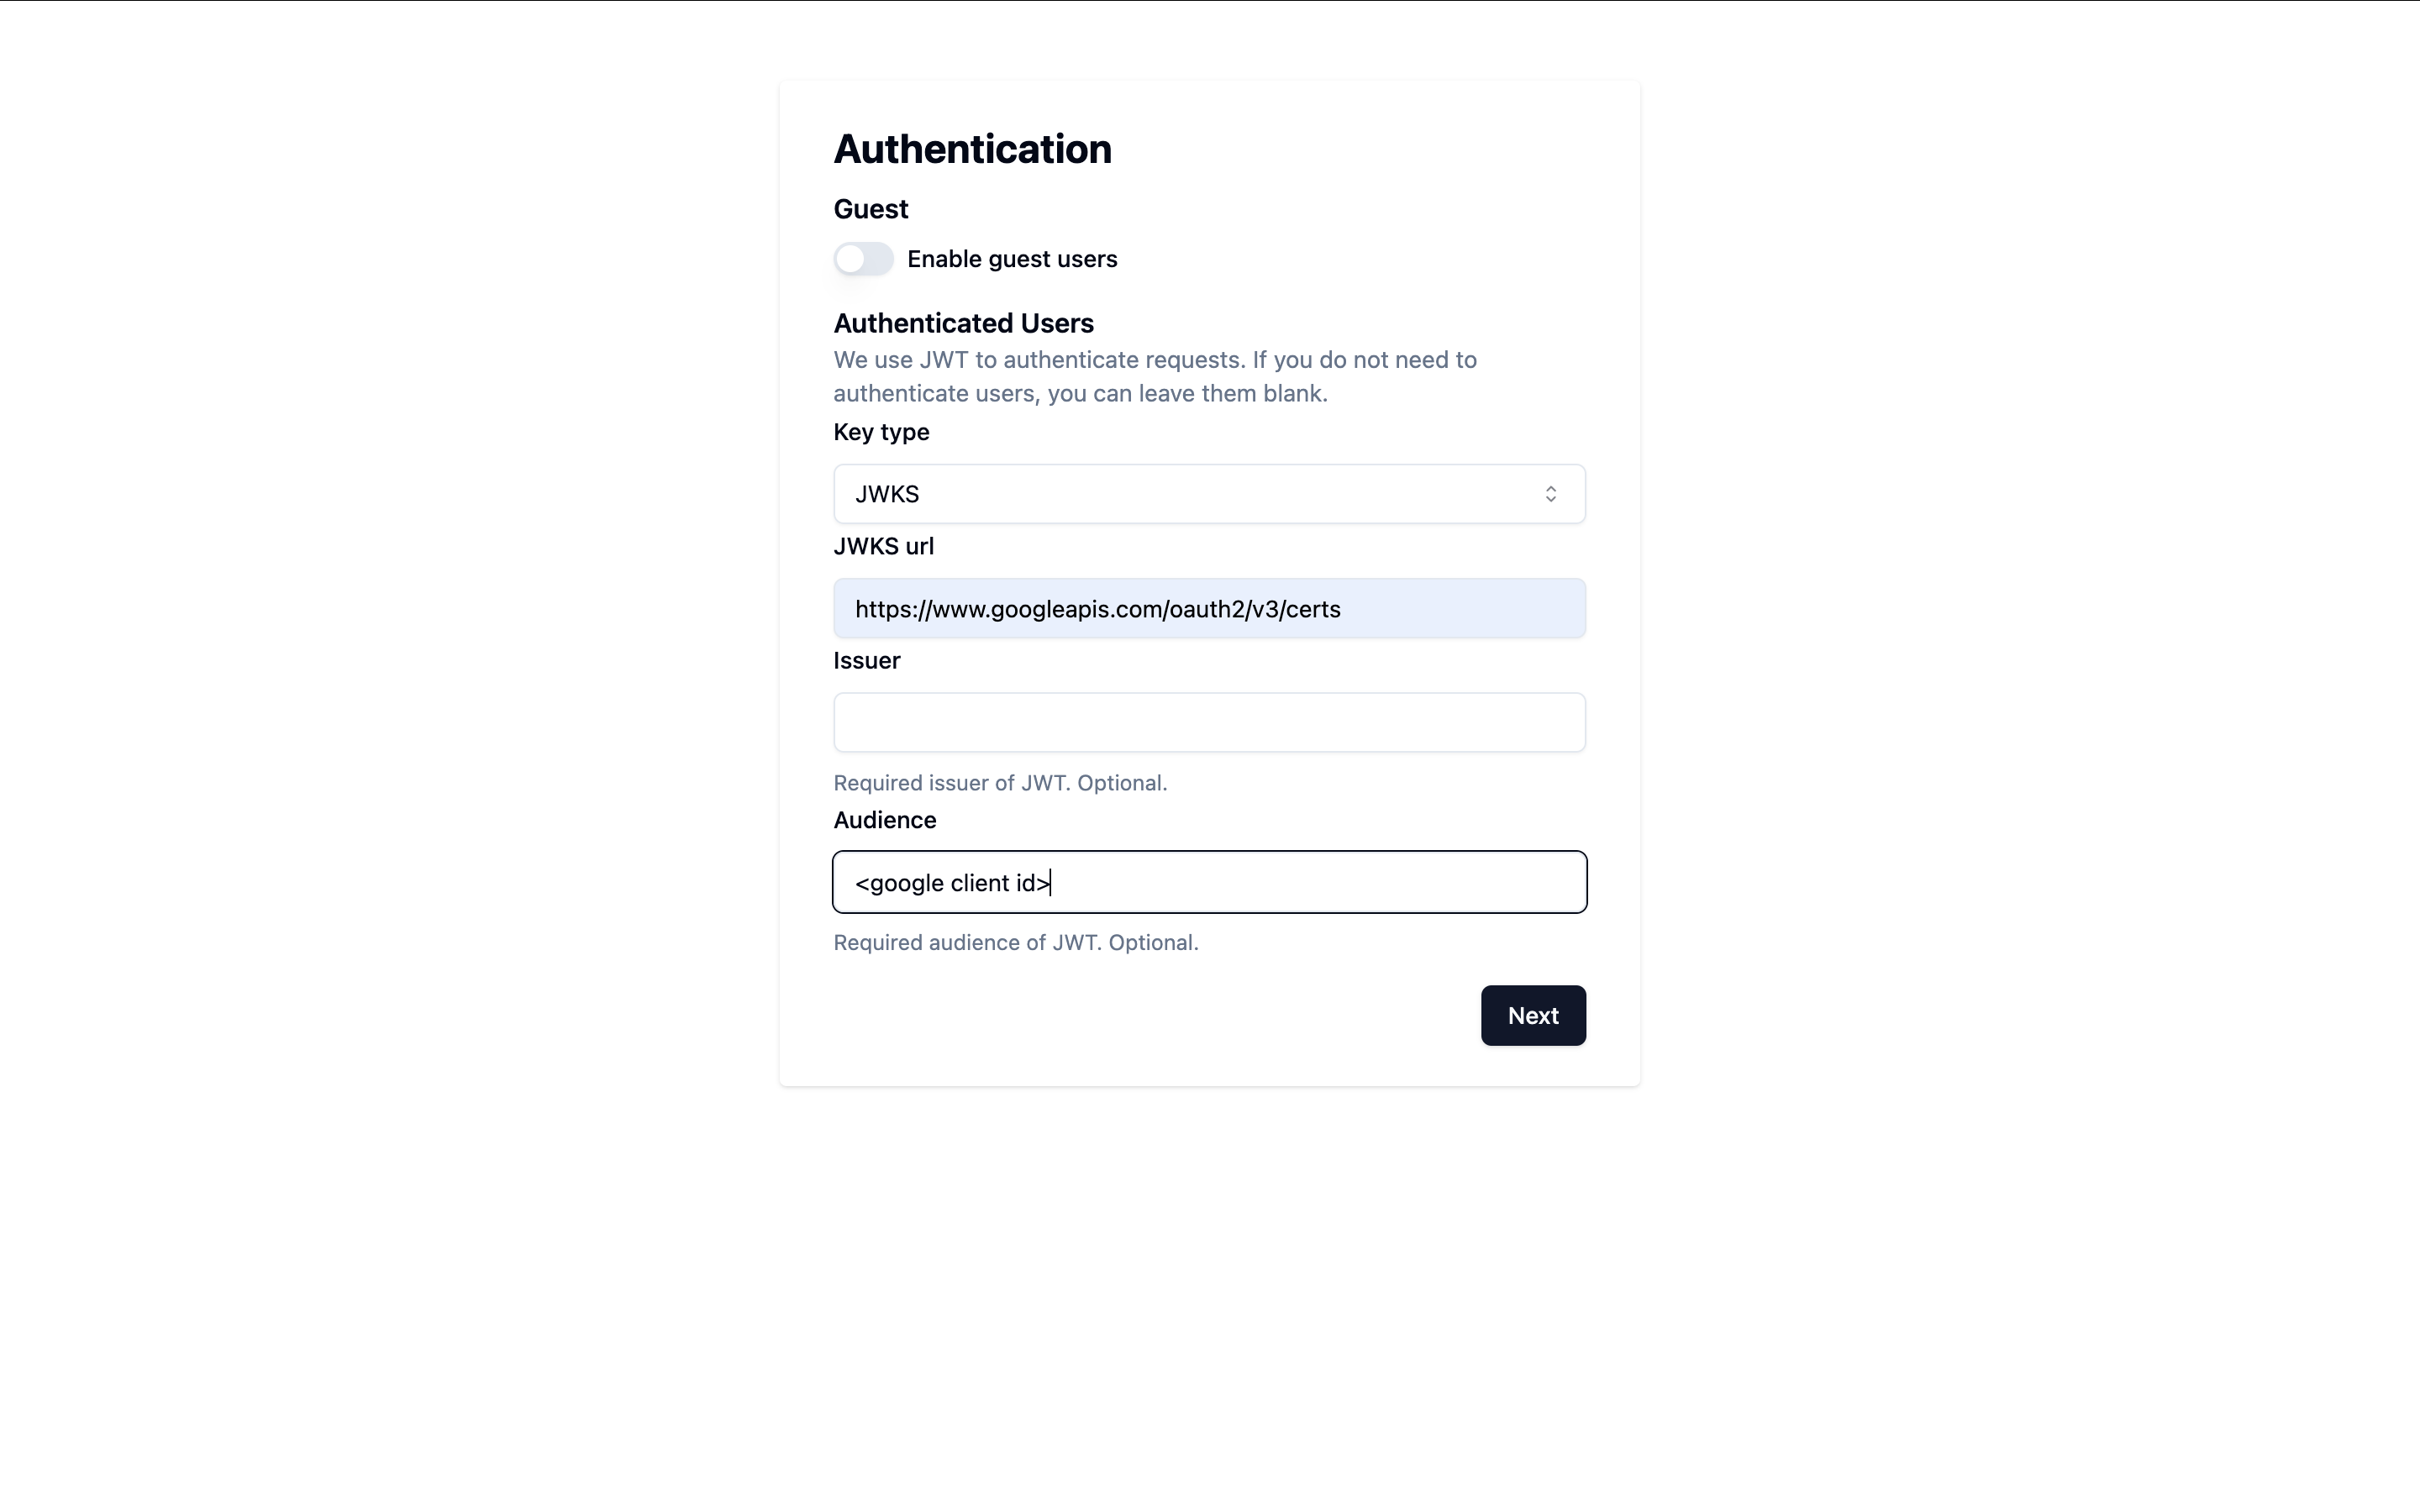
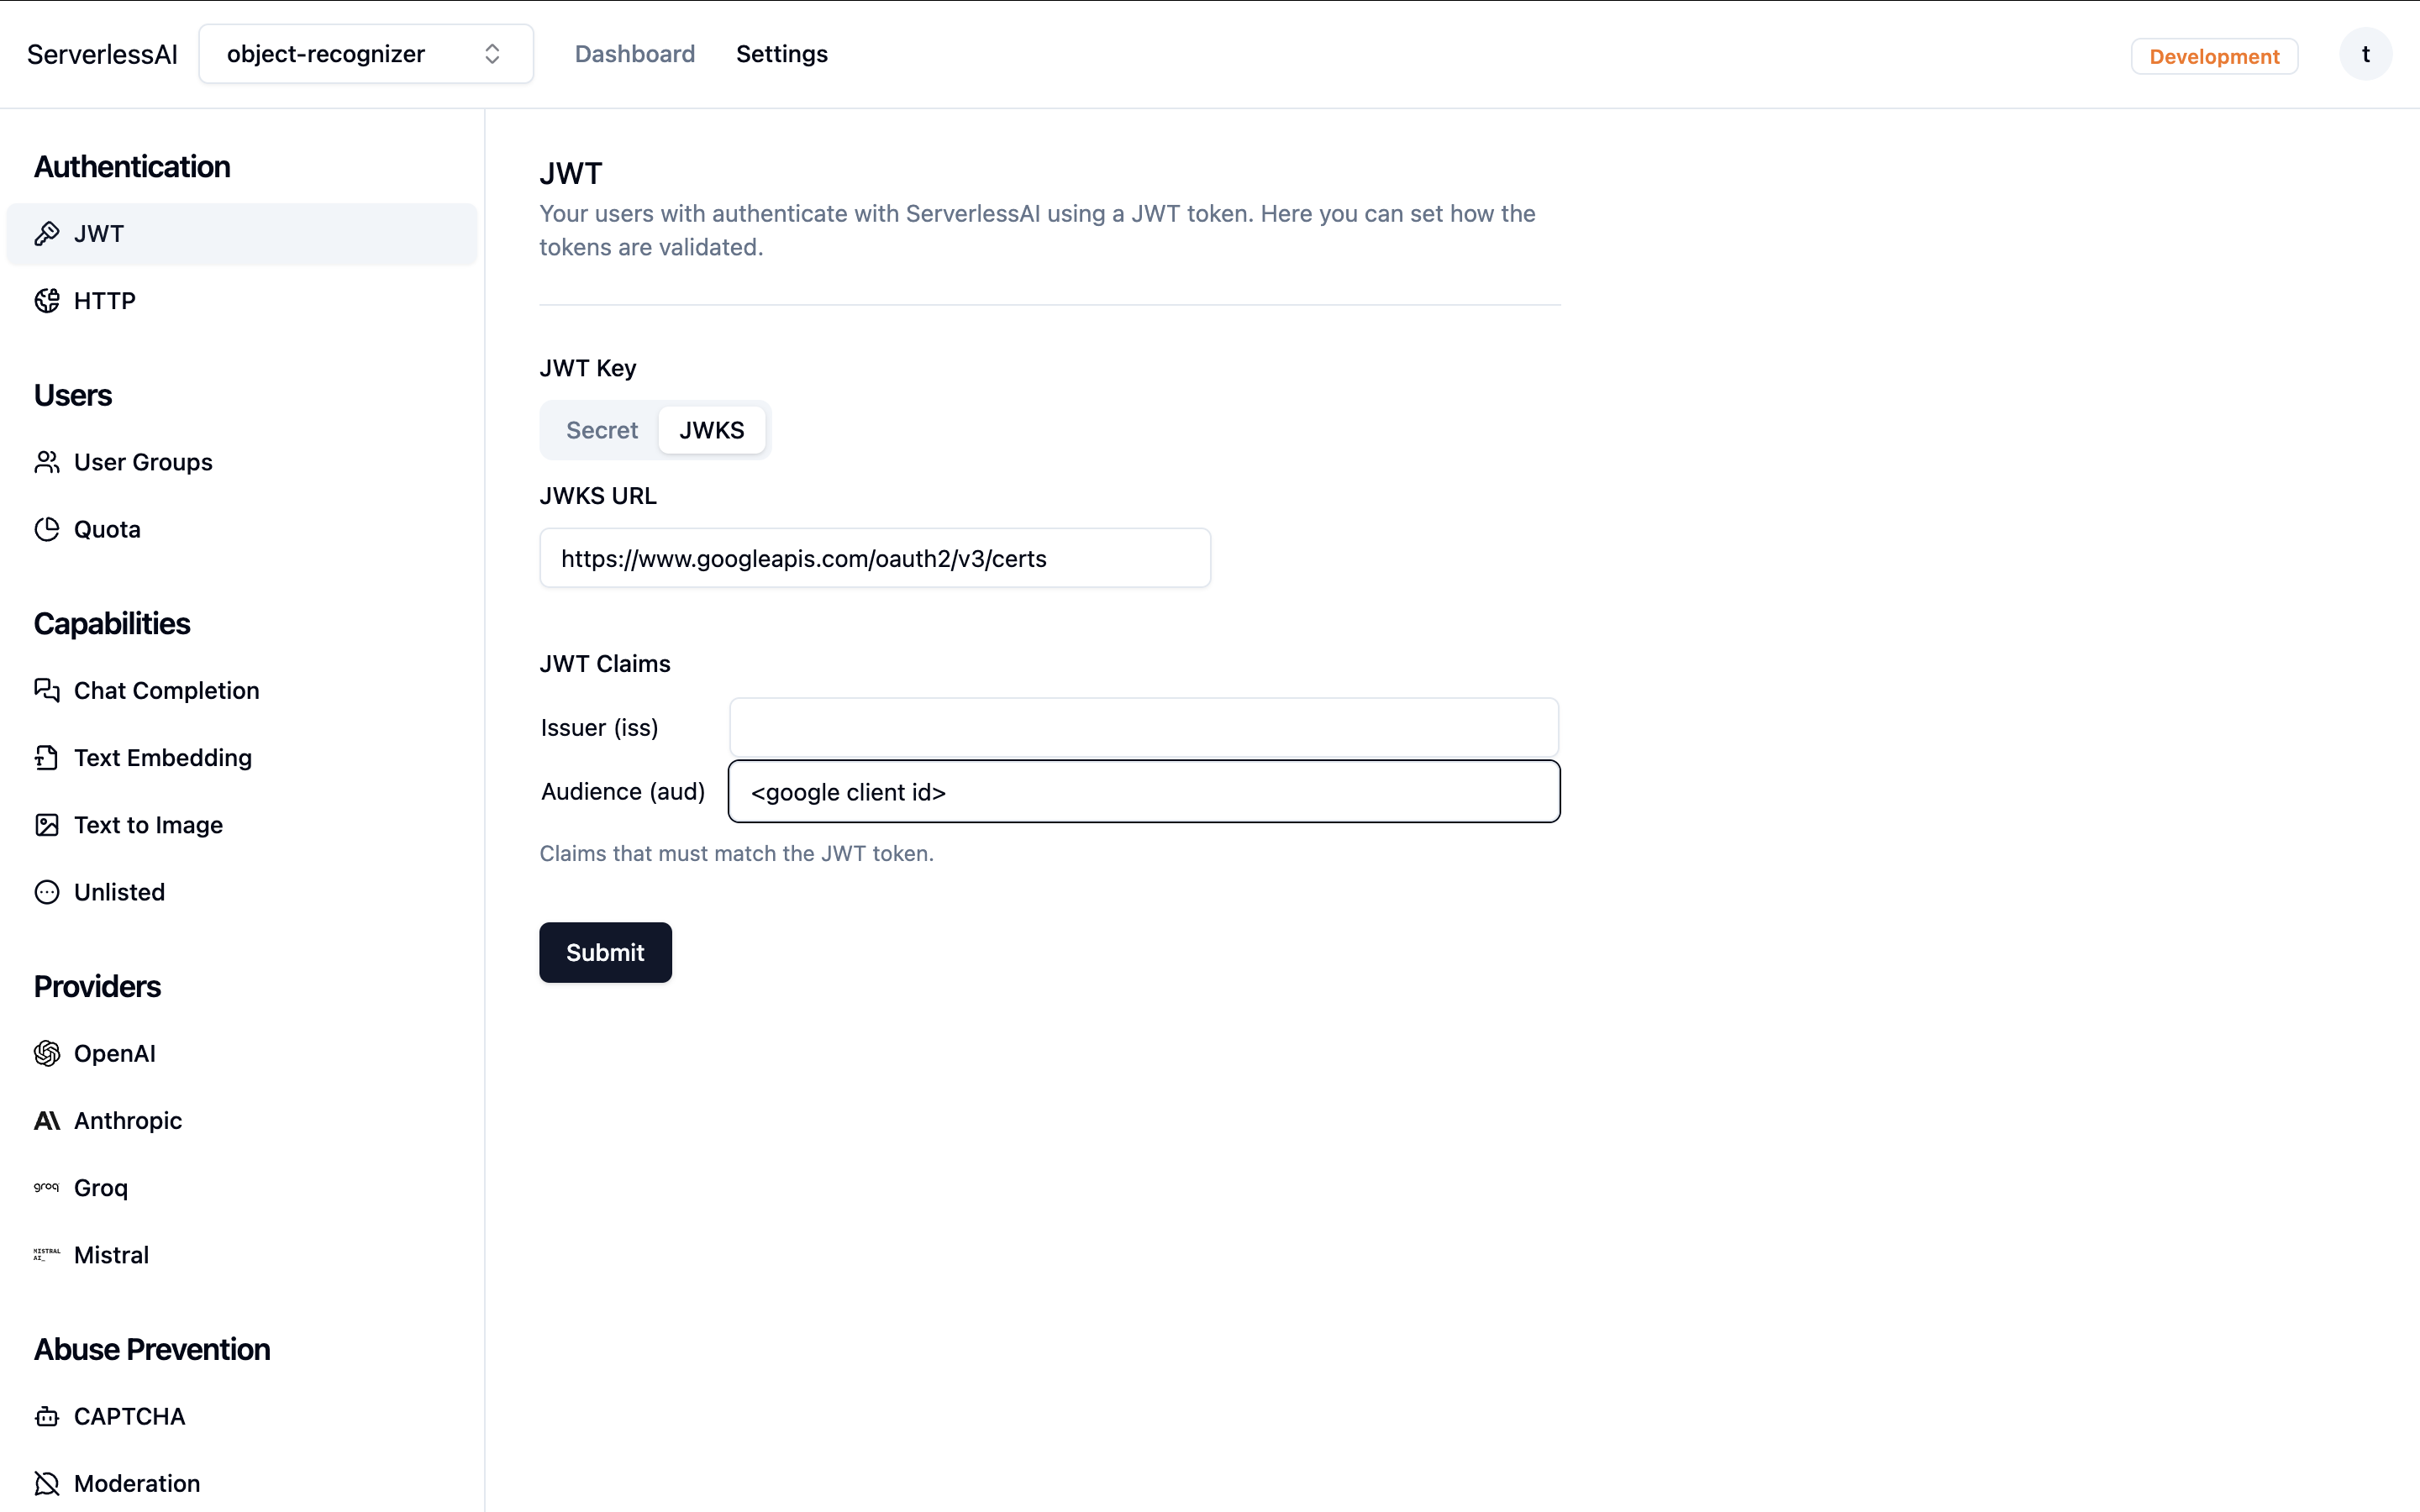
Configure Authentication
Choose "JWKS" as the JWT key type and enterhttps://www.googleapis.com/oauth2/v3/certsas the URL. Enter your Google client ID as audience.Note: you must set the audience parameter. Otherwise an attacker can use tokens issued for another apps to authenticate with your service!
-
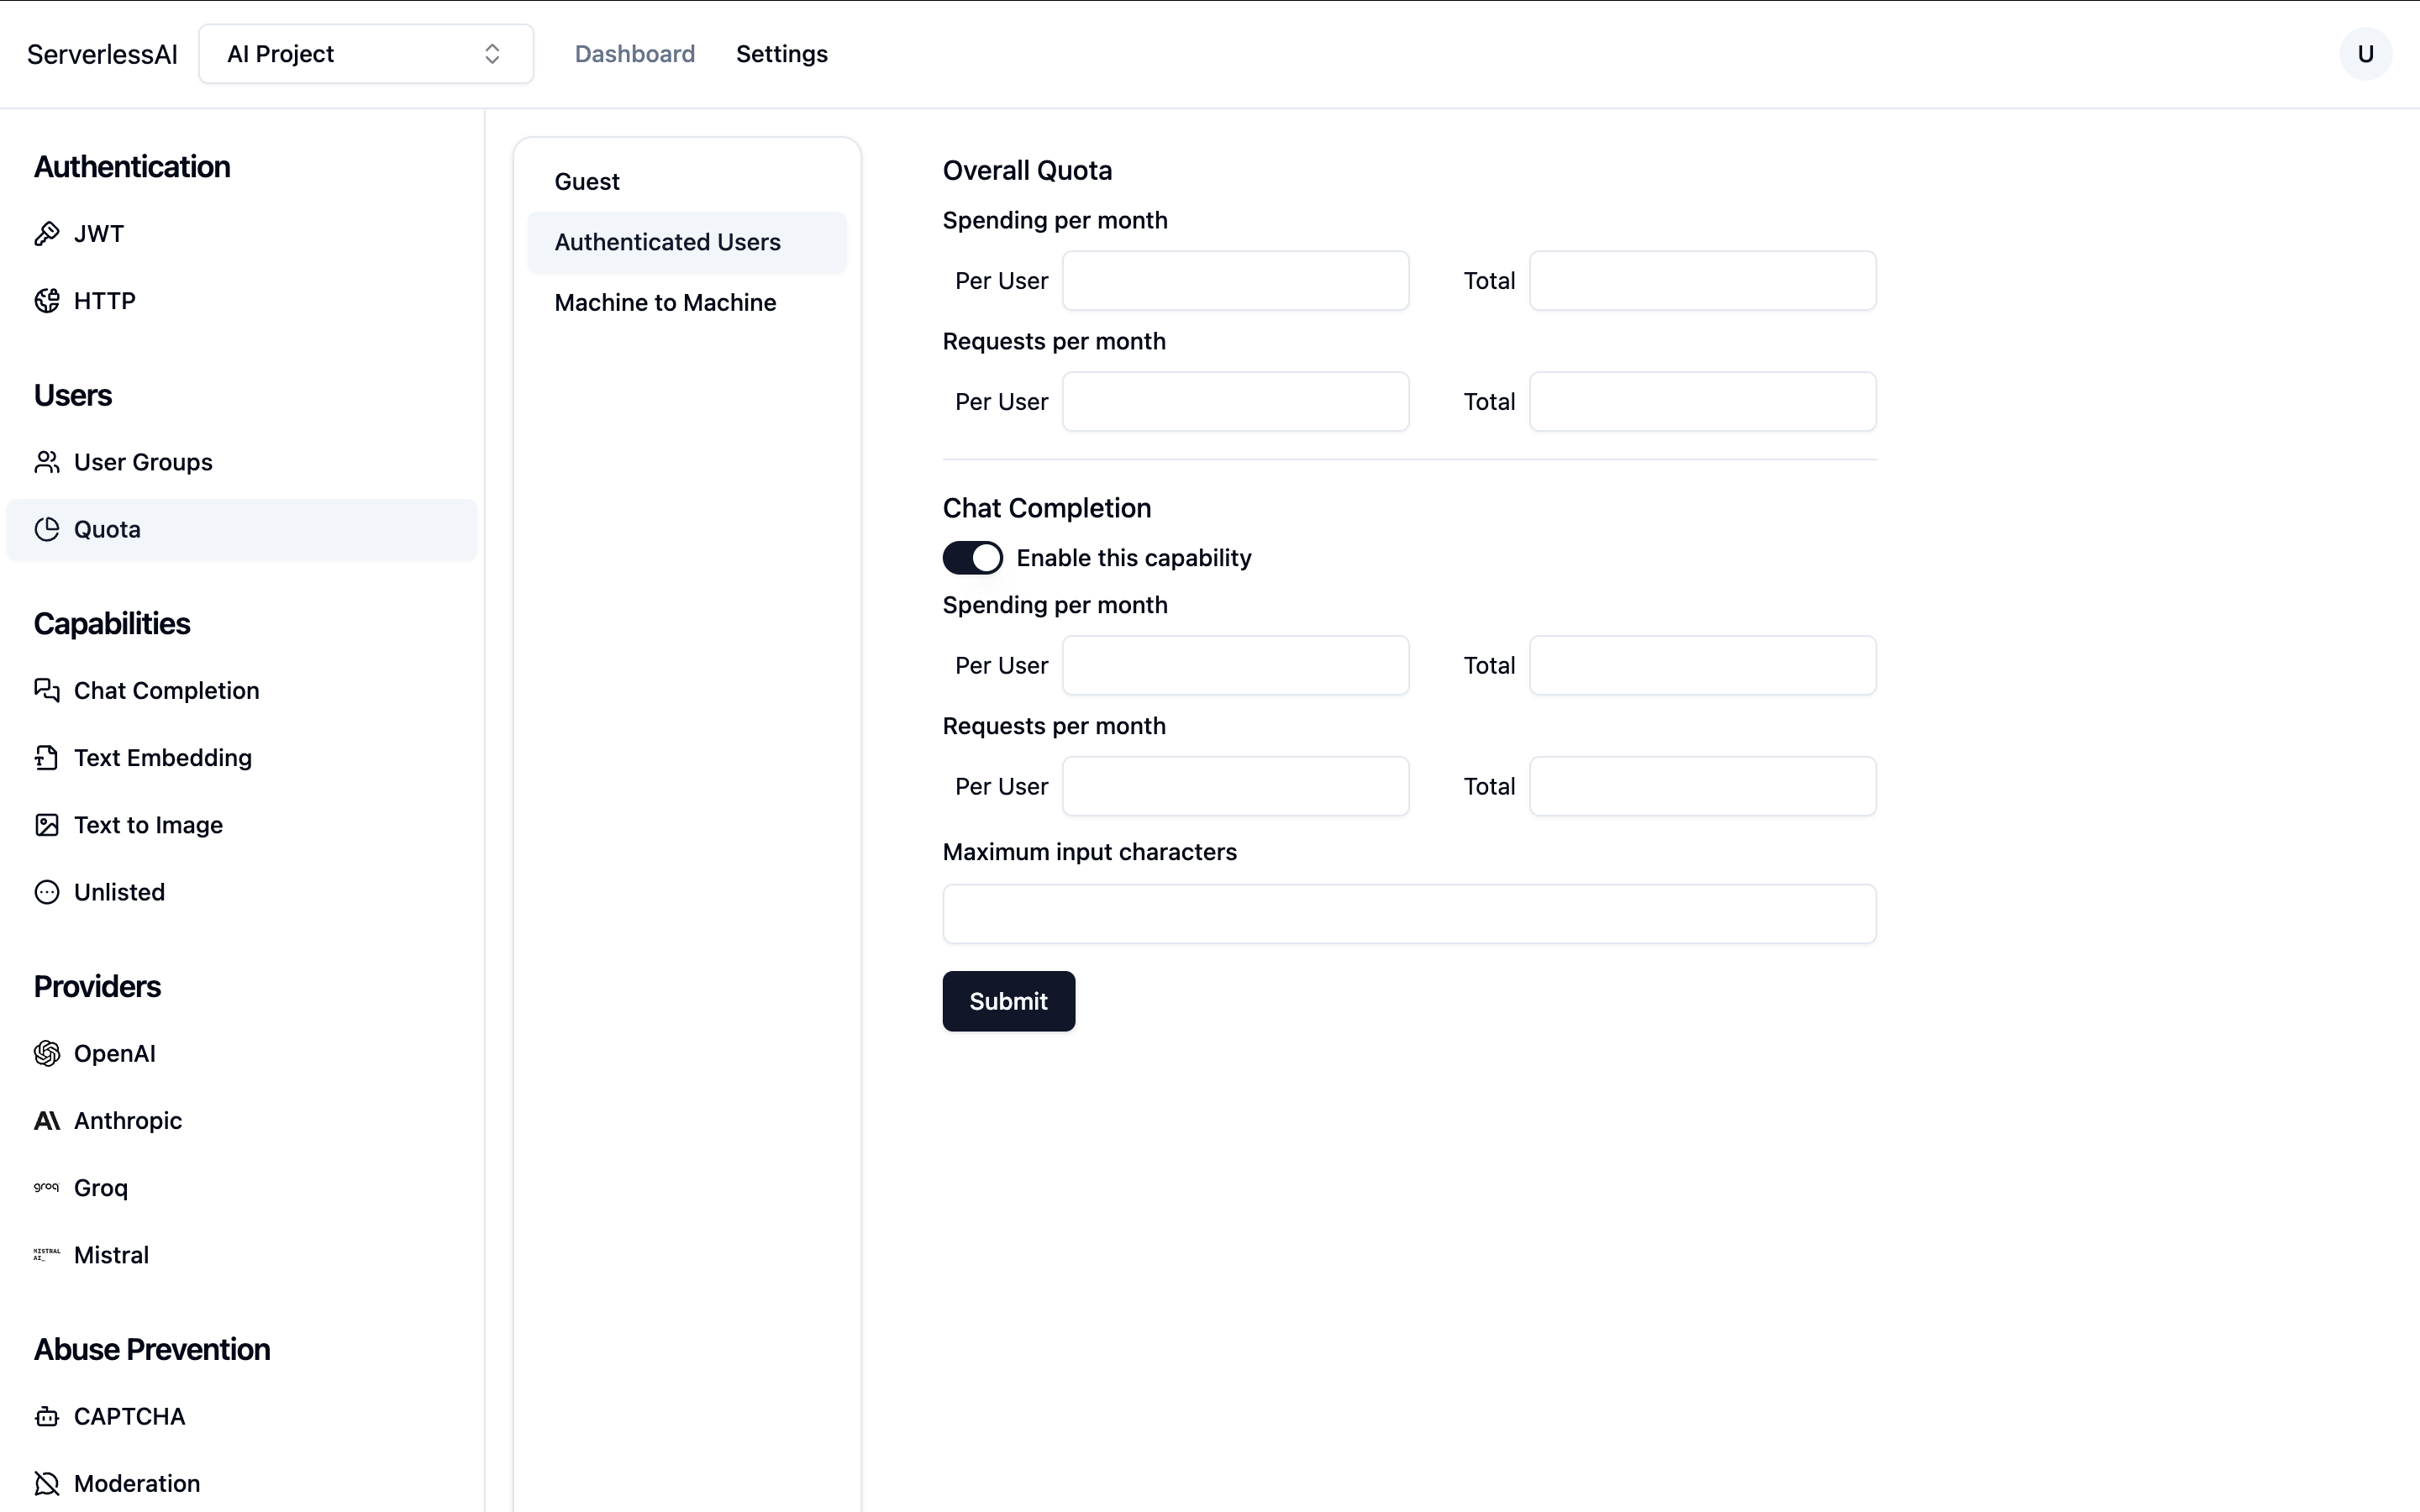
Set Quota (Optional)
You can configure quotas for your project or leave them blank for unlimited use since this is not a production app.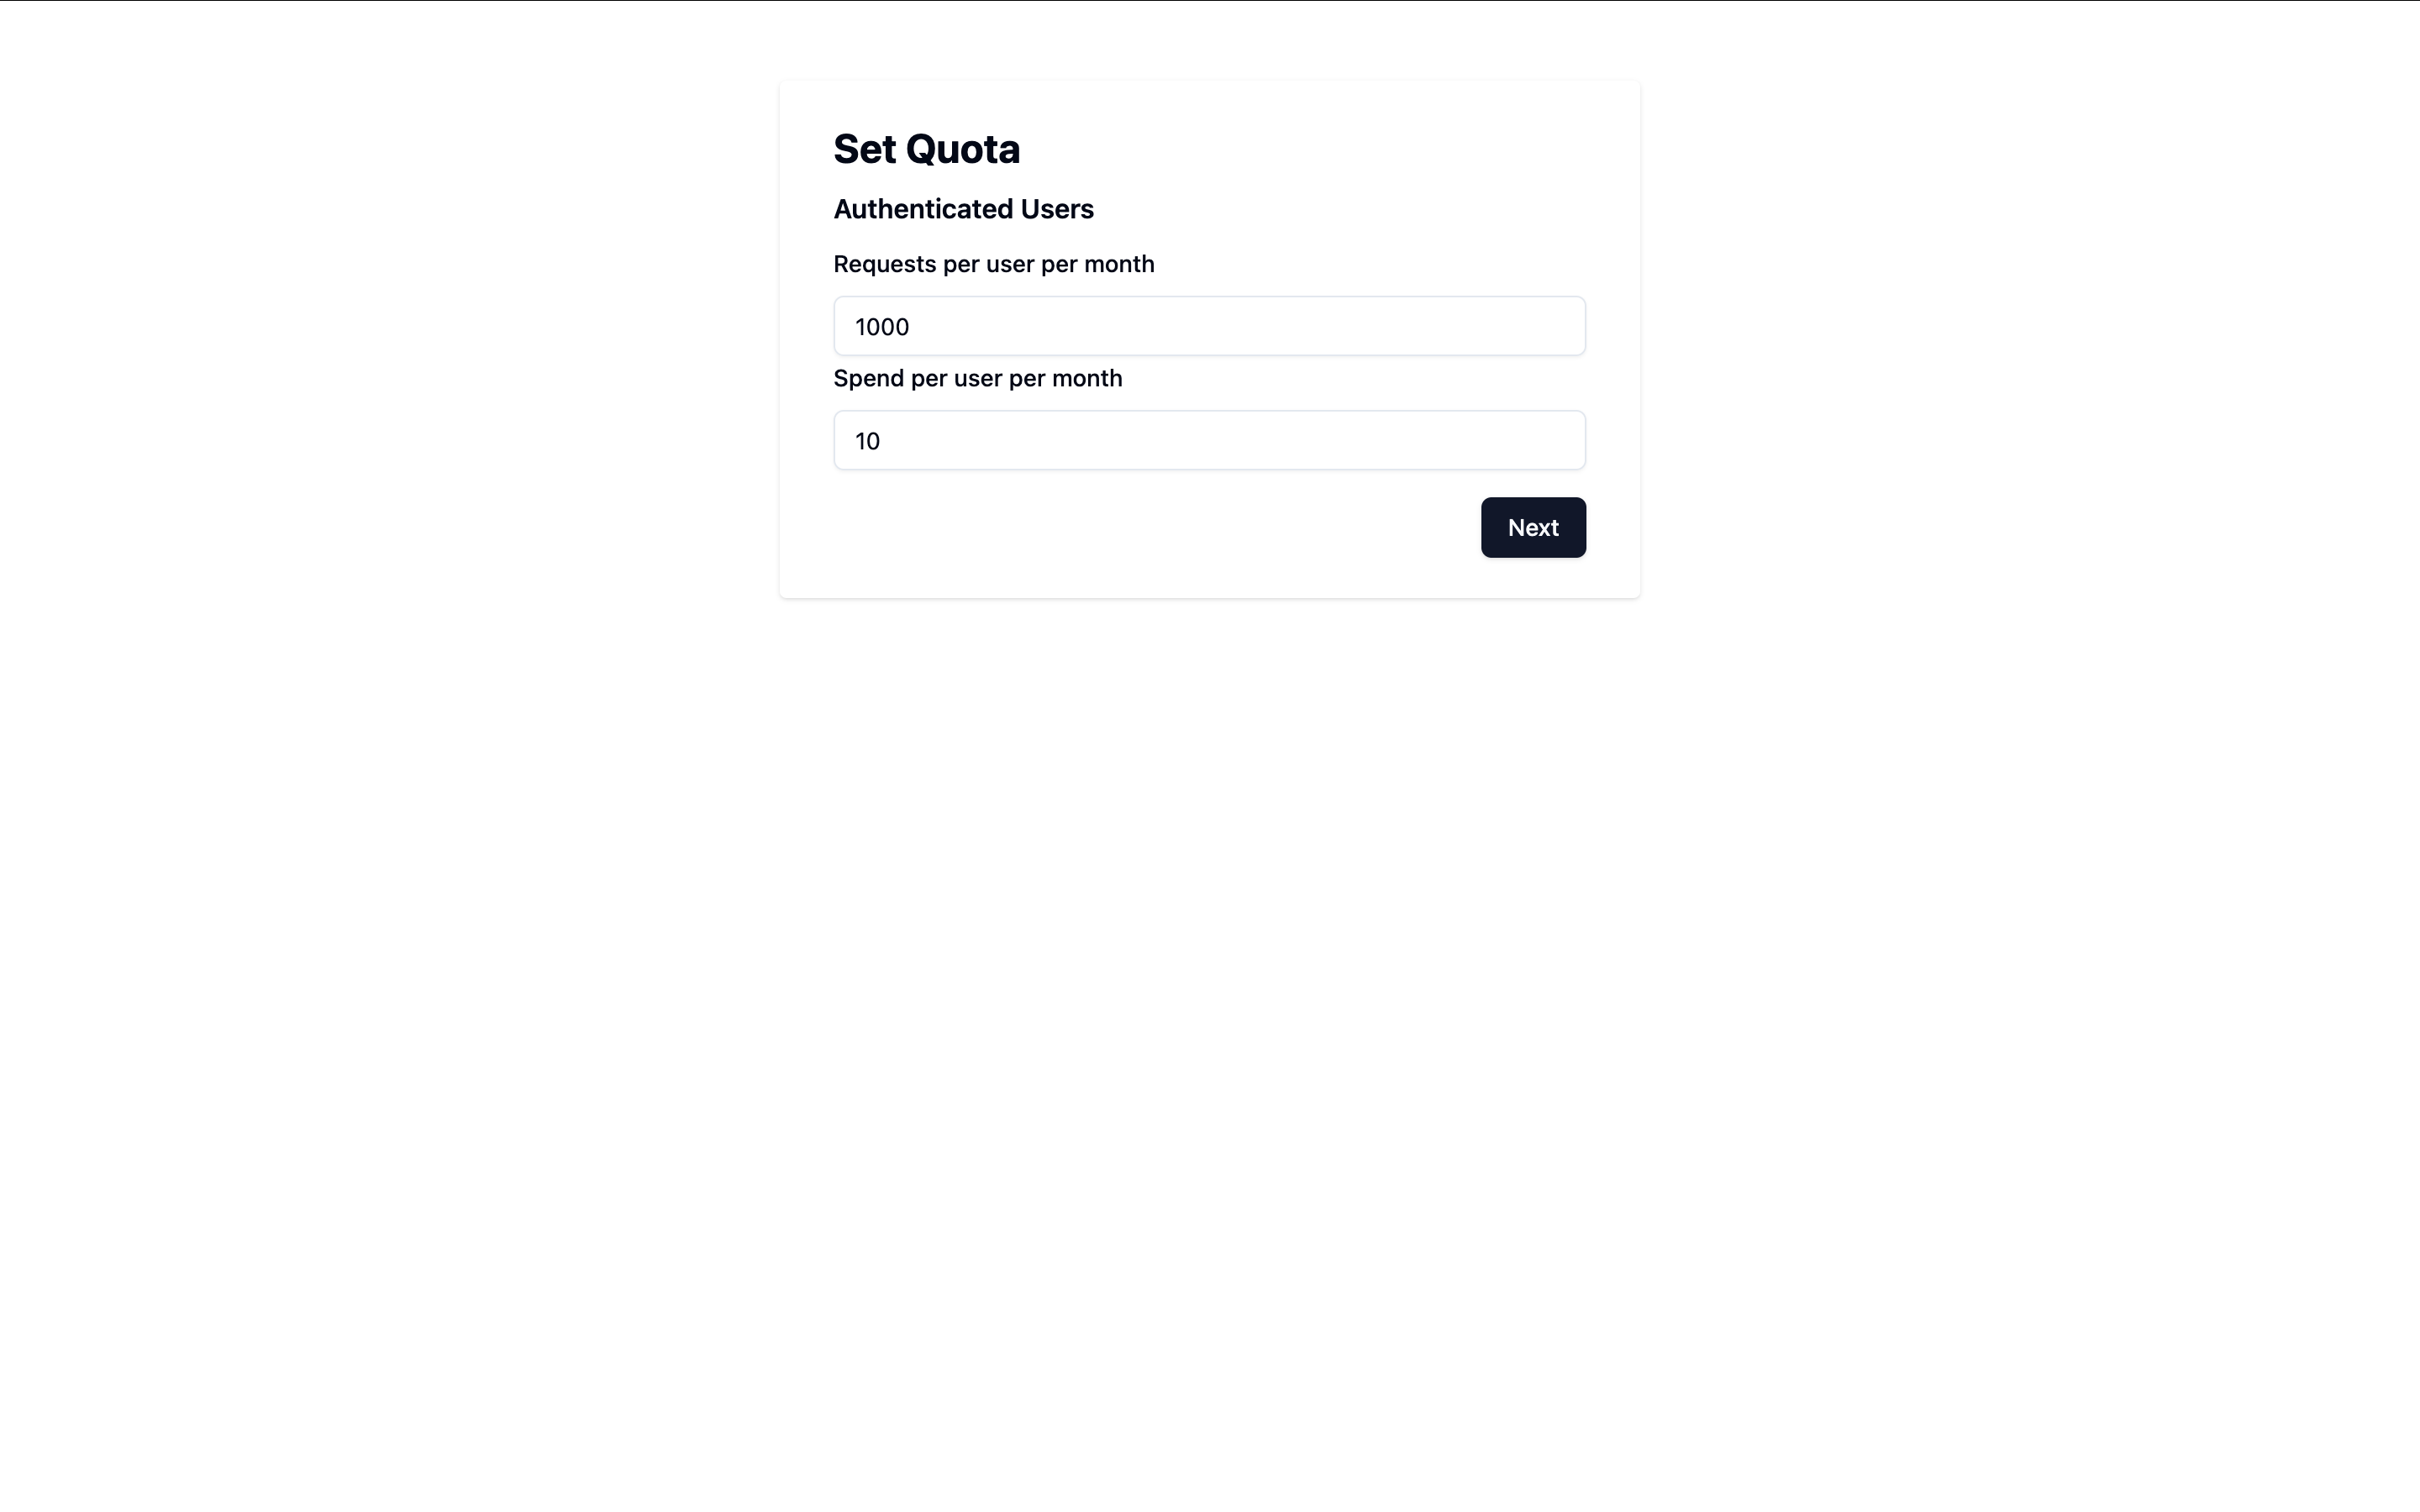
-
Complete Setup
After completing the setup, take note of your project ID.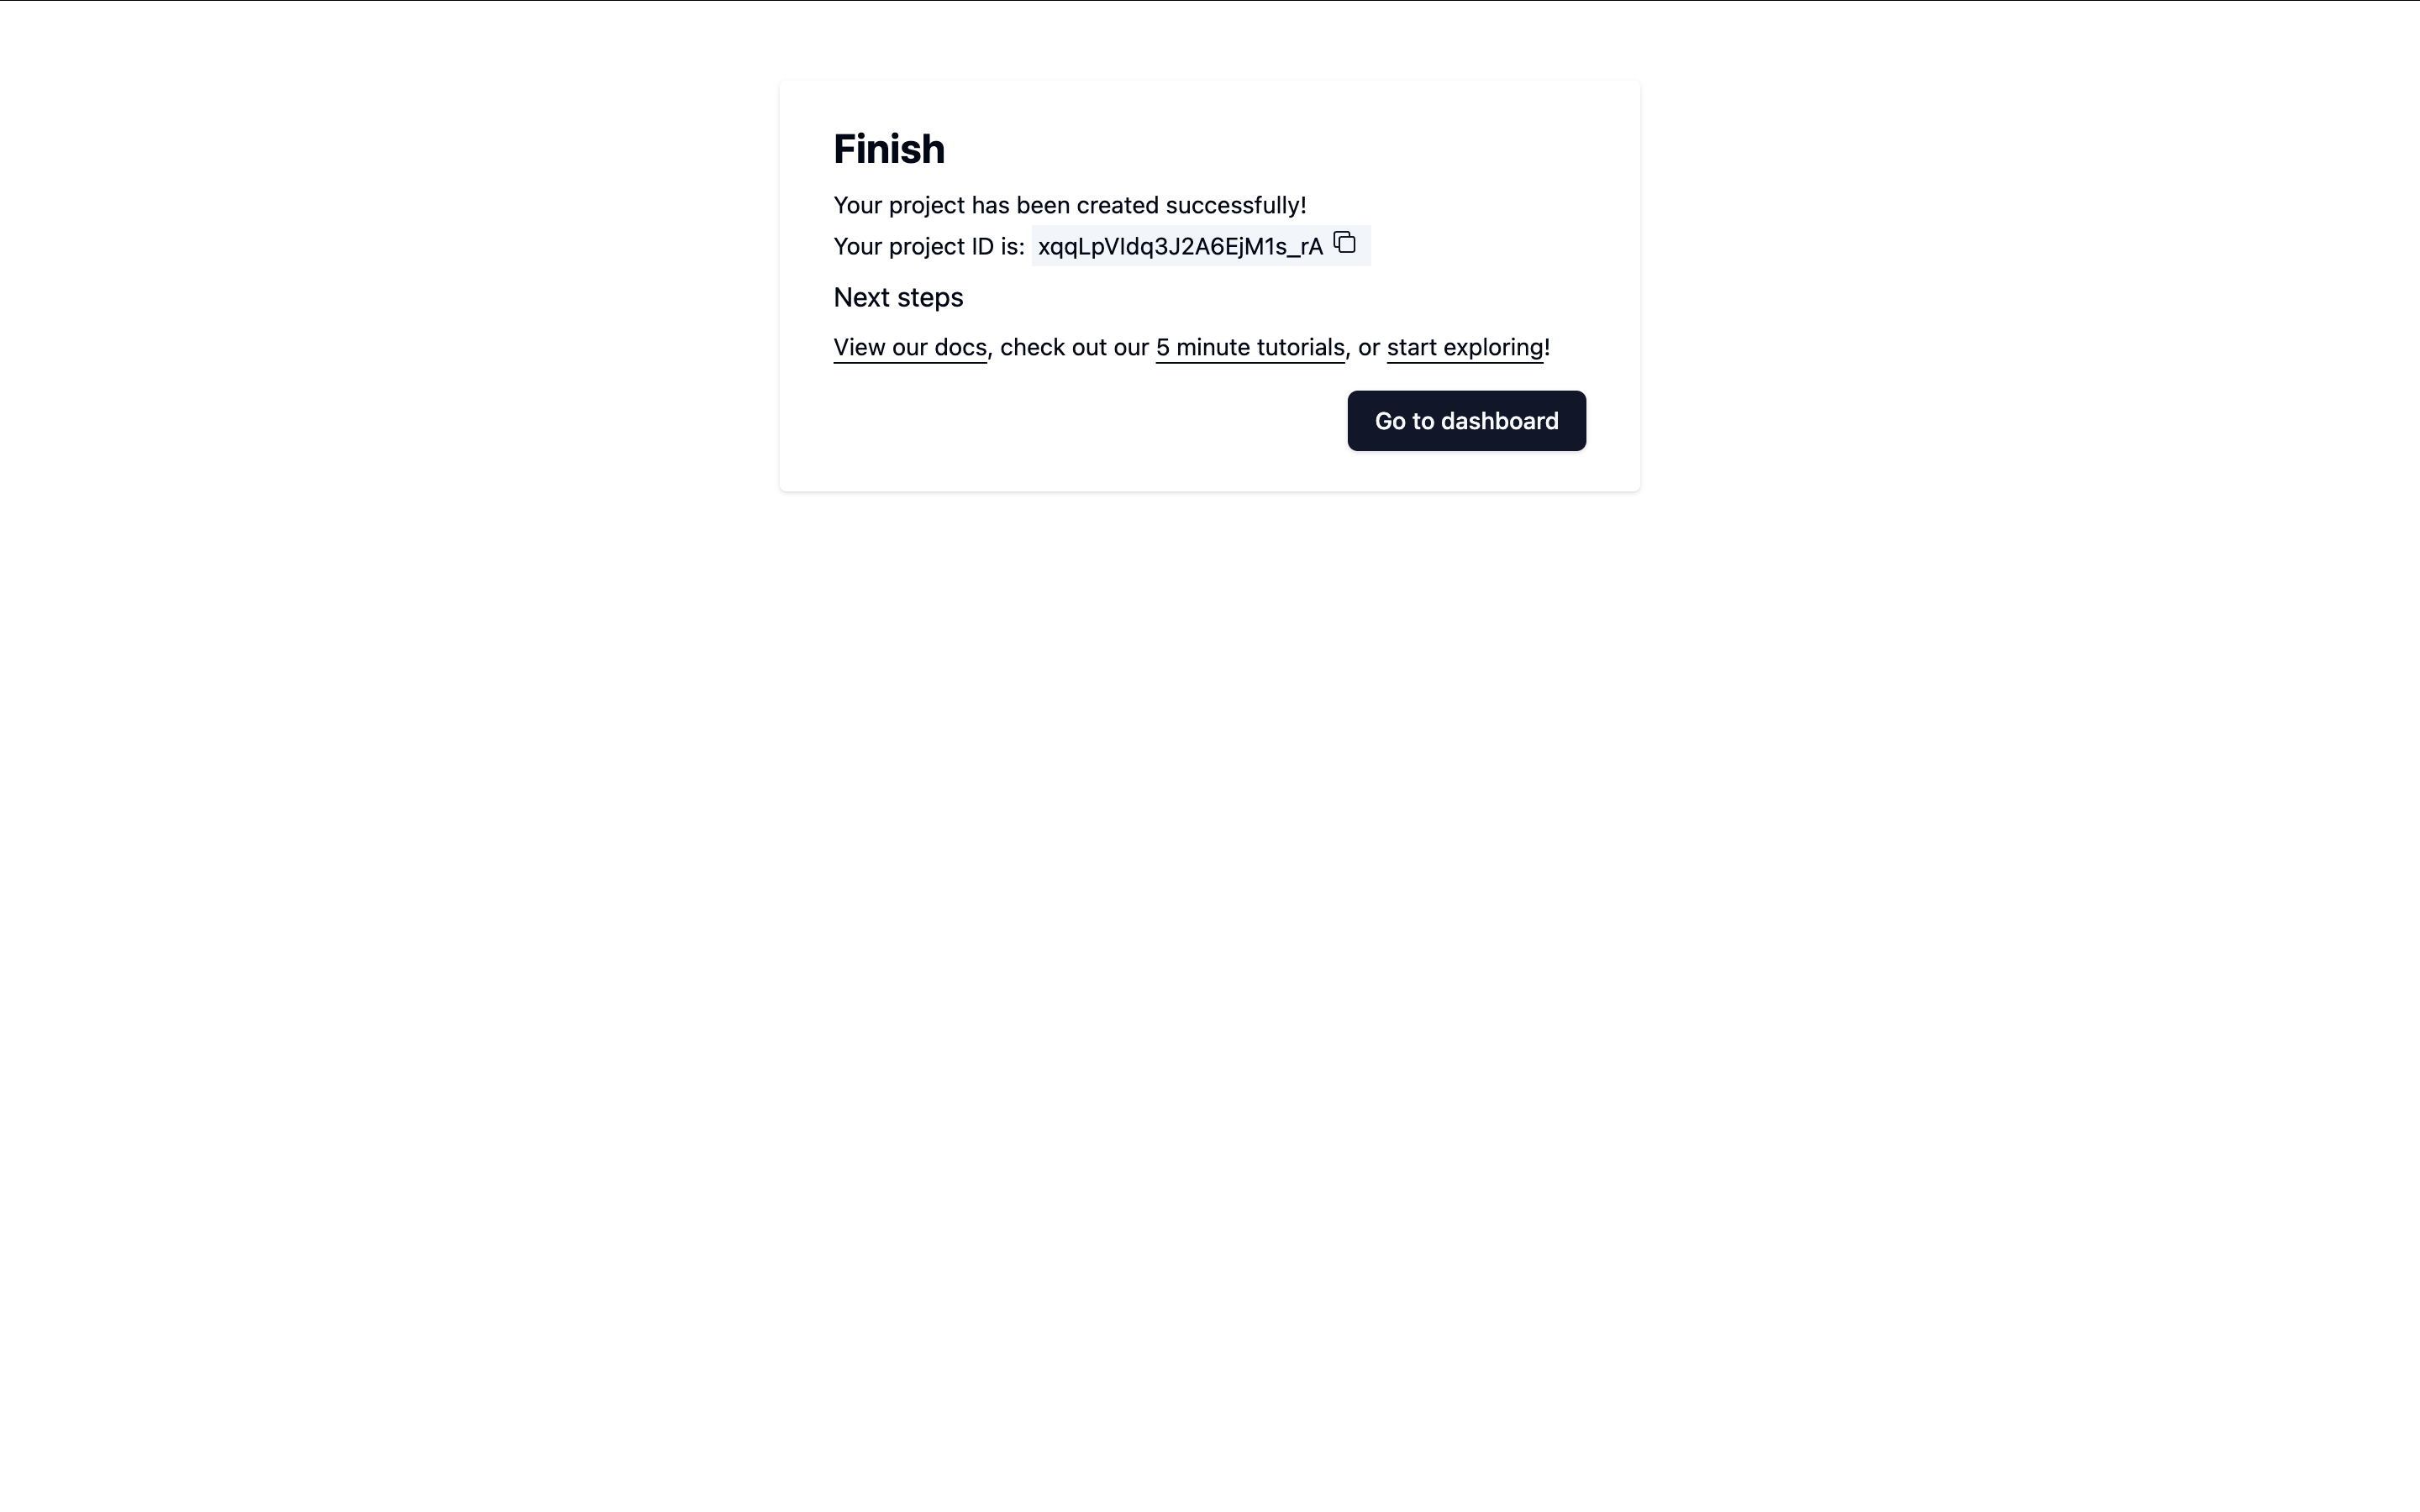
If you want to use an existing ServerlessAI project
If you've already created a project, that's great! Let's ensure it’s properly configured for this tutorial.
Navigate to the ServerlessAI Settings page.
-
JWT Configuration
- Under Authentication - JWT, select JWKS as the JWT type.
- Enter
https://www.googleapis.com/oauth2/v3/certsas URL - Enter your Google client ID as the audience
-
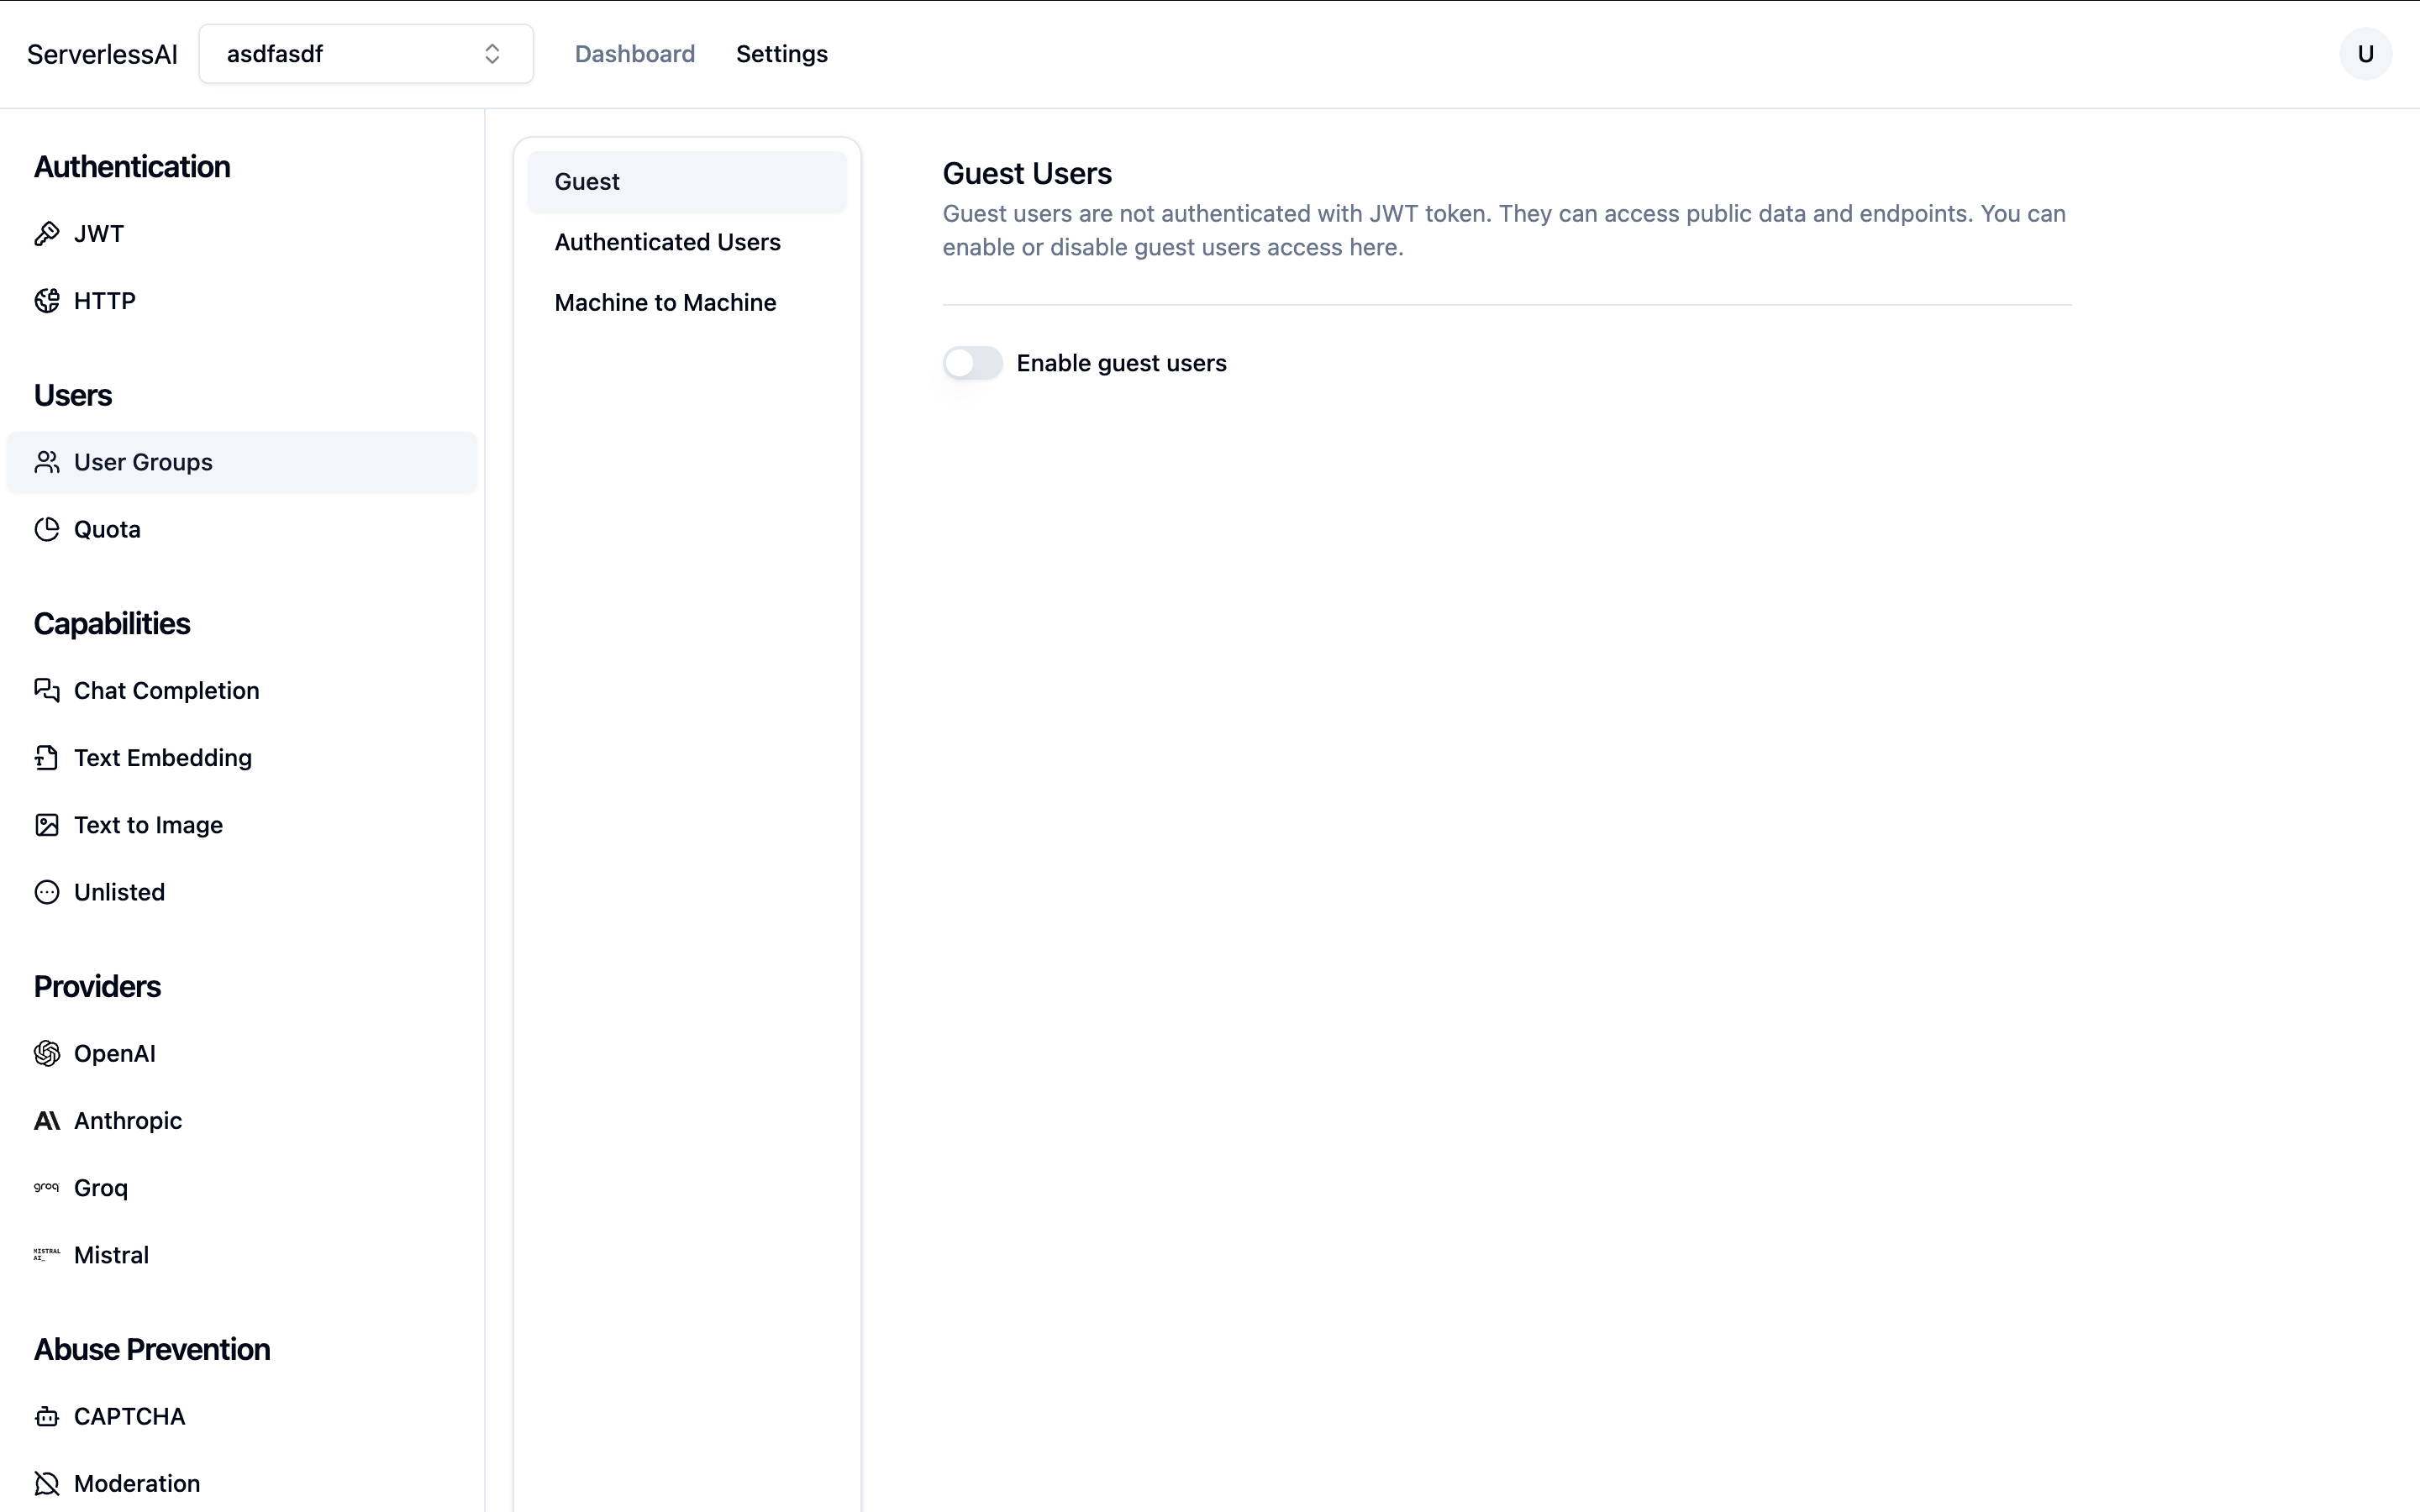
Disable Guest User
- Go to Users - User Groups - Guest.
- Ensure the guest user is disabled.
-
Enable Chat Completion Capability
- In Capabilities - Chat Completion, ensure the capability is enabled.
- Next, enable this capability for user groups:
- Go to Users - Quota, select Authenticated Users, and enable the Chat Completion capability.
- Optionally, set a usage quota.
-
Configure OpenAI API Key
- Under Providers - OpenAI, enter your OpenAI API key.
Scaffold your project
We will scaffold the project using Vite's React template. In Terminal, run
npm create vite react-google-vision --template react
cd react-google-vision
For simplicity, we will use @react-oauth/google to implement Sign in with Google
npm install --save @react-oauth/google@latest
Add Google Authentication
Modify src/main.jsx and wrap your <App /> with Google OAuth provider:
createRoot(document.getElementById("root")).render(
  <StrictMode>
    <GoogleOAuthProvider clientId="<GOOGLE CLIENT ID>">
      <App />
    </GoogleOAuthProvider>
  </StrictMode>
);
Modify the App component src/App.jsx and add the Sign in with Google button. We will build the Snapshot component later.
function App() {
  const [credential, setCredential] = useState();

  if (!credential) {
    return (
      <div className="login">
        <GoogleLogin
          onSuccess={(credentialResponse) => {
            setCredential(credentialResponse.credential);
          }}
          onError={() => {
            console.error("Login Failed");
          }}
        />
      </div>
    );
  }

  return <Snapshot credential={credential} />;
}
Build the Recognizer UI
Add a component in App.jsx named Recognizer. The recognizer can be in one of three states:
IDLE, when the camera is not activeCAPTURING, when the camera is capturing imagesRECOGNIZING, when the object is being recognized
function Recognizer({ credential }) {
  const videoRef = useRef();
  const canvasRef = useRef();
  const [result, setResult] = useState("");
  // One of: IDLE, CAPTURING, RECOGNIZING
  const [state, setState] = useState("IDLE");

  const startCapture = () => {};
  const stopCapture = () => {};
  const restartCapture = () => {};
  const recognize = () => {};

  return (
    <div>
      <div>
        {state === "IDLE" && (
          <button onClick={startCapture}>Start Capture</button>
        )}
        {state === "CAPTURING" && (
          <button onClick={stopCapture}>Stop Capture</button>
        )}
        {state === "CAPTURING" && (
          <button onClick={recognize}>Recognize Object</button>
        )}
        {state === "RECOGNIZING" && (
          <button onClick={restartCapture}>Restart Capture</button>
        )}
      </div>
      <video
        ref={videoRef}
        style={{
          display: state === "CAPTURING" ? "block" : "none",
        }}
      />
      <canvas
        ref={canvasRef}
        style={{
          display: state === "RECOGNIZING" ? "block" : "none",
        }}
      />
      {result && <p>Result: {result}</p>}
    </div>
  );
}
Now, let's implement the startCapture, stopCapture, and restartCapture functions
const startCapture = async () => {
  const stream = await navigator.mediaDevices.getUserMedia({ video: true });
  videoRef.current.srcObject = stream;
  videoRef.current.play();
  setState("CAPTURING");
};

const stopCapture = () => {
  videoRef.current.srcObject.getVideoTracks().forEach((track) => {
    track.stop();
  });
  setState("IDLE");
};

const restartCapture = () => {
  setResult("");
  startCapture();
};
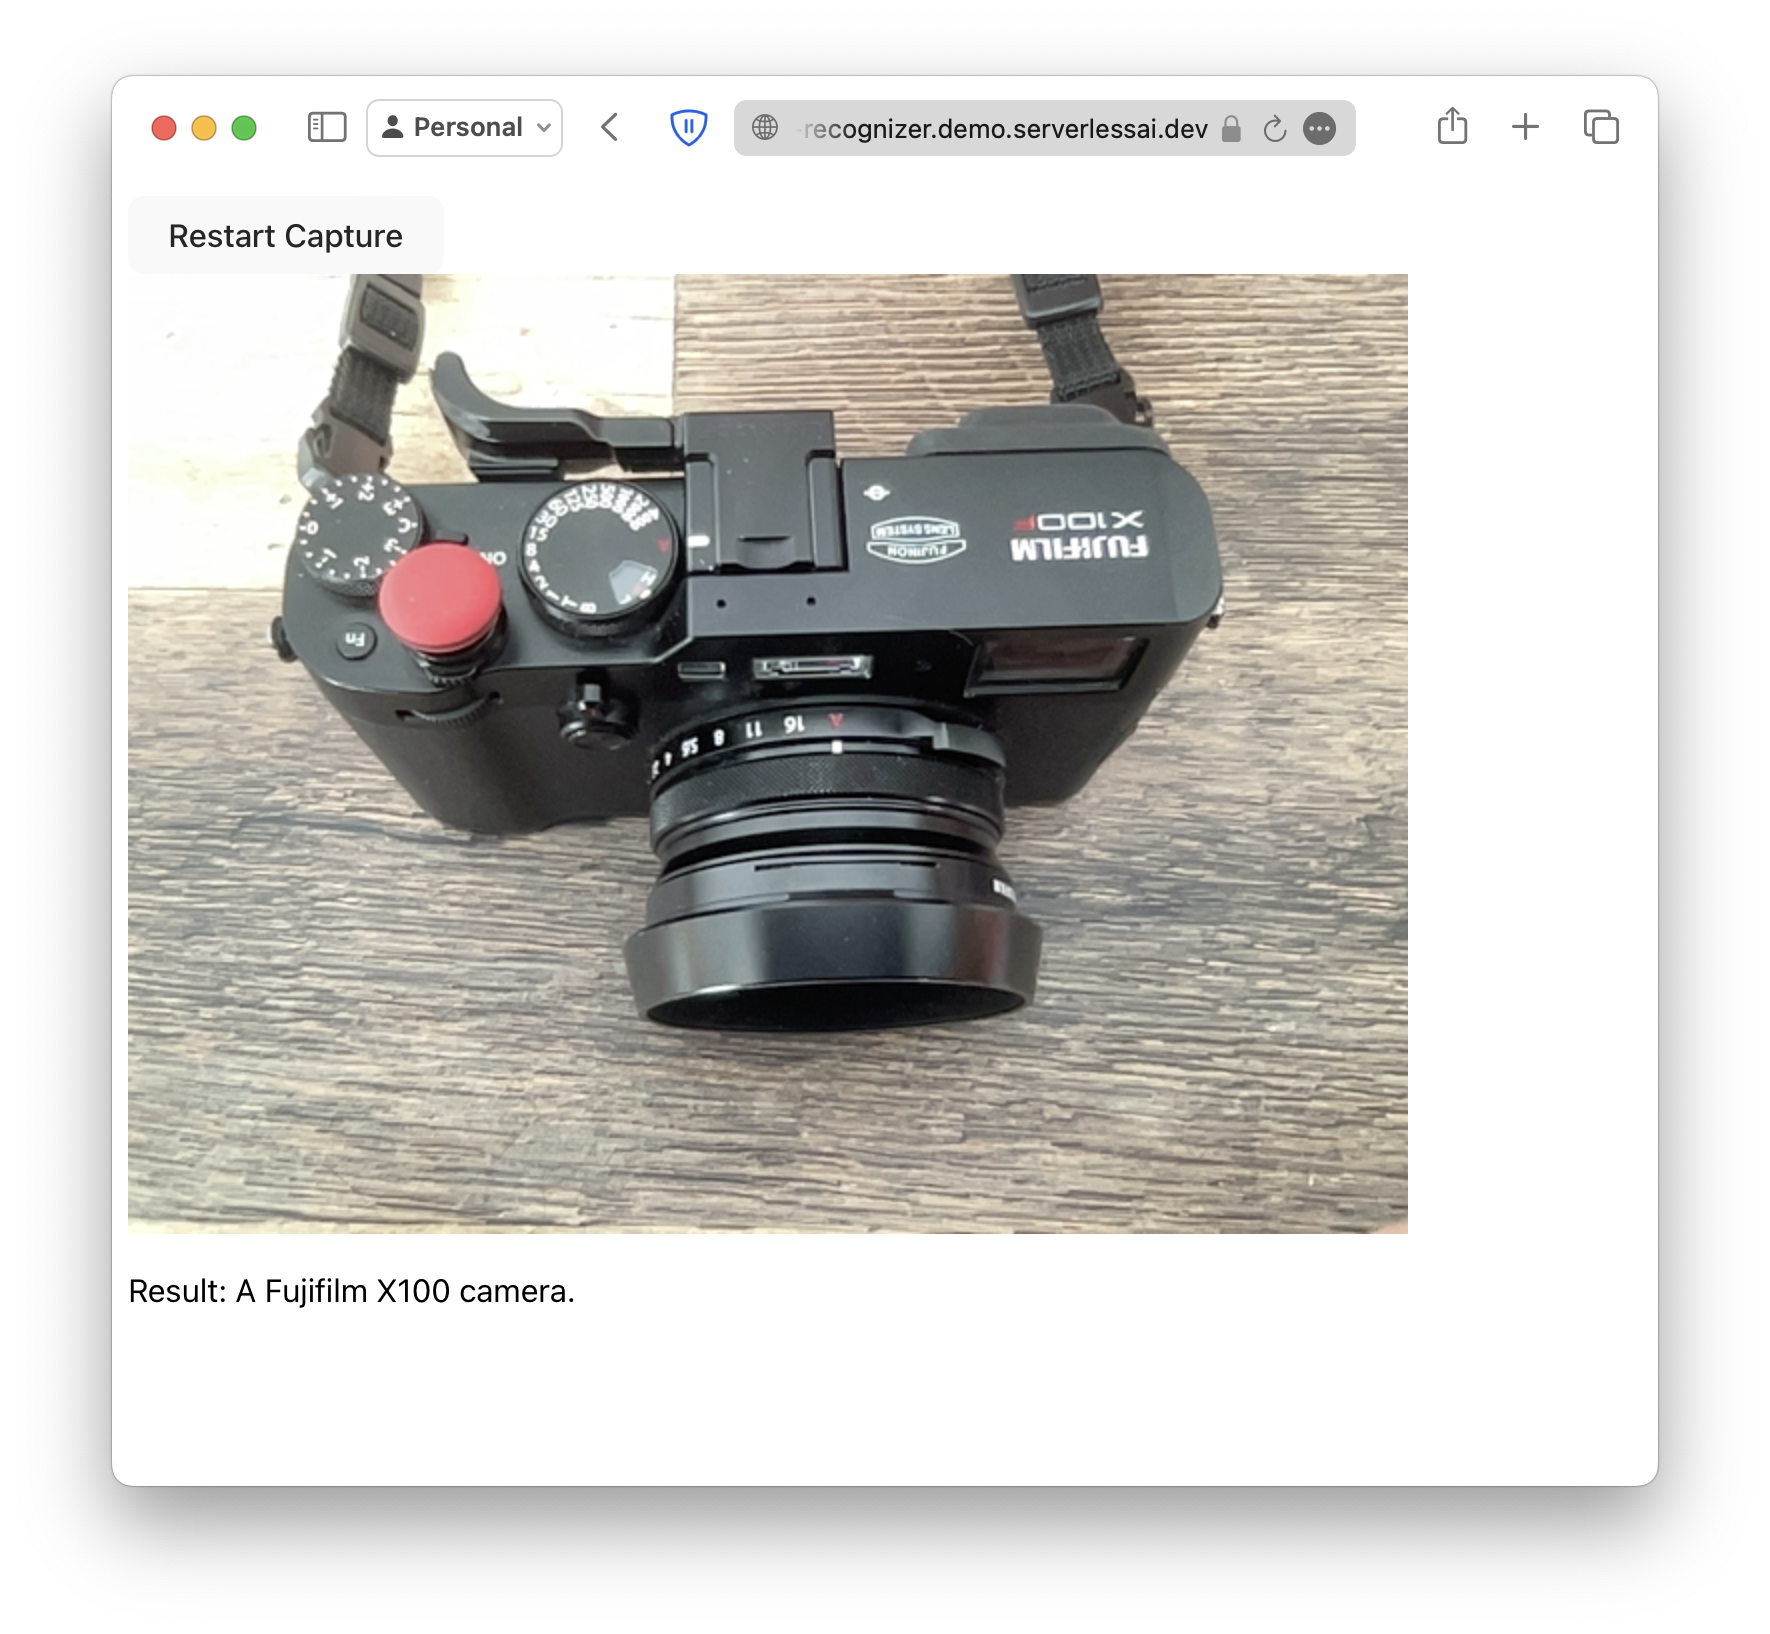
Recognize the object
To recognize the object, we will take a snapshot of the webcam stream, and send the image to a multimodal LLM model. In this example, we
will send the request to gpt-4o-mini.
First let's add the OpenAI client. Inside the Recognizer component, add the following code. Note that we change the
base URL to ServerlessAI's API, and pass in the ServerlessAI project key and the user's JWT token as the API key.
We also need to enable dangerouslyAllowBrowser, which is no longer dangerous.
const PROJECT_ID = "YOUR_SERVERLESSAI_PROJECT_ID";

const openai = useMemo(
  () =>
    new OpenAI({
      baseURL: "https://openai.api.serverlessai.dev/v1",
      apiKey: `${PROJECT_ID}:${credential}`,
      dangerouslyAllowBrowser: true,
    }),
  []
);
Now, let's implement the recognize function:
const recognize = async () => {
  setState("RECOGNIZING");
  const video = videoRef.current;
  const canvas = canvasRef.current;
  canvas.width = video.videoWidth;
  canvas.height = video.videoHeight;
  canvas
    .getContext("2d")
    .drawImage(video, 0, 0, video.videoWidth, video.videoHeight);
  const image = canvas.toDataURL("image/jpeg", 0.95);

  videoRef.current.srcObject.getVideoTracks().forEach((track) => {
    track.stop();
  });

  const result = await openai.chat.completions.create({
    model: "gpt-4o-mini",
    messages: [
      {
        role: "user",
        content: [
          {
            type: "text",
            text: "What is this? Be concise in your response. Do not include any extra information.",
          },
          {
            type: "image_url",
            image_url: {
              url: image,
            },
          },
        ],
      },
    ],
  });

  setResult(result.choices[0].message.content);
};
Style your application
Now let's add a touch of CSS to make the application look good. Modify index.css with the following
:root {
  font-family: system-ui, Avenir, Helvetica, Arial, sans-serif;
  line-height: 1.5;
  font-weight: 400;

  font-synthesis: none;
  text-rendering: optimizeLegibility;
  -webkit-font-smoothing: antialiased;
  -moz-osx-font-smoothing: grayscale;
}


button {
  border-radius: 8px;
  border: 1px solid transparent;
  background-color: #f9f9f9;
  padding: 0.6em 1.2em;
  font-size: 1em;
  font-weight: 500;
  font-family: inherit;
  cursor: pointer;
  transition: border-color 0.25s;
}
button:hover {
  border-color: #646cff;
}
button:focus,
button:focus-visible {
  outline: 4px auto -webkit-focus-ring-color;
}

.login {
  display: flex;
  justify-content: center;
  padding: 2rem 6rem;
  border: 1px solid #eaeaea;
  border-radius: 8px;
  max-width: 400px;
  margin: 0 auto;
}
Running your application
Now you can run your application! In Terminal, run
npm run dev
and you can start recognizing objects!