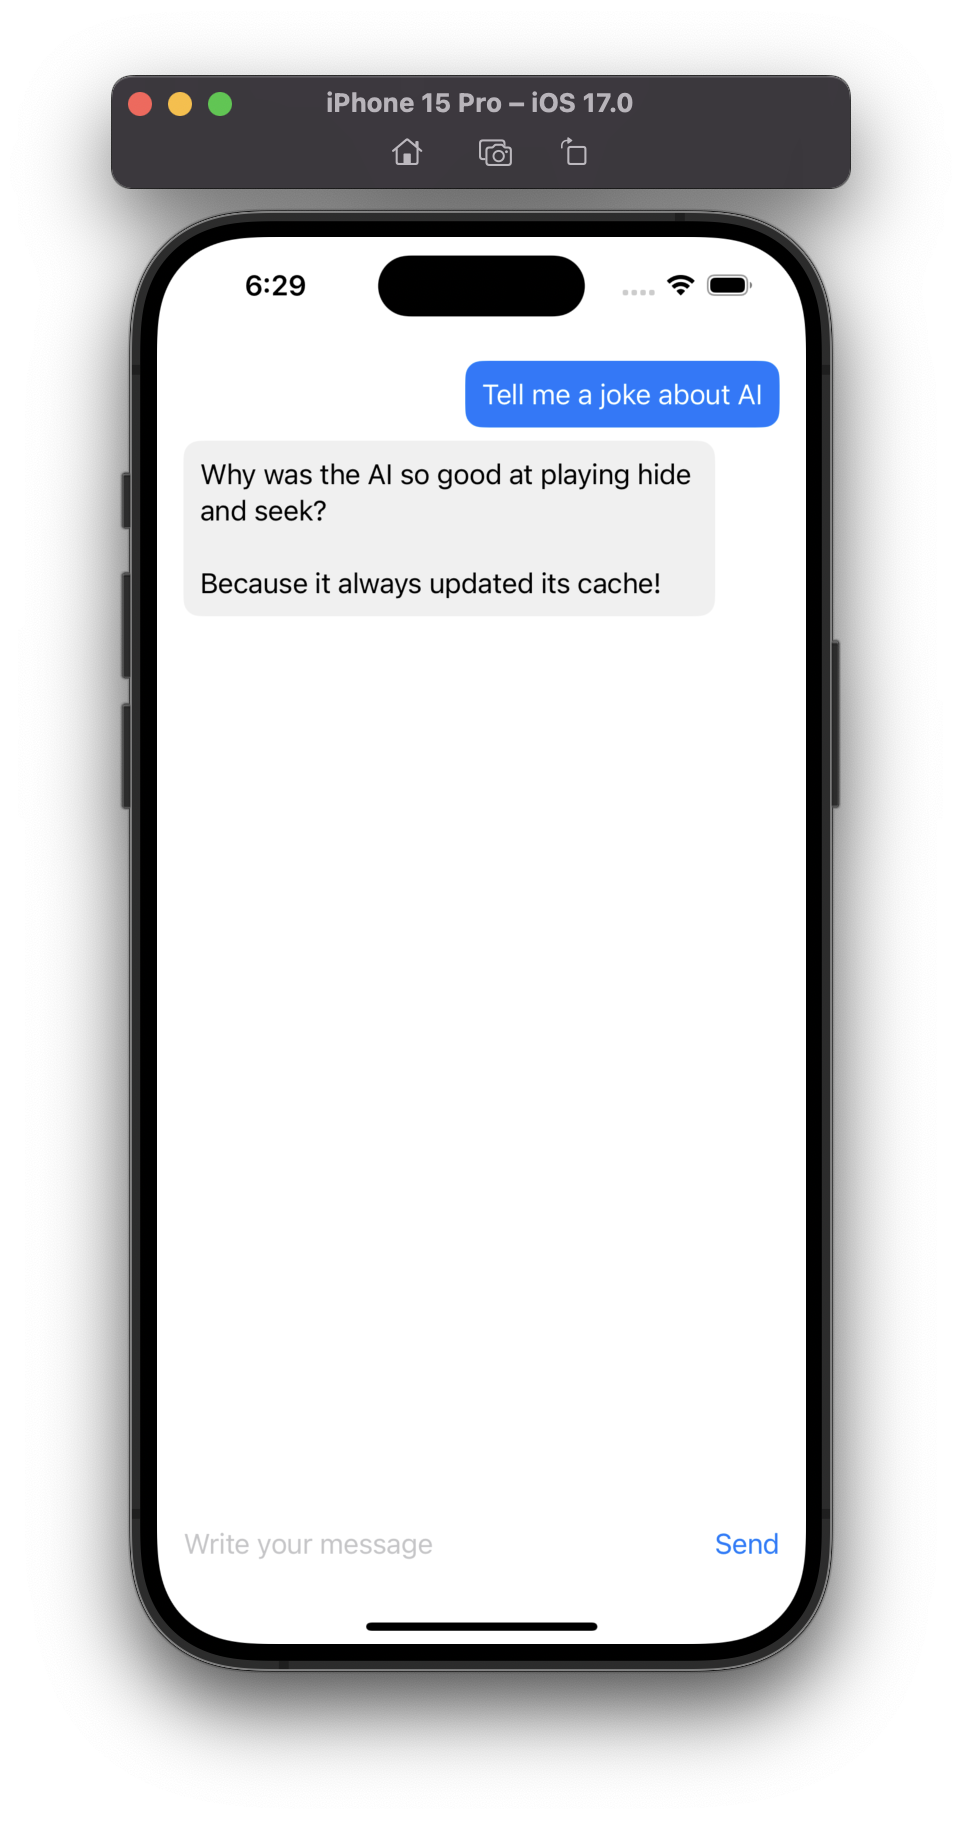
Build a Chatbot iOS App with SwiftUI
Introduction
In this tutorial, we'll guide you through building a chatbot iOS app using SwiftUI.
Prerequisites
Before starting, ensure you have the following:
- Xcode: A paid Apple Developer program membership is not required.
- OpenAI, Anthropic, Groq, or Mistral developer account: Ensure you have credits available.
Setting up a ServerlessAI Project
If you do not have a ServerlessAI account, or want to create a new project
-
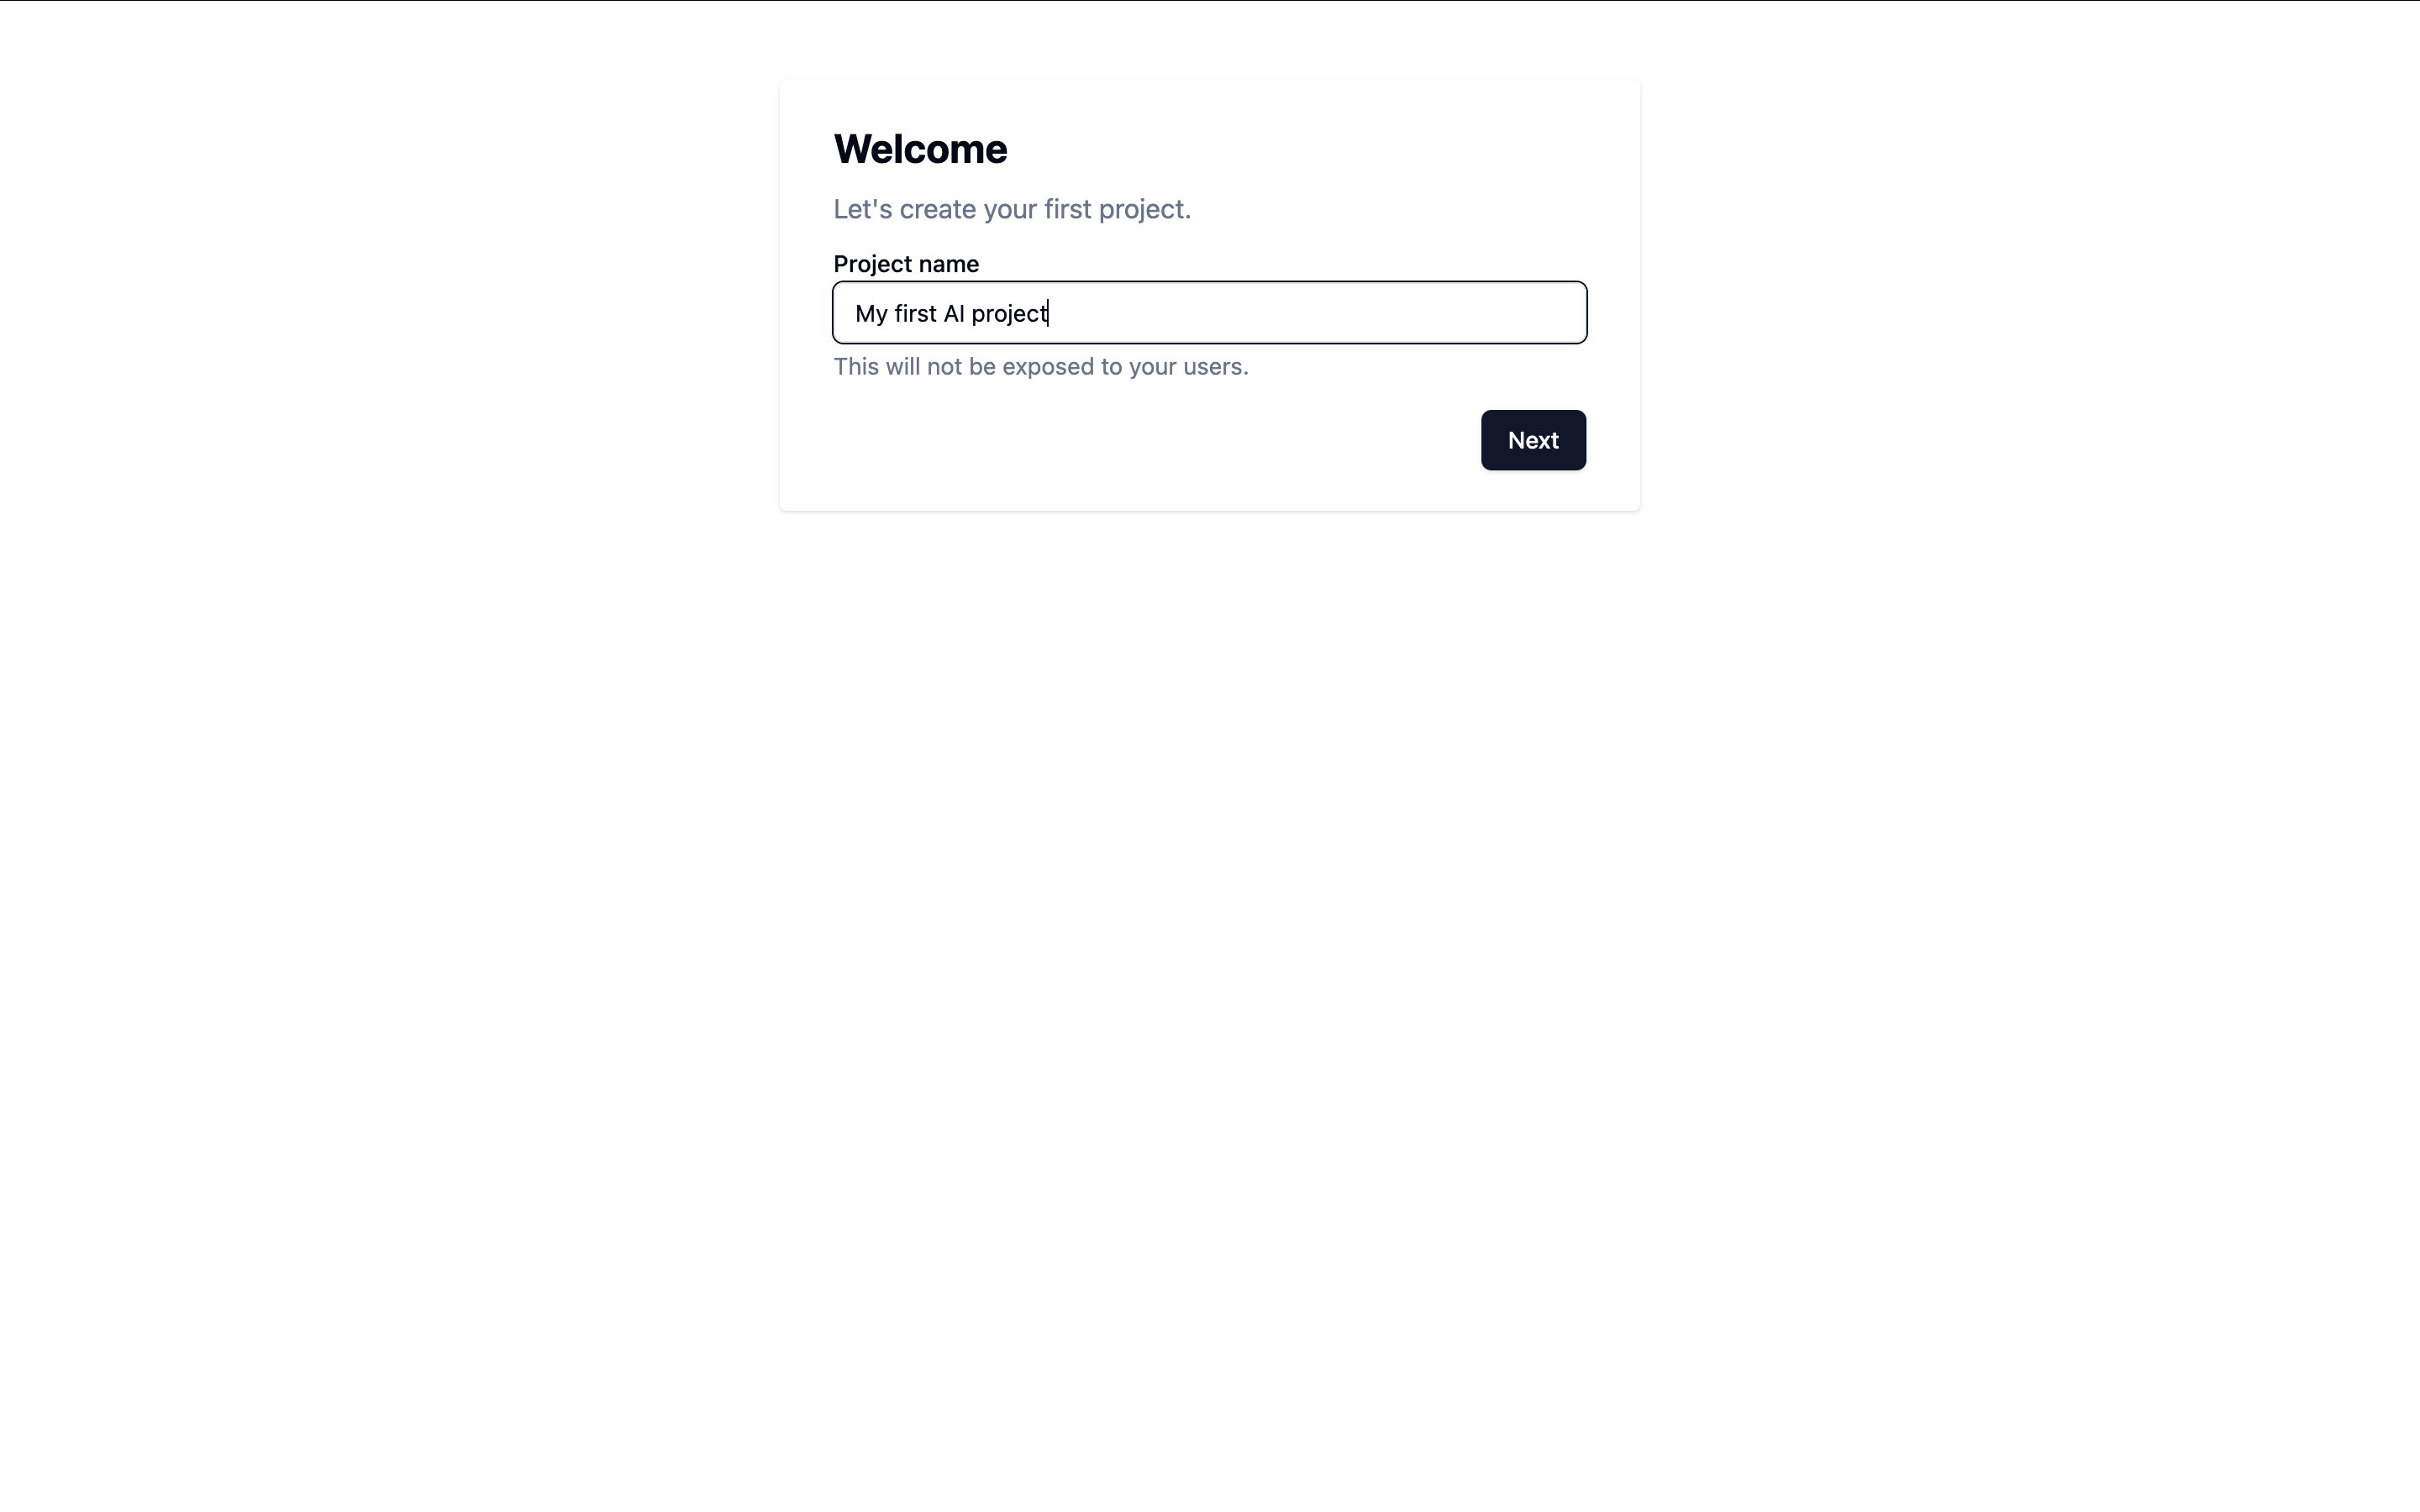
Register for ServerlessAI
Head to ServerlessAI and sign up. Once registered, follow the wizard to create a new project.If you have already created an account and want to create a new project, Click "Create project" in the project selector dropdown on upper left corner.
-
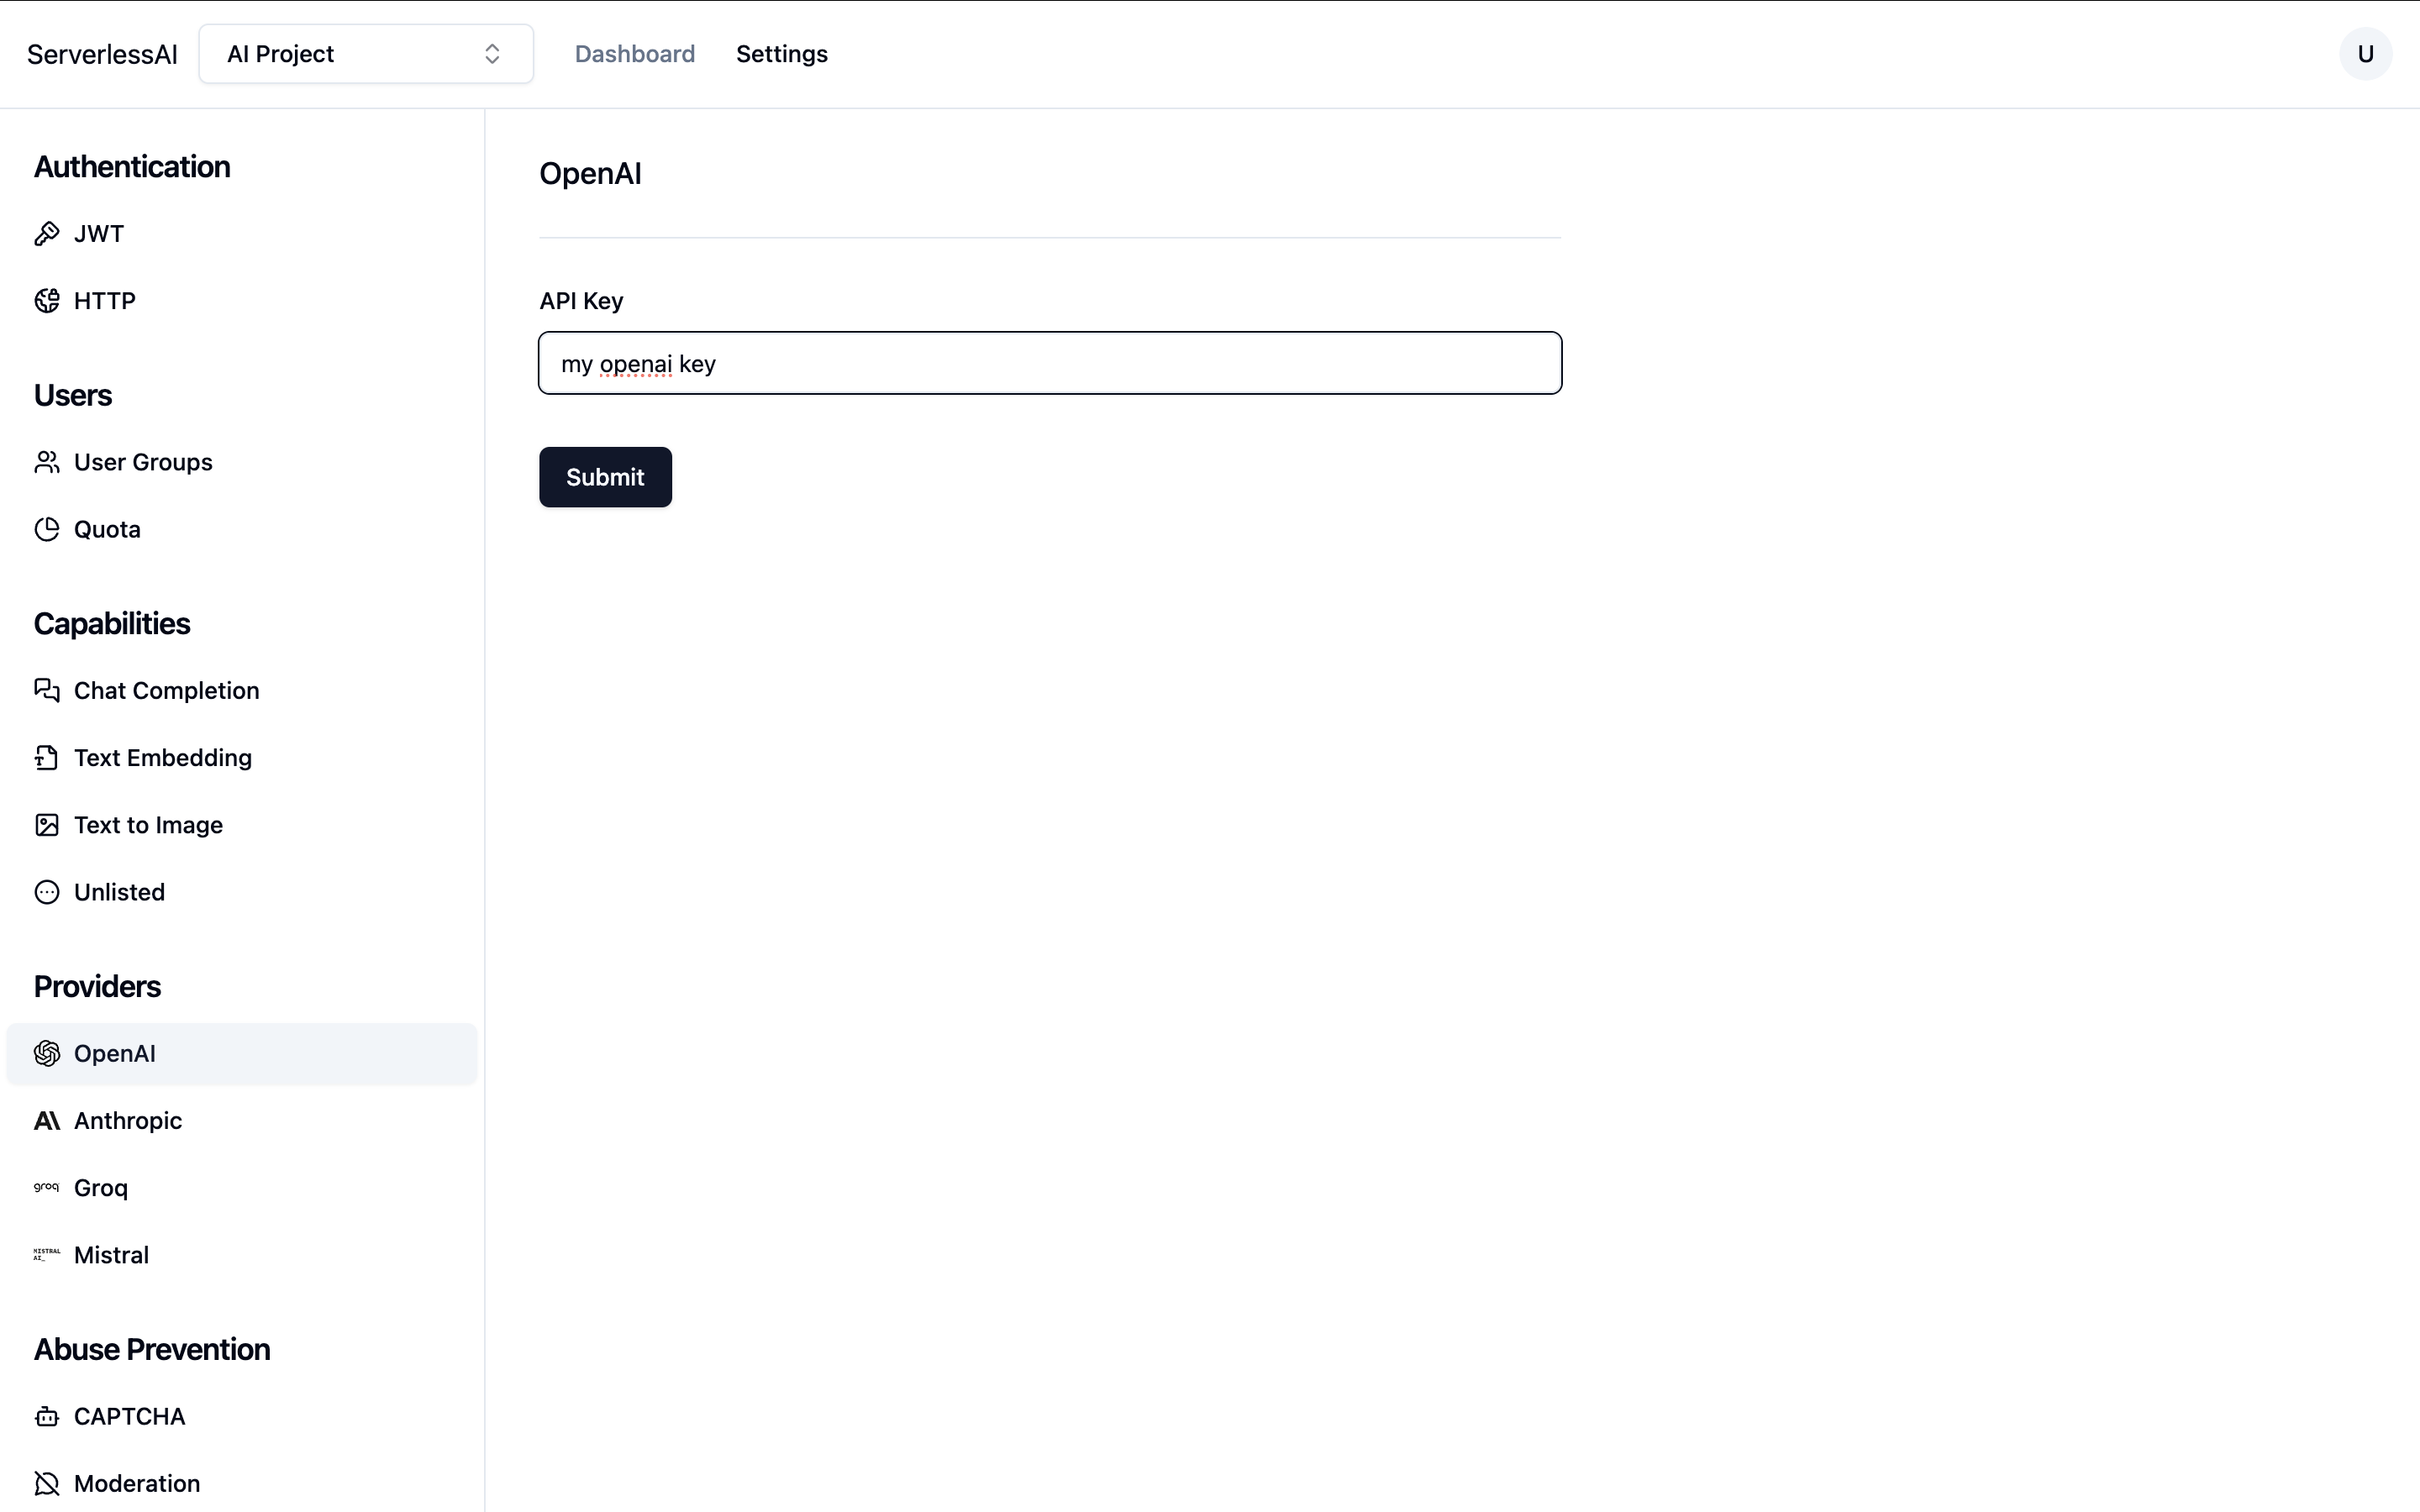
Add a Provider
You can use any provider that supports chat completion. Enter the API key from that provider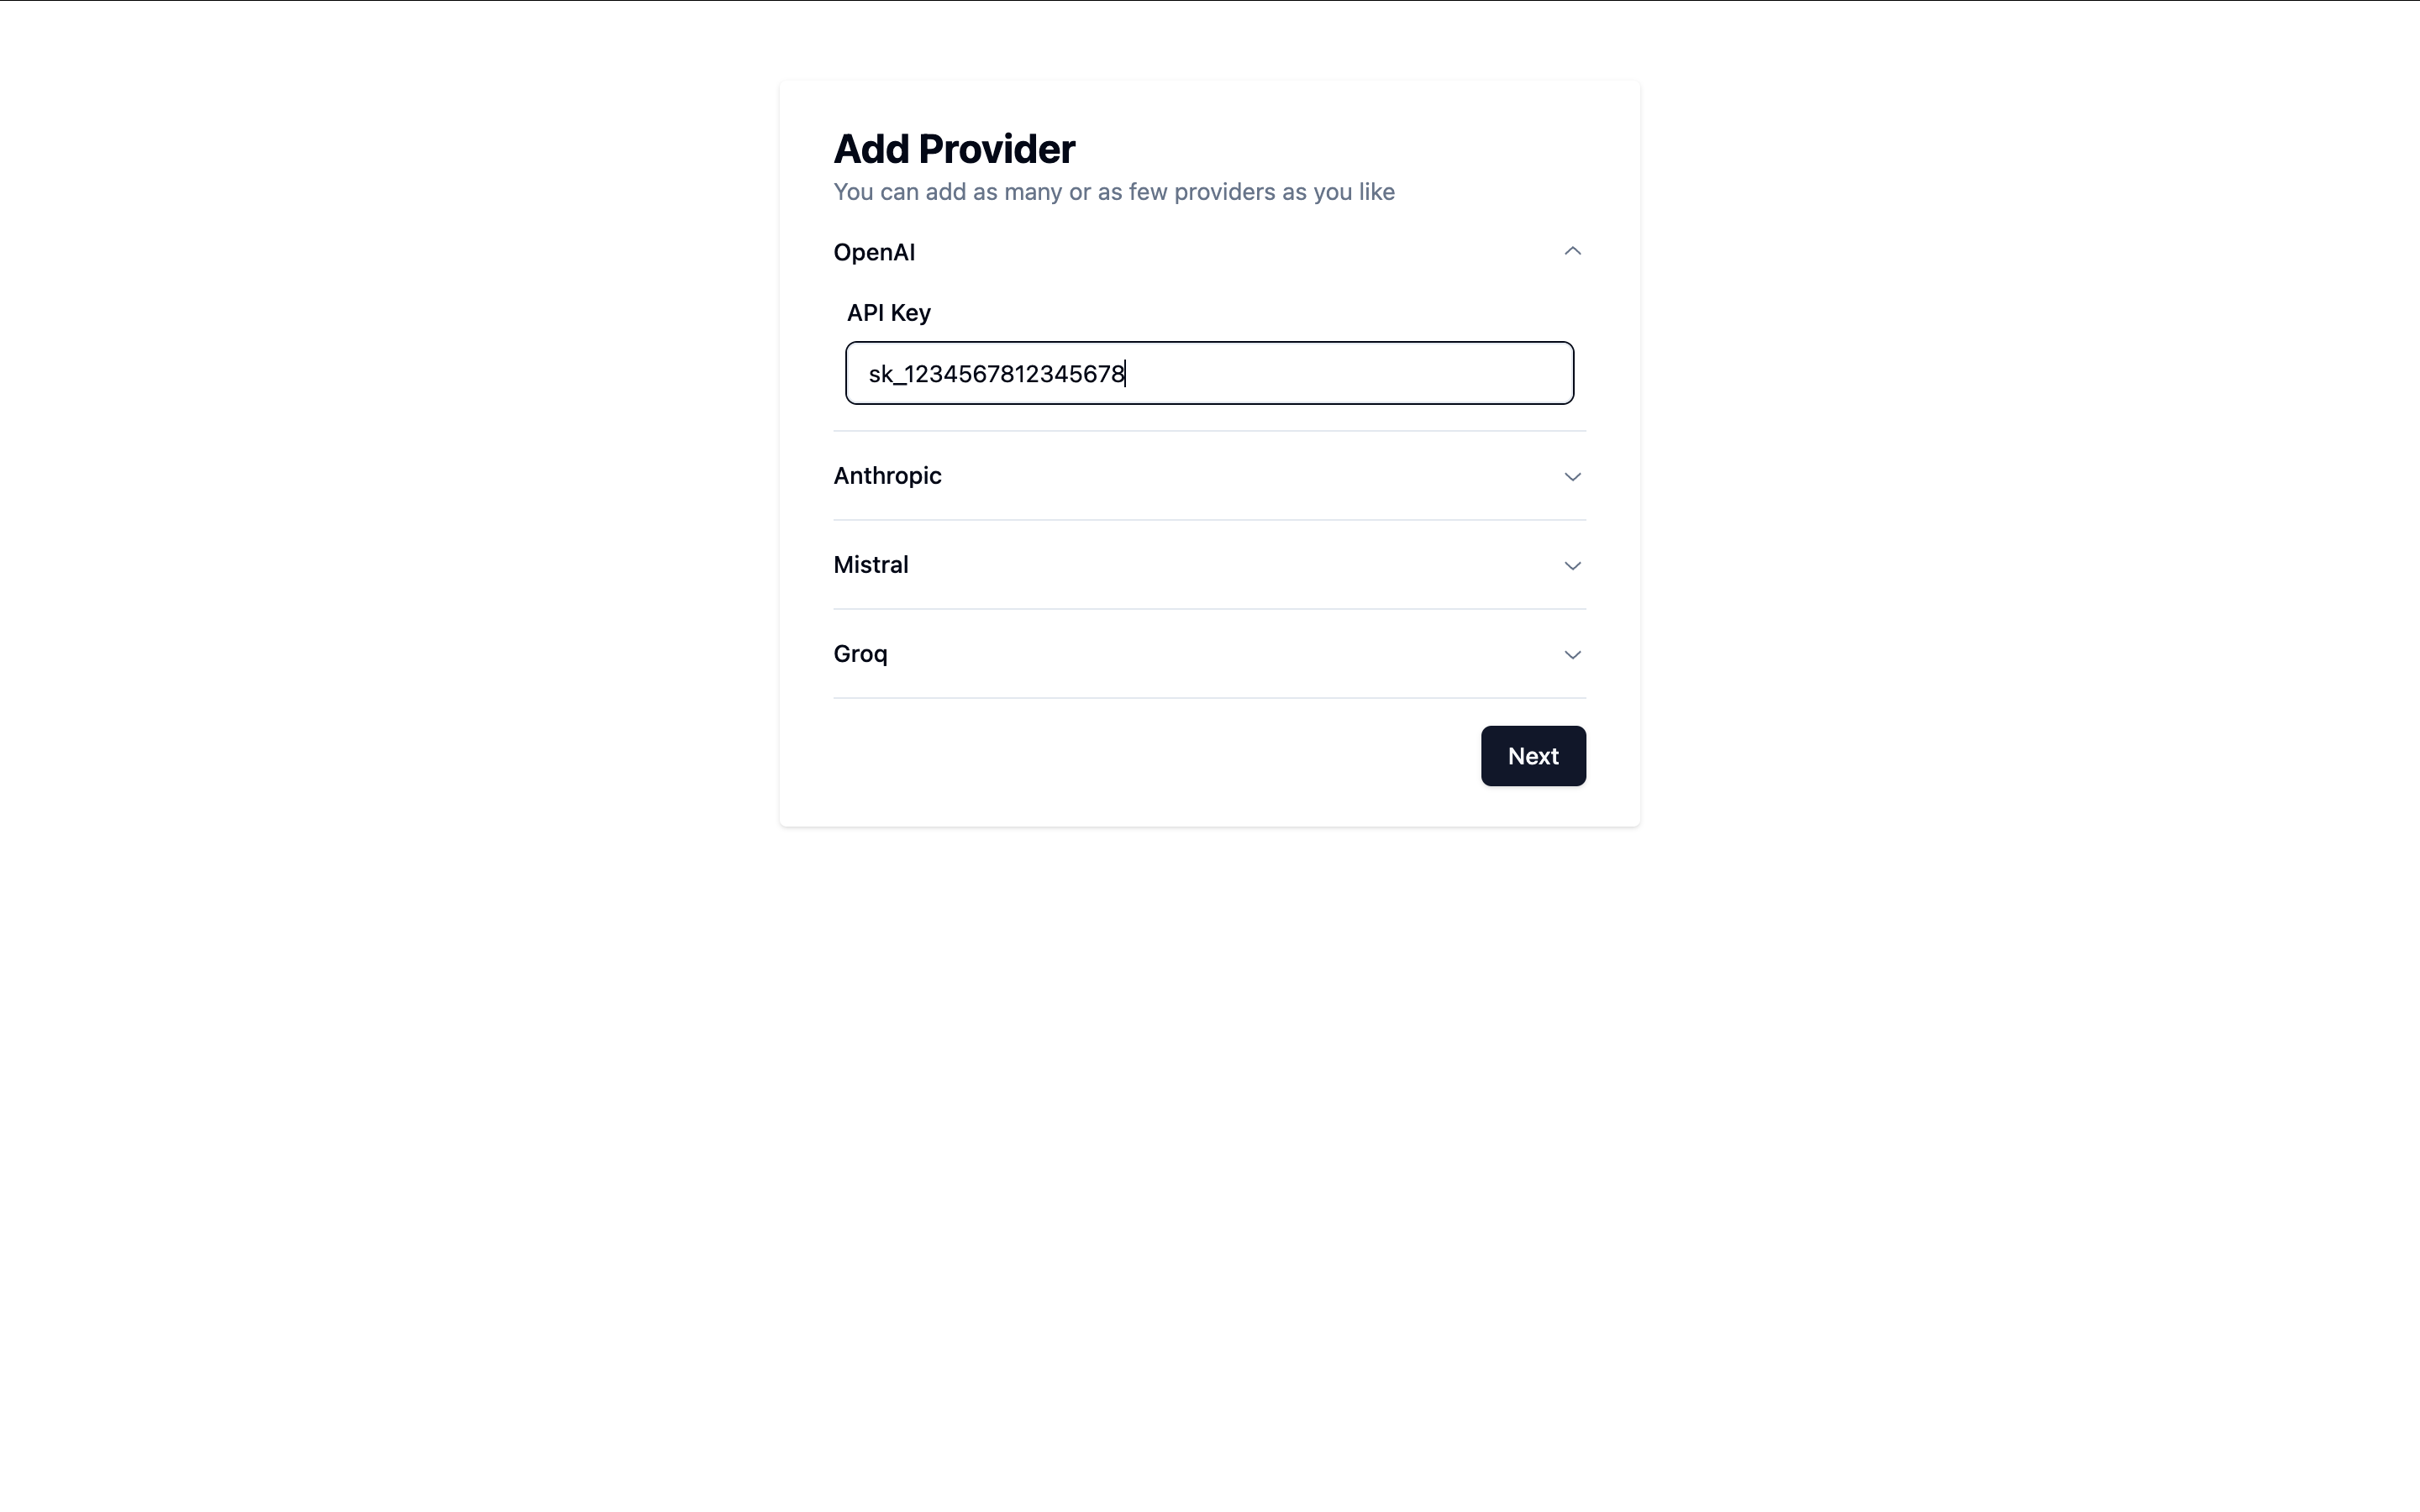
-
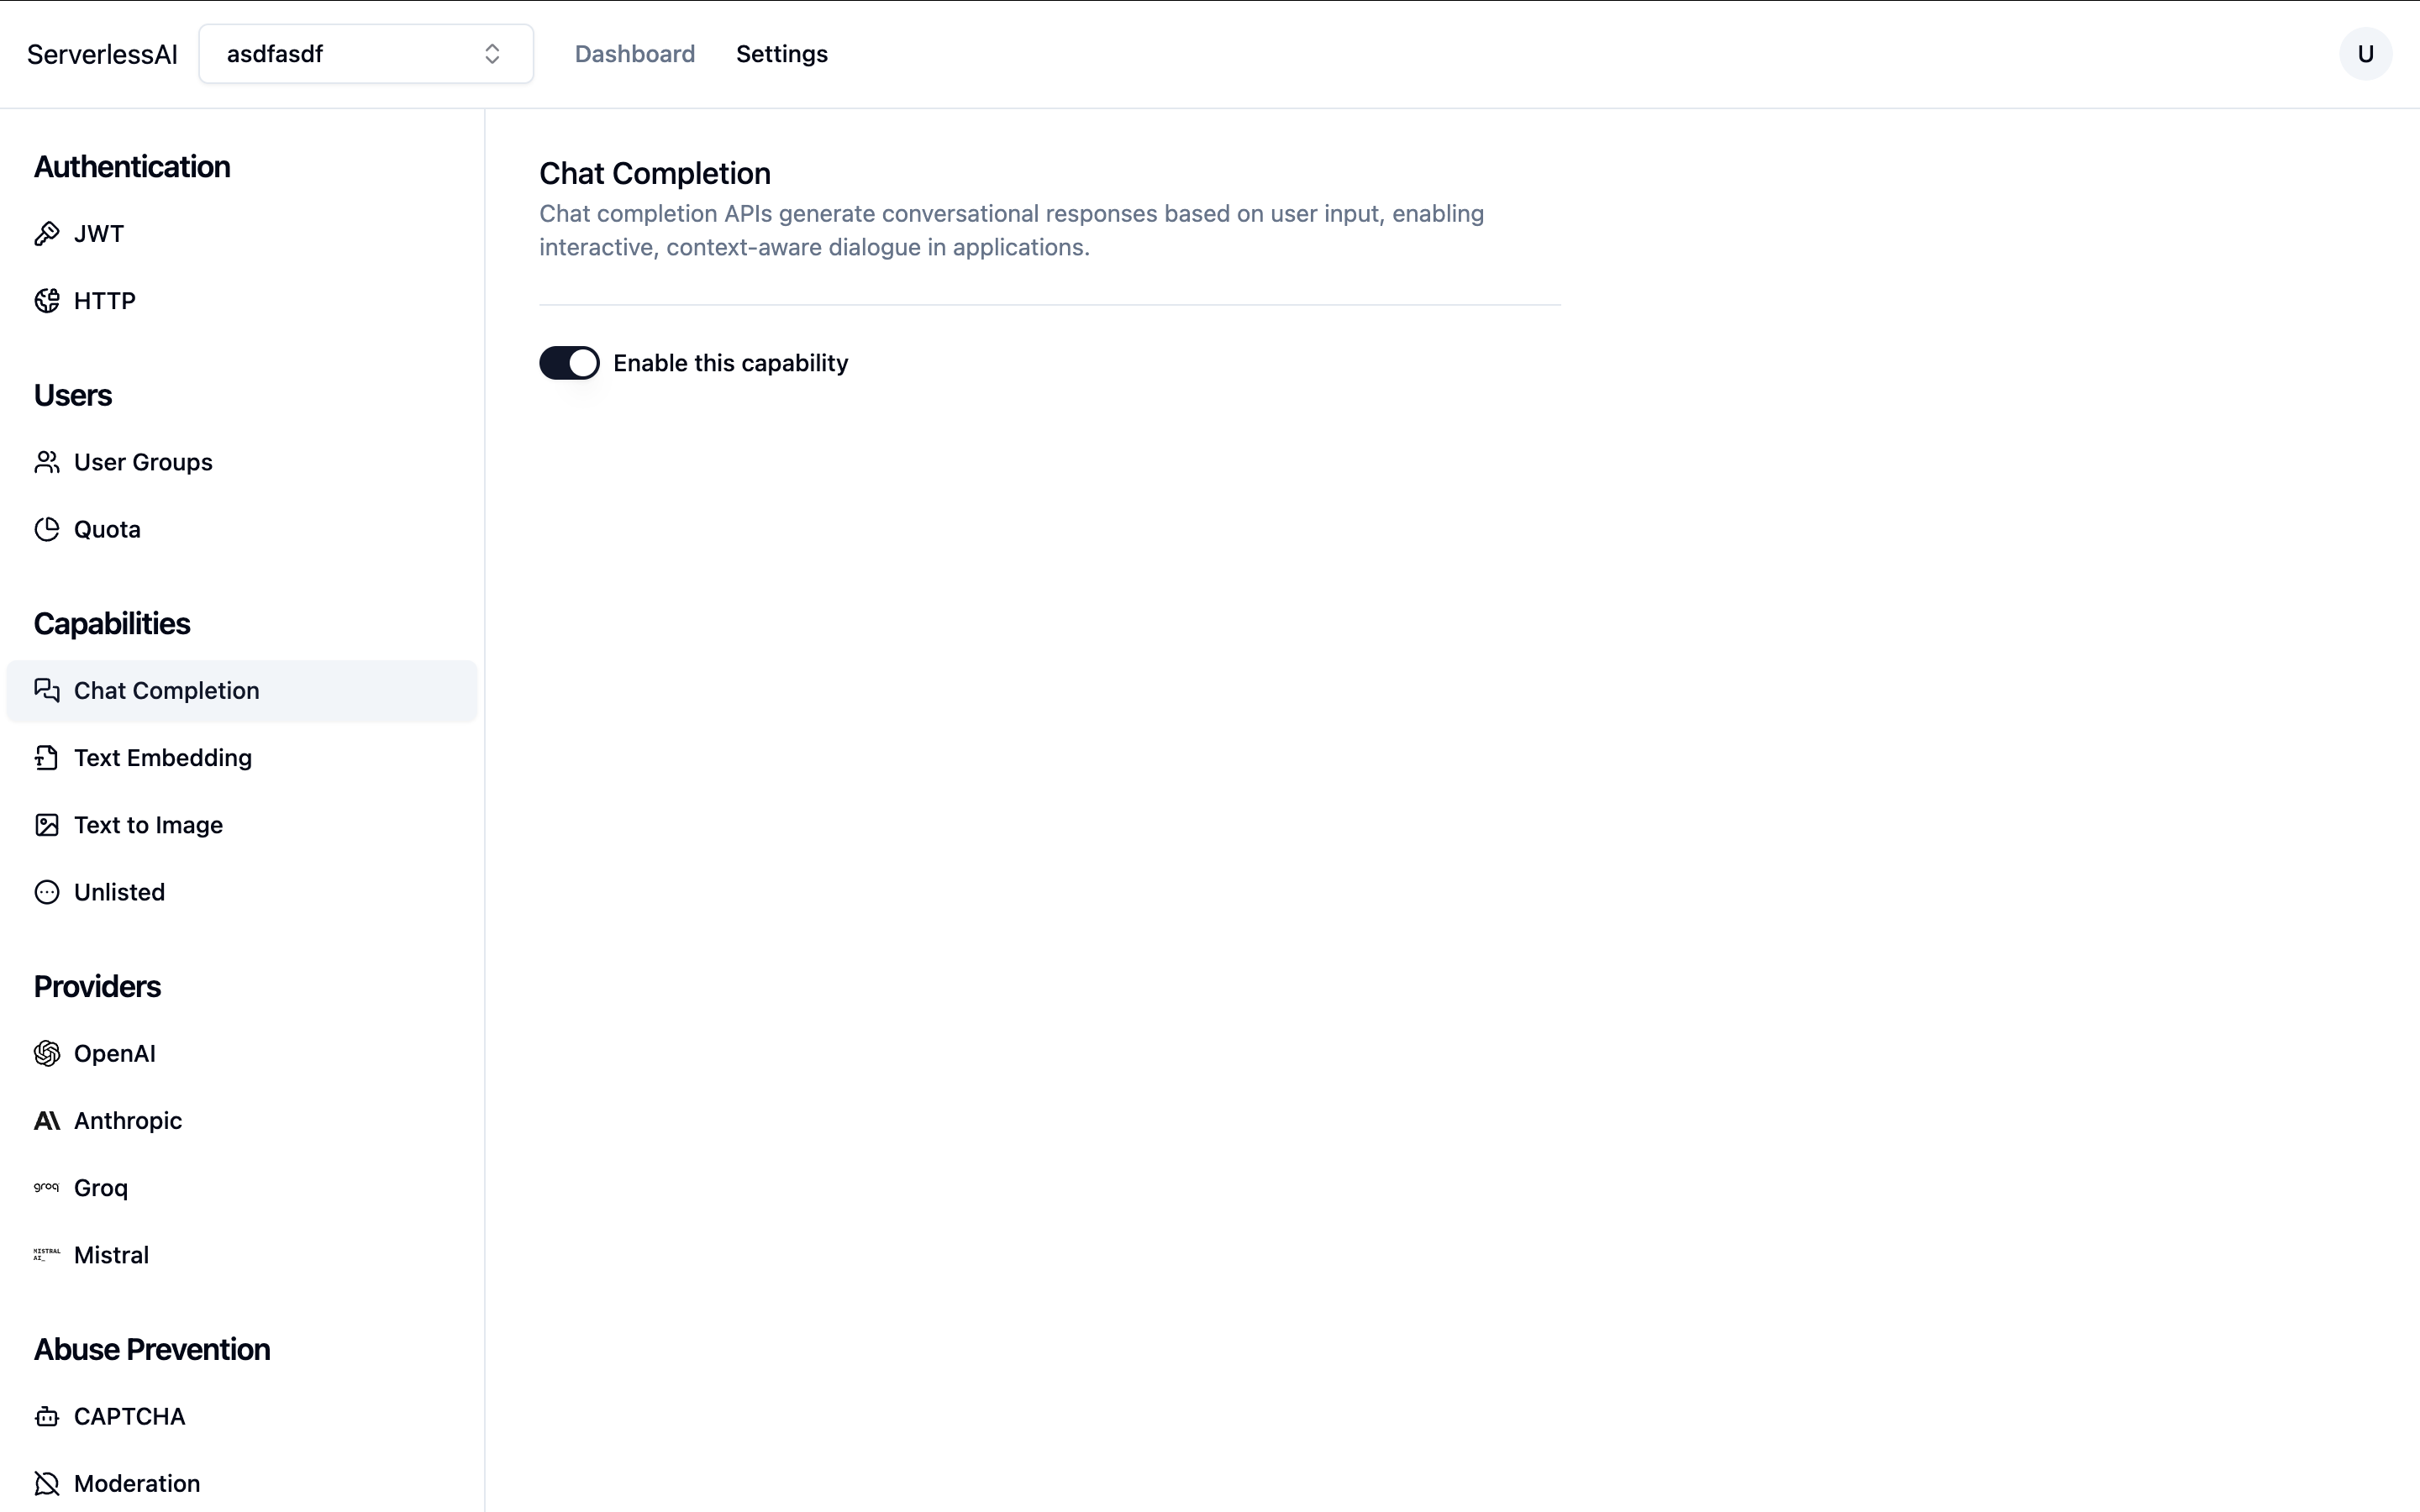
Enable Chat Completion Capability
Enable the chat completion capability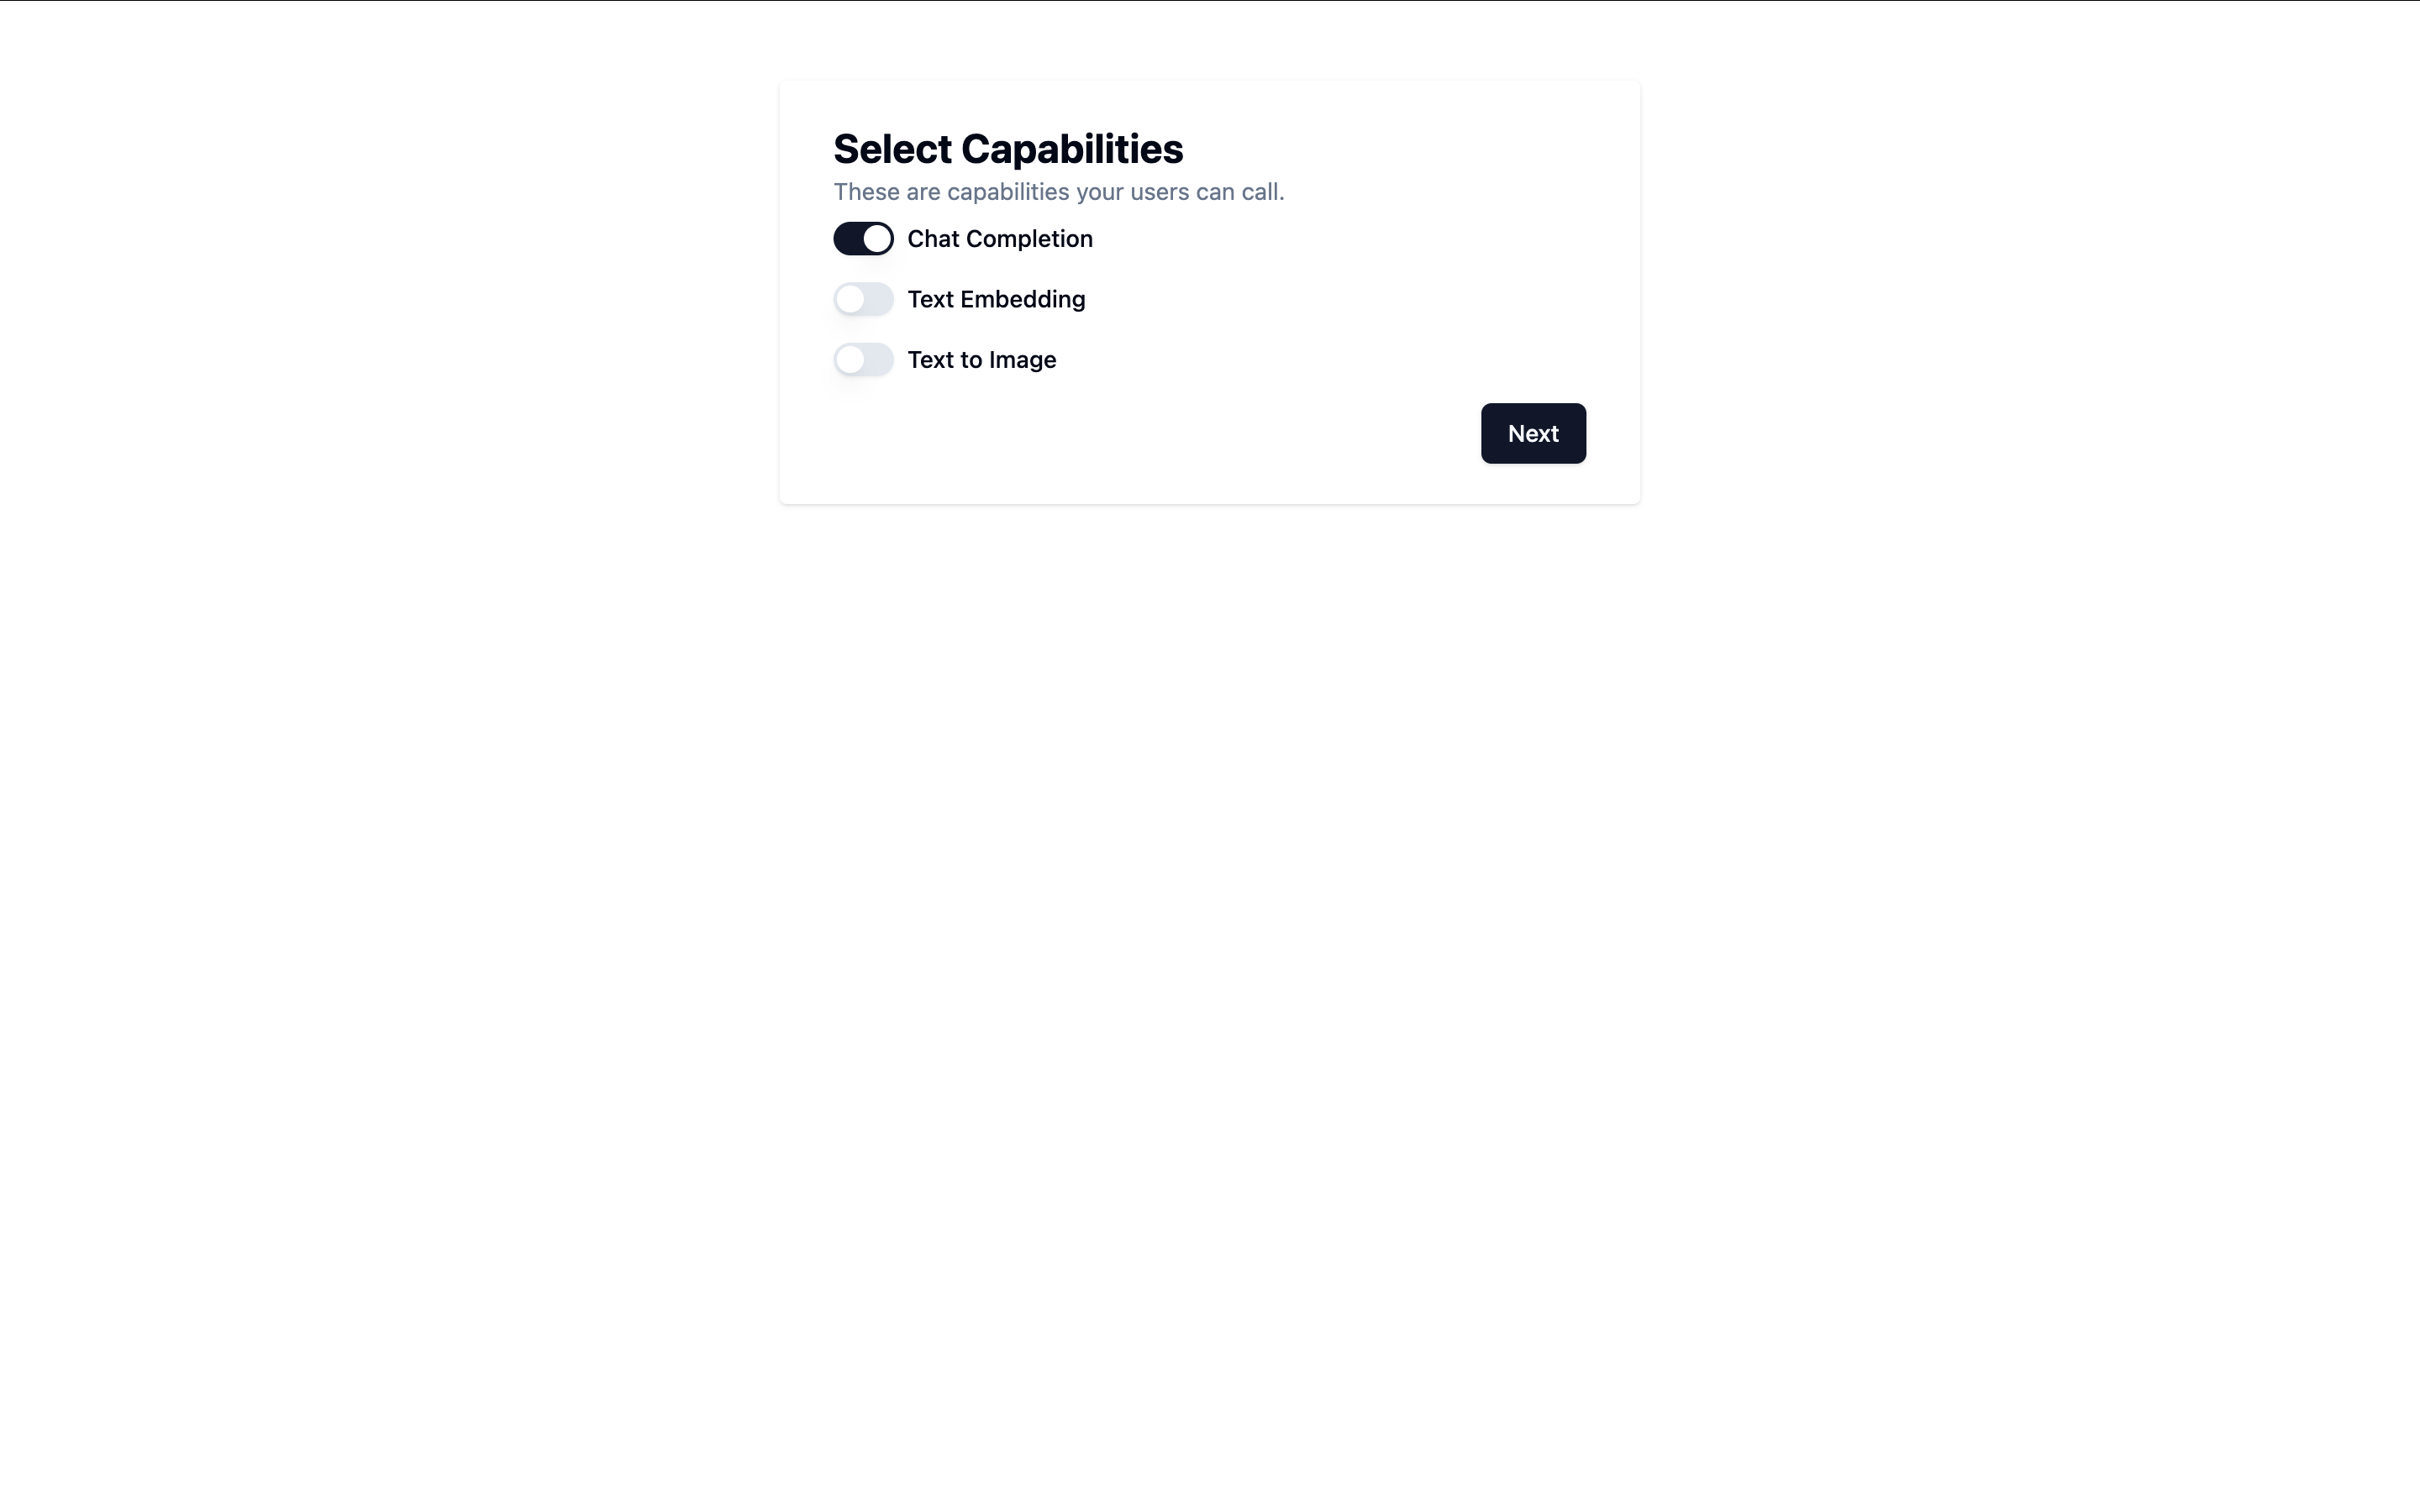
-
Configure Authentication
Since we do not require the user to sign up, enable guest users and leave JWT settings blank.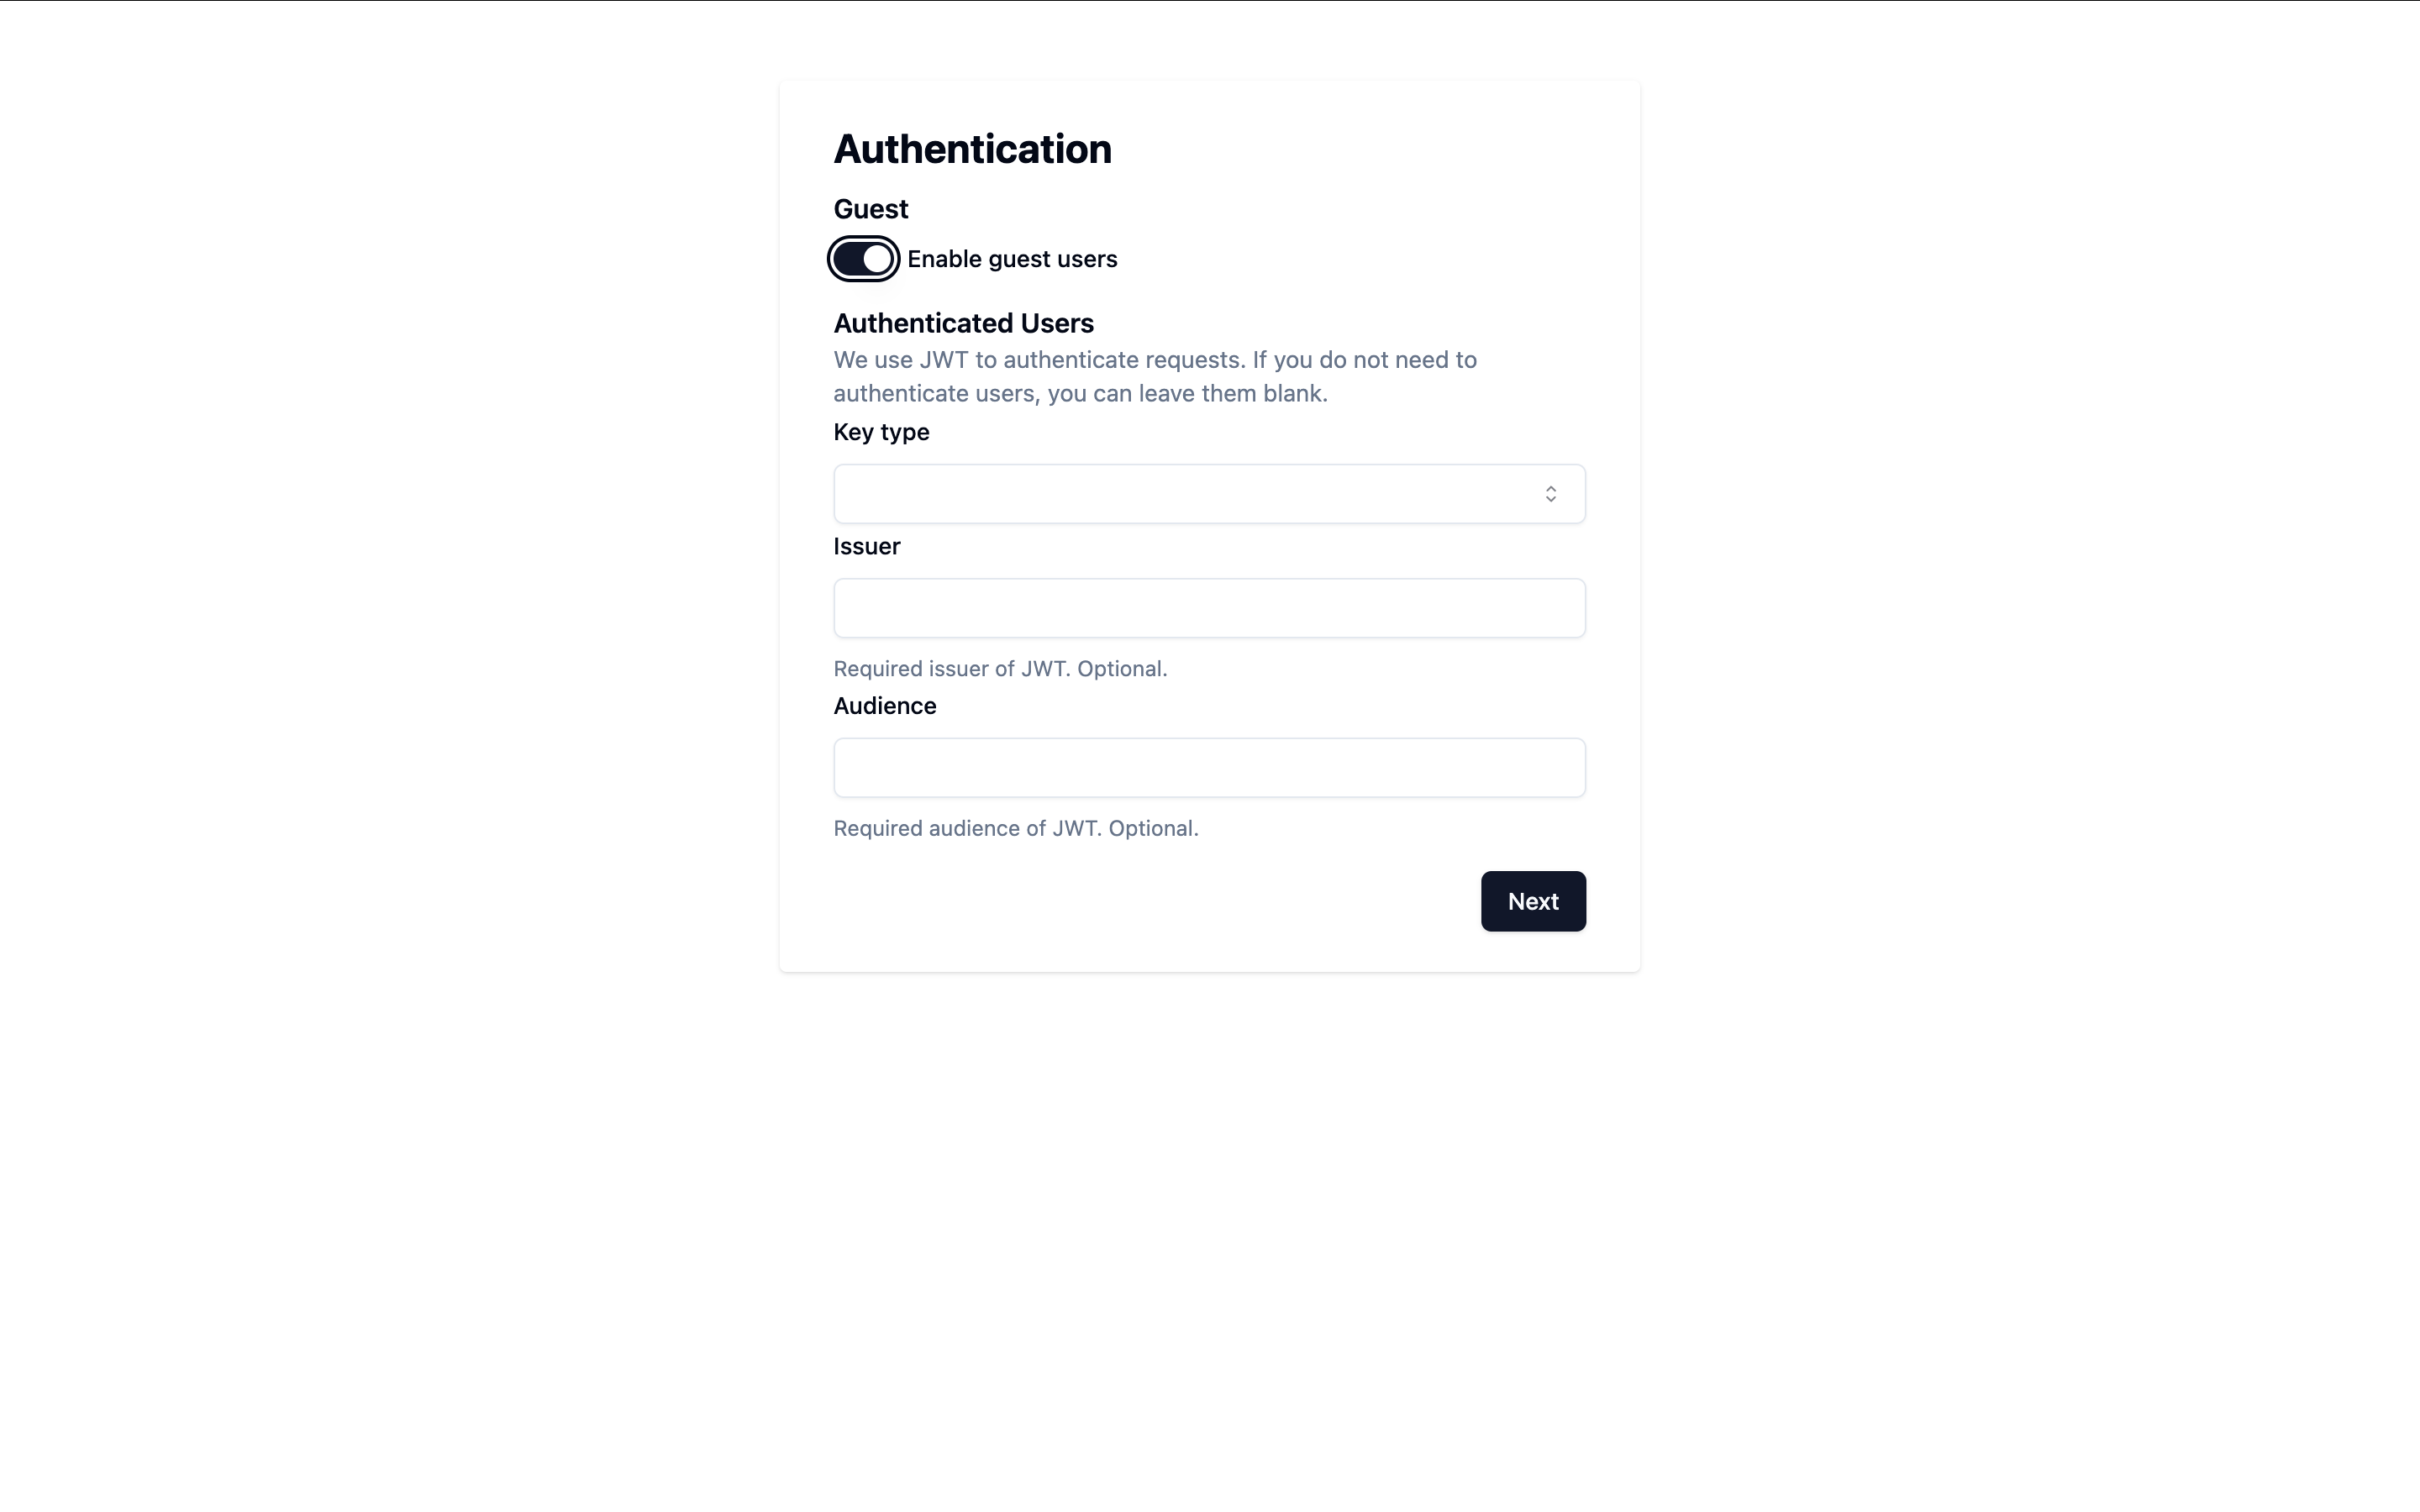
-
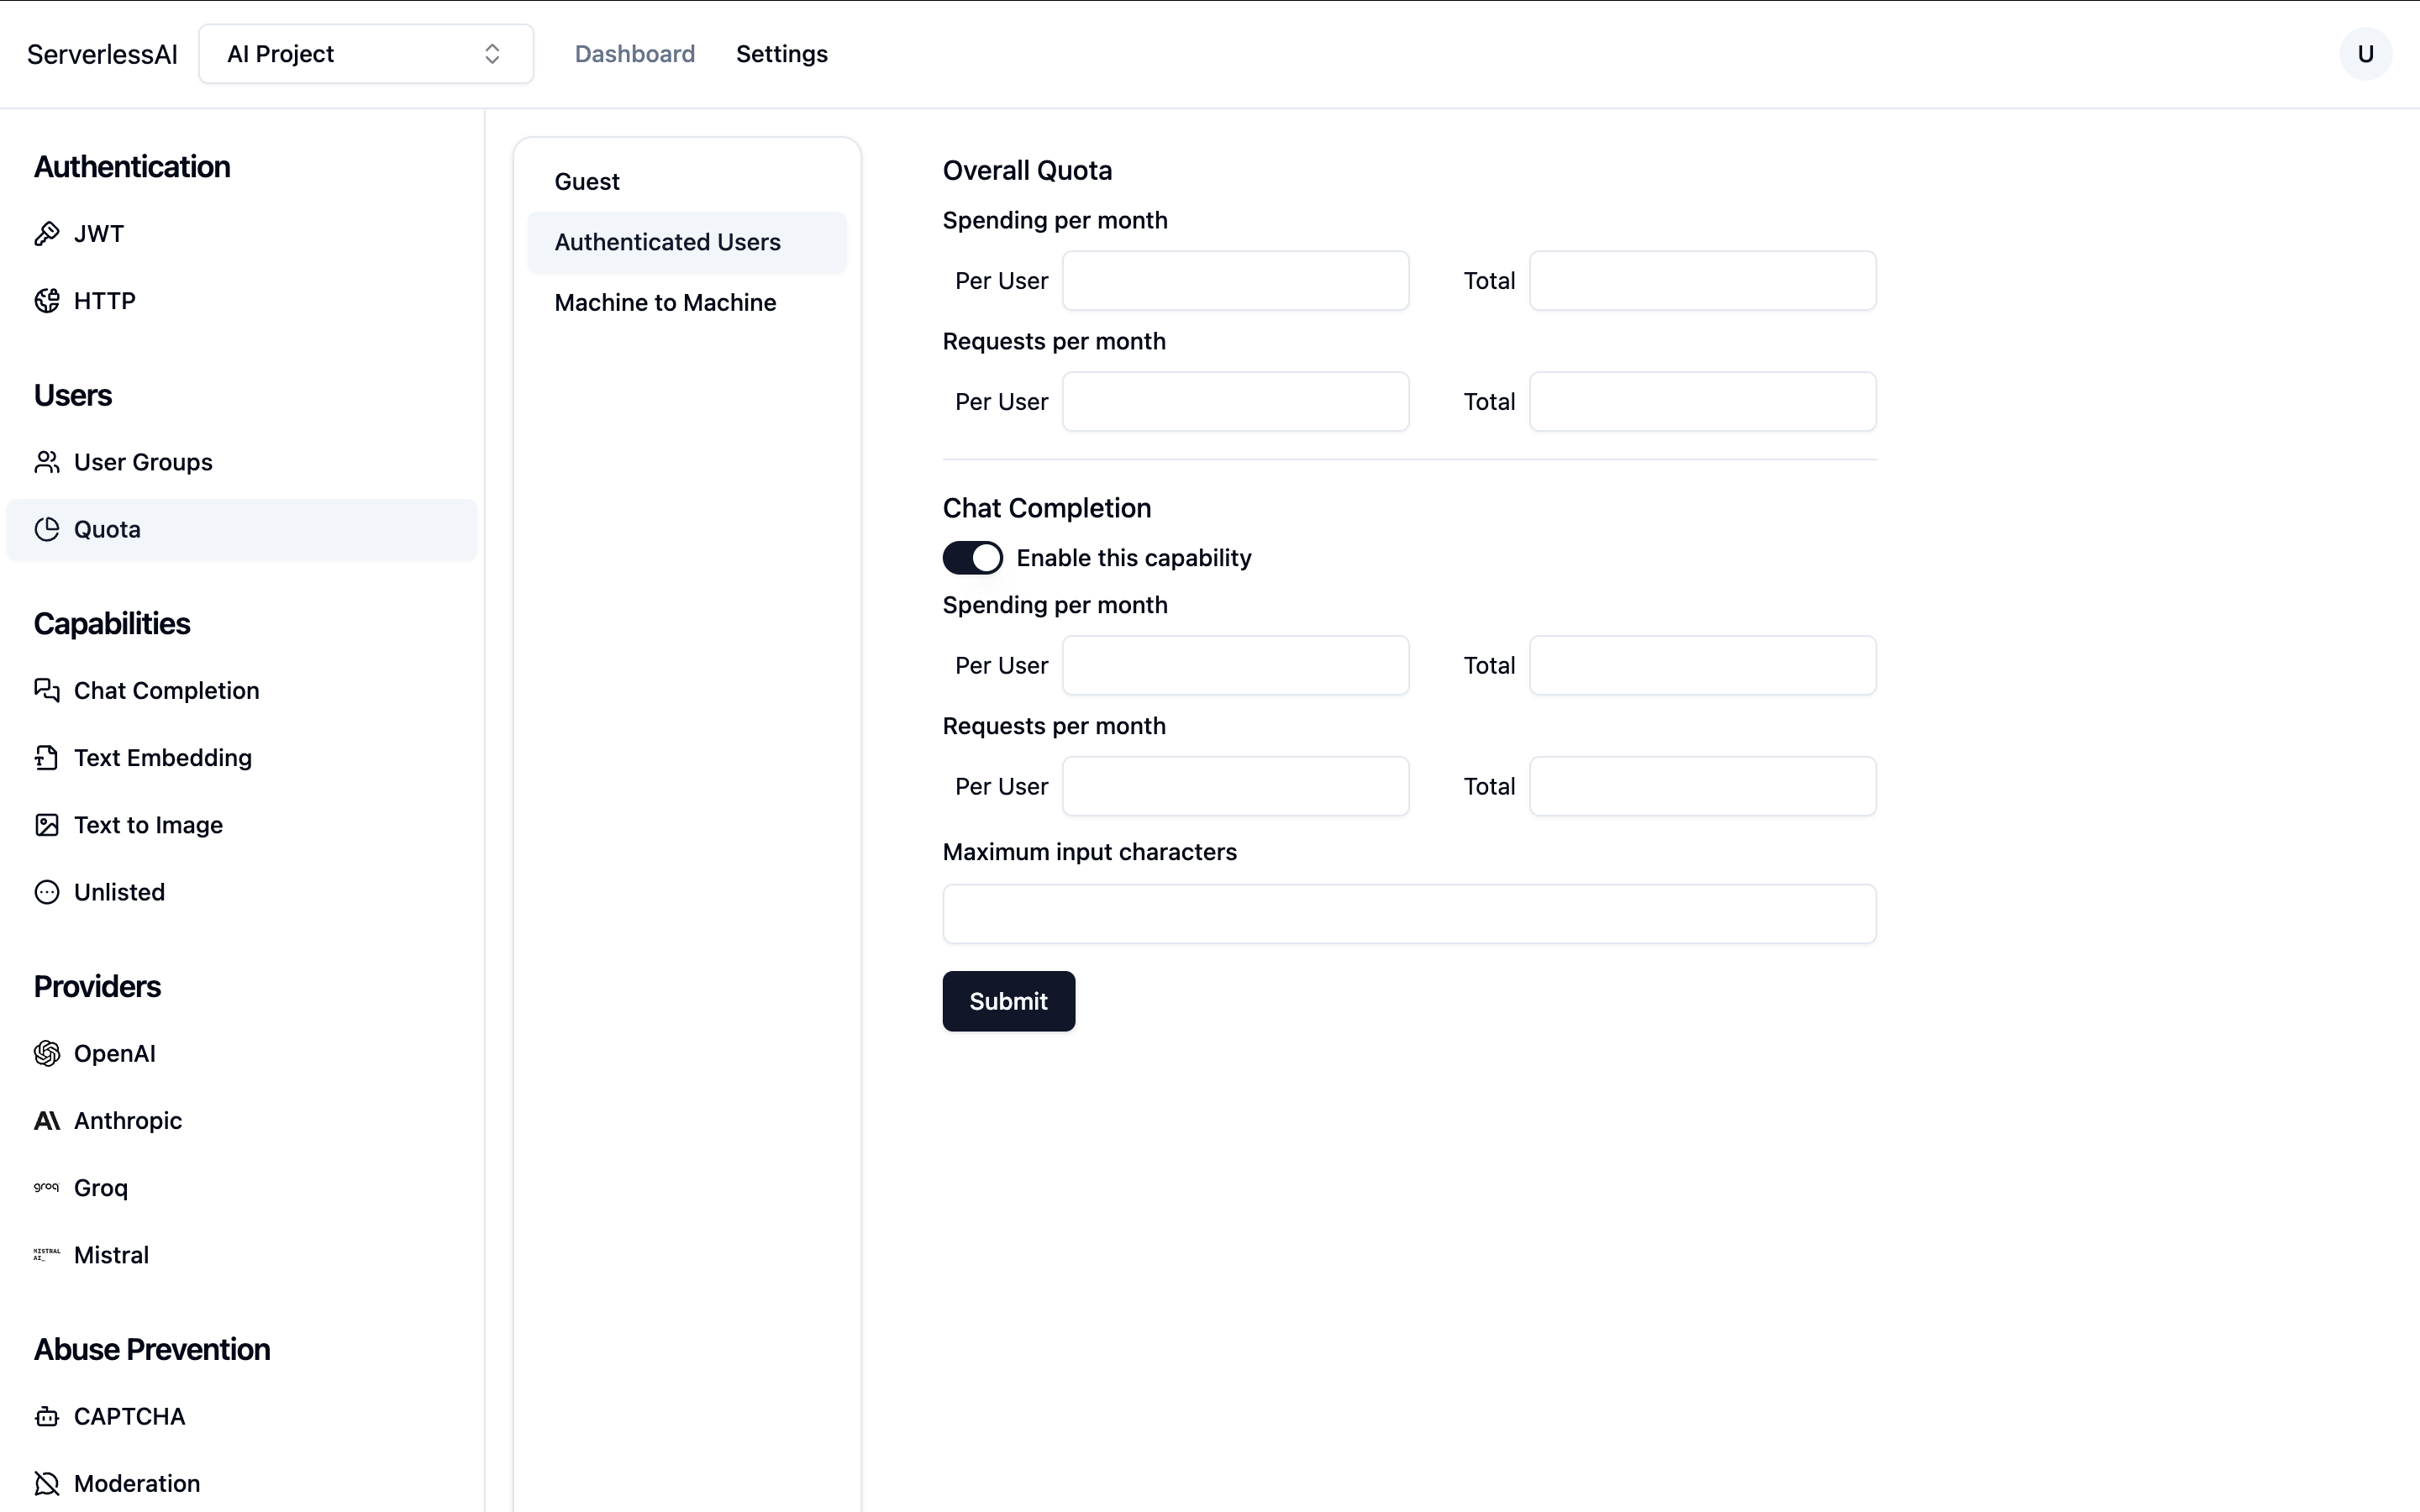
Set Quota (Optional)
You can configure quotas for your project or leave them blank for unlimited use since this is not a production app.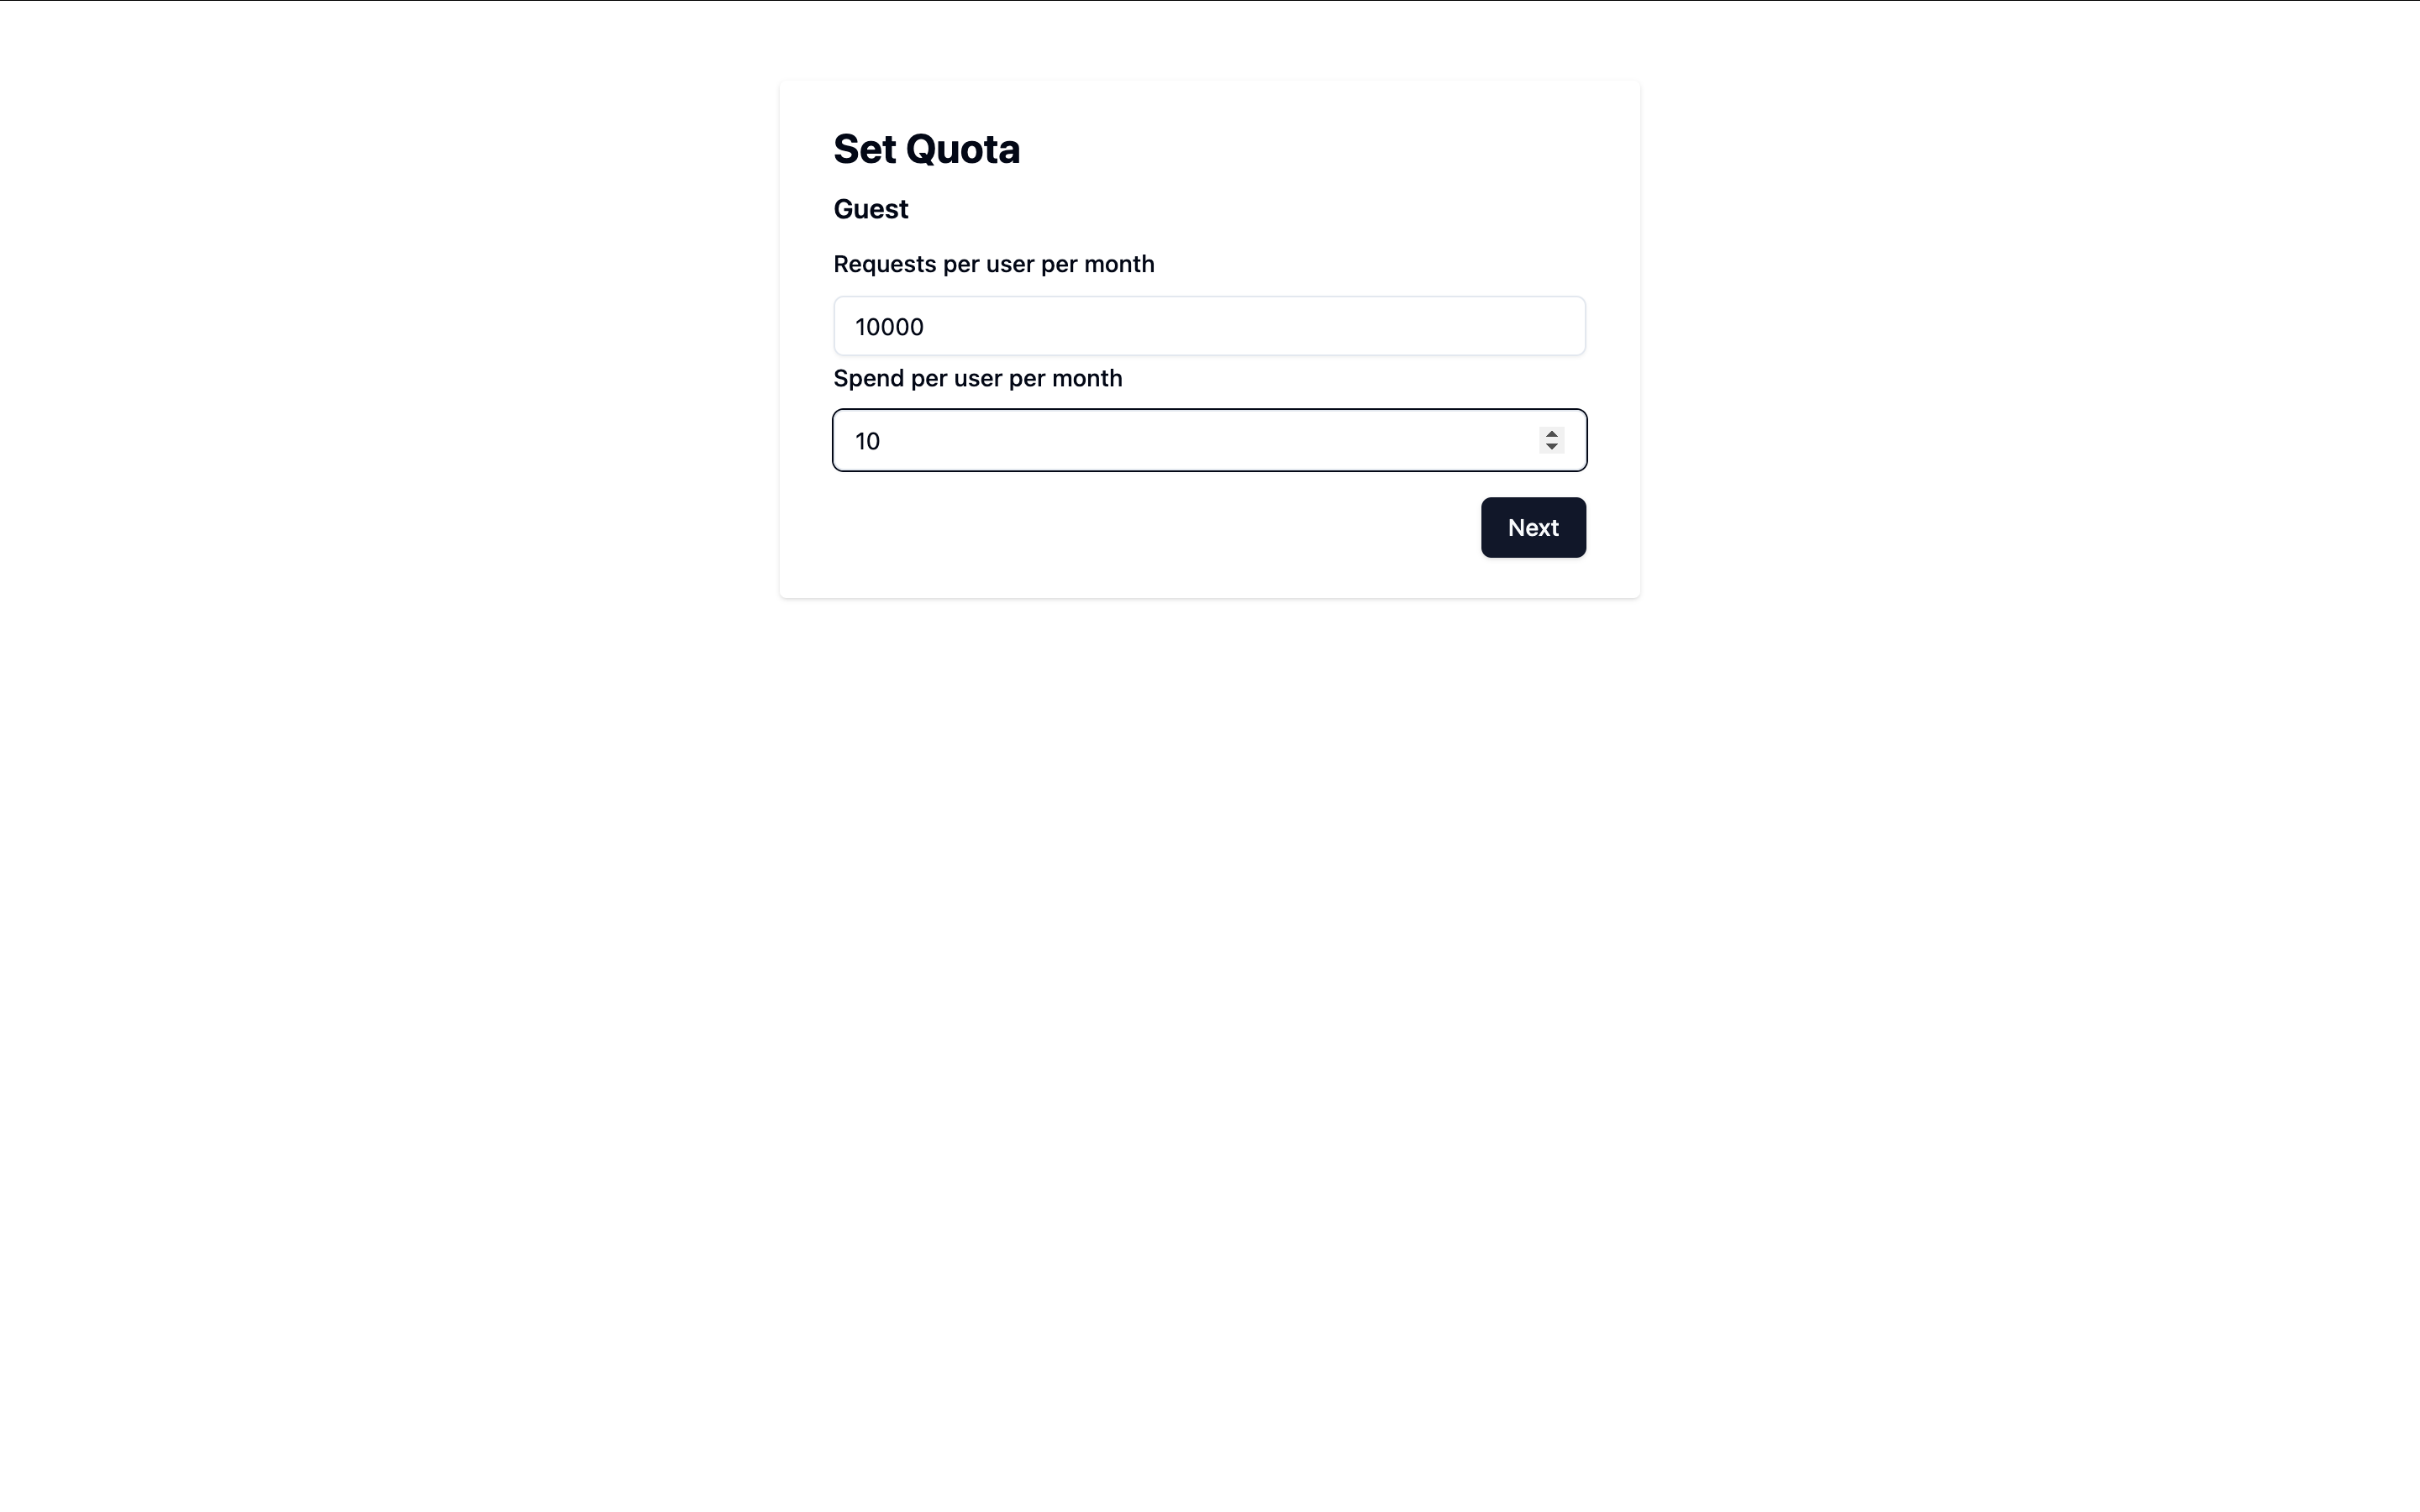
-
Complete Setup
After completing the setup, take note of your project ID.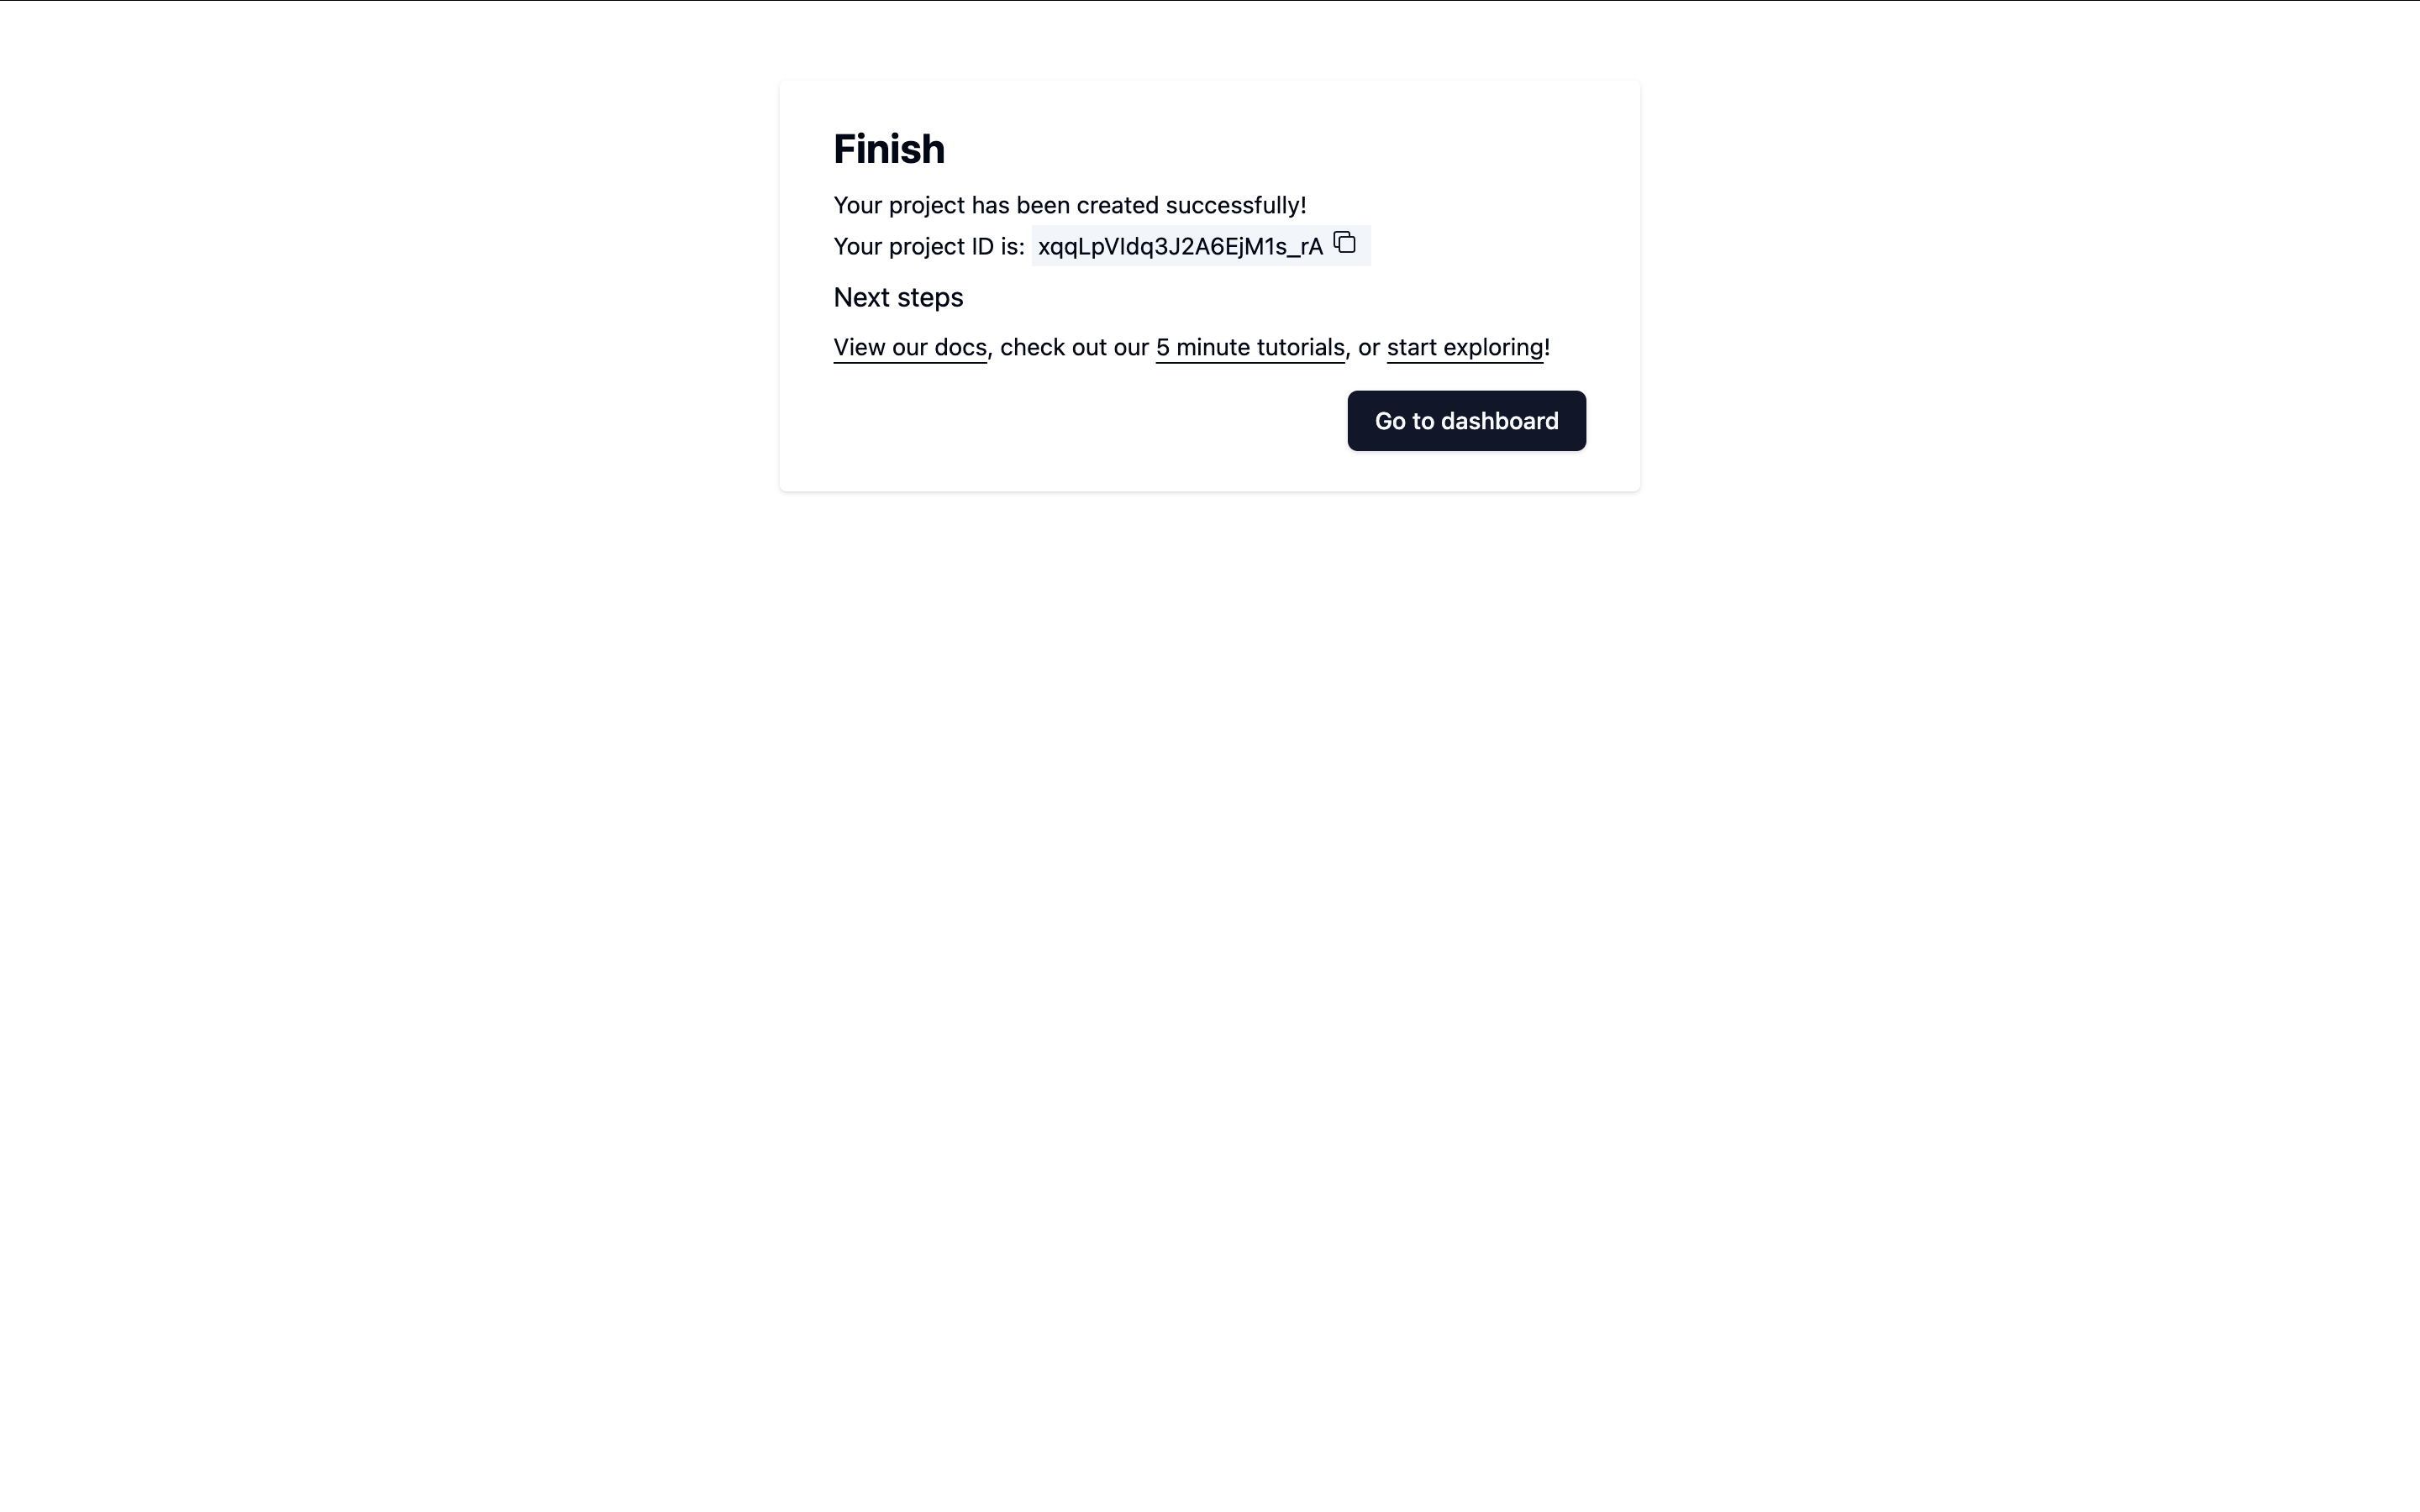
If you want to use an existing ServerlessAI project
If you've already created a project, that's great! Let's ensure it’s properly configured for this tutorial.
Navigate to the ServerlessAI Settings page.
-
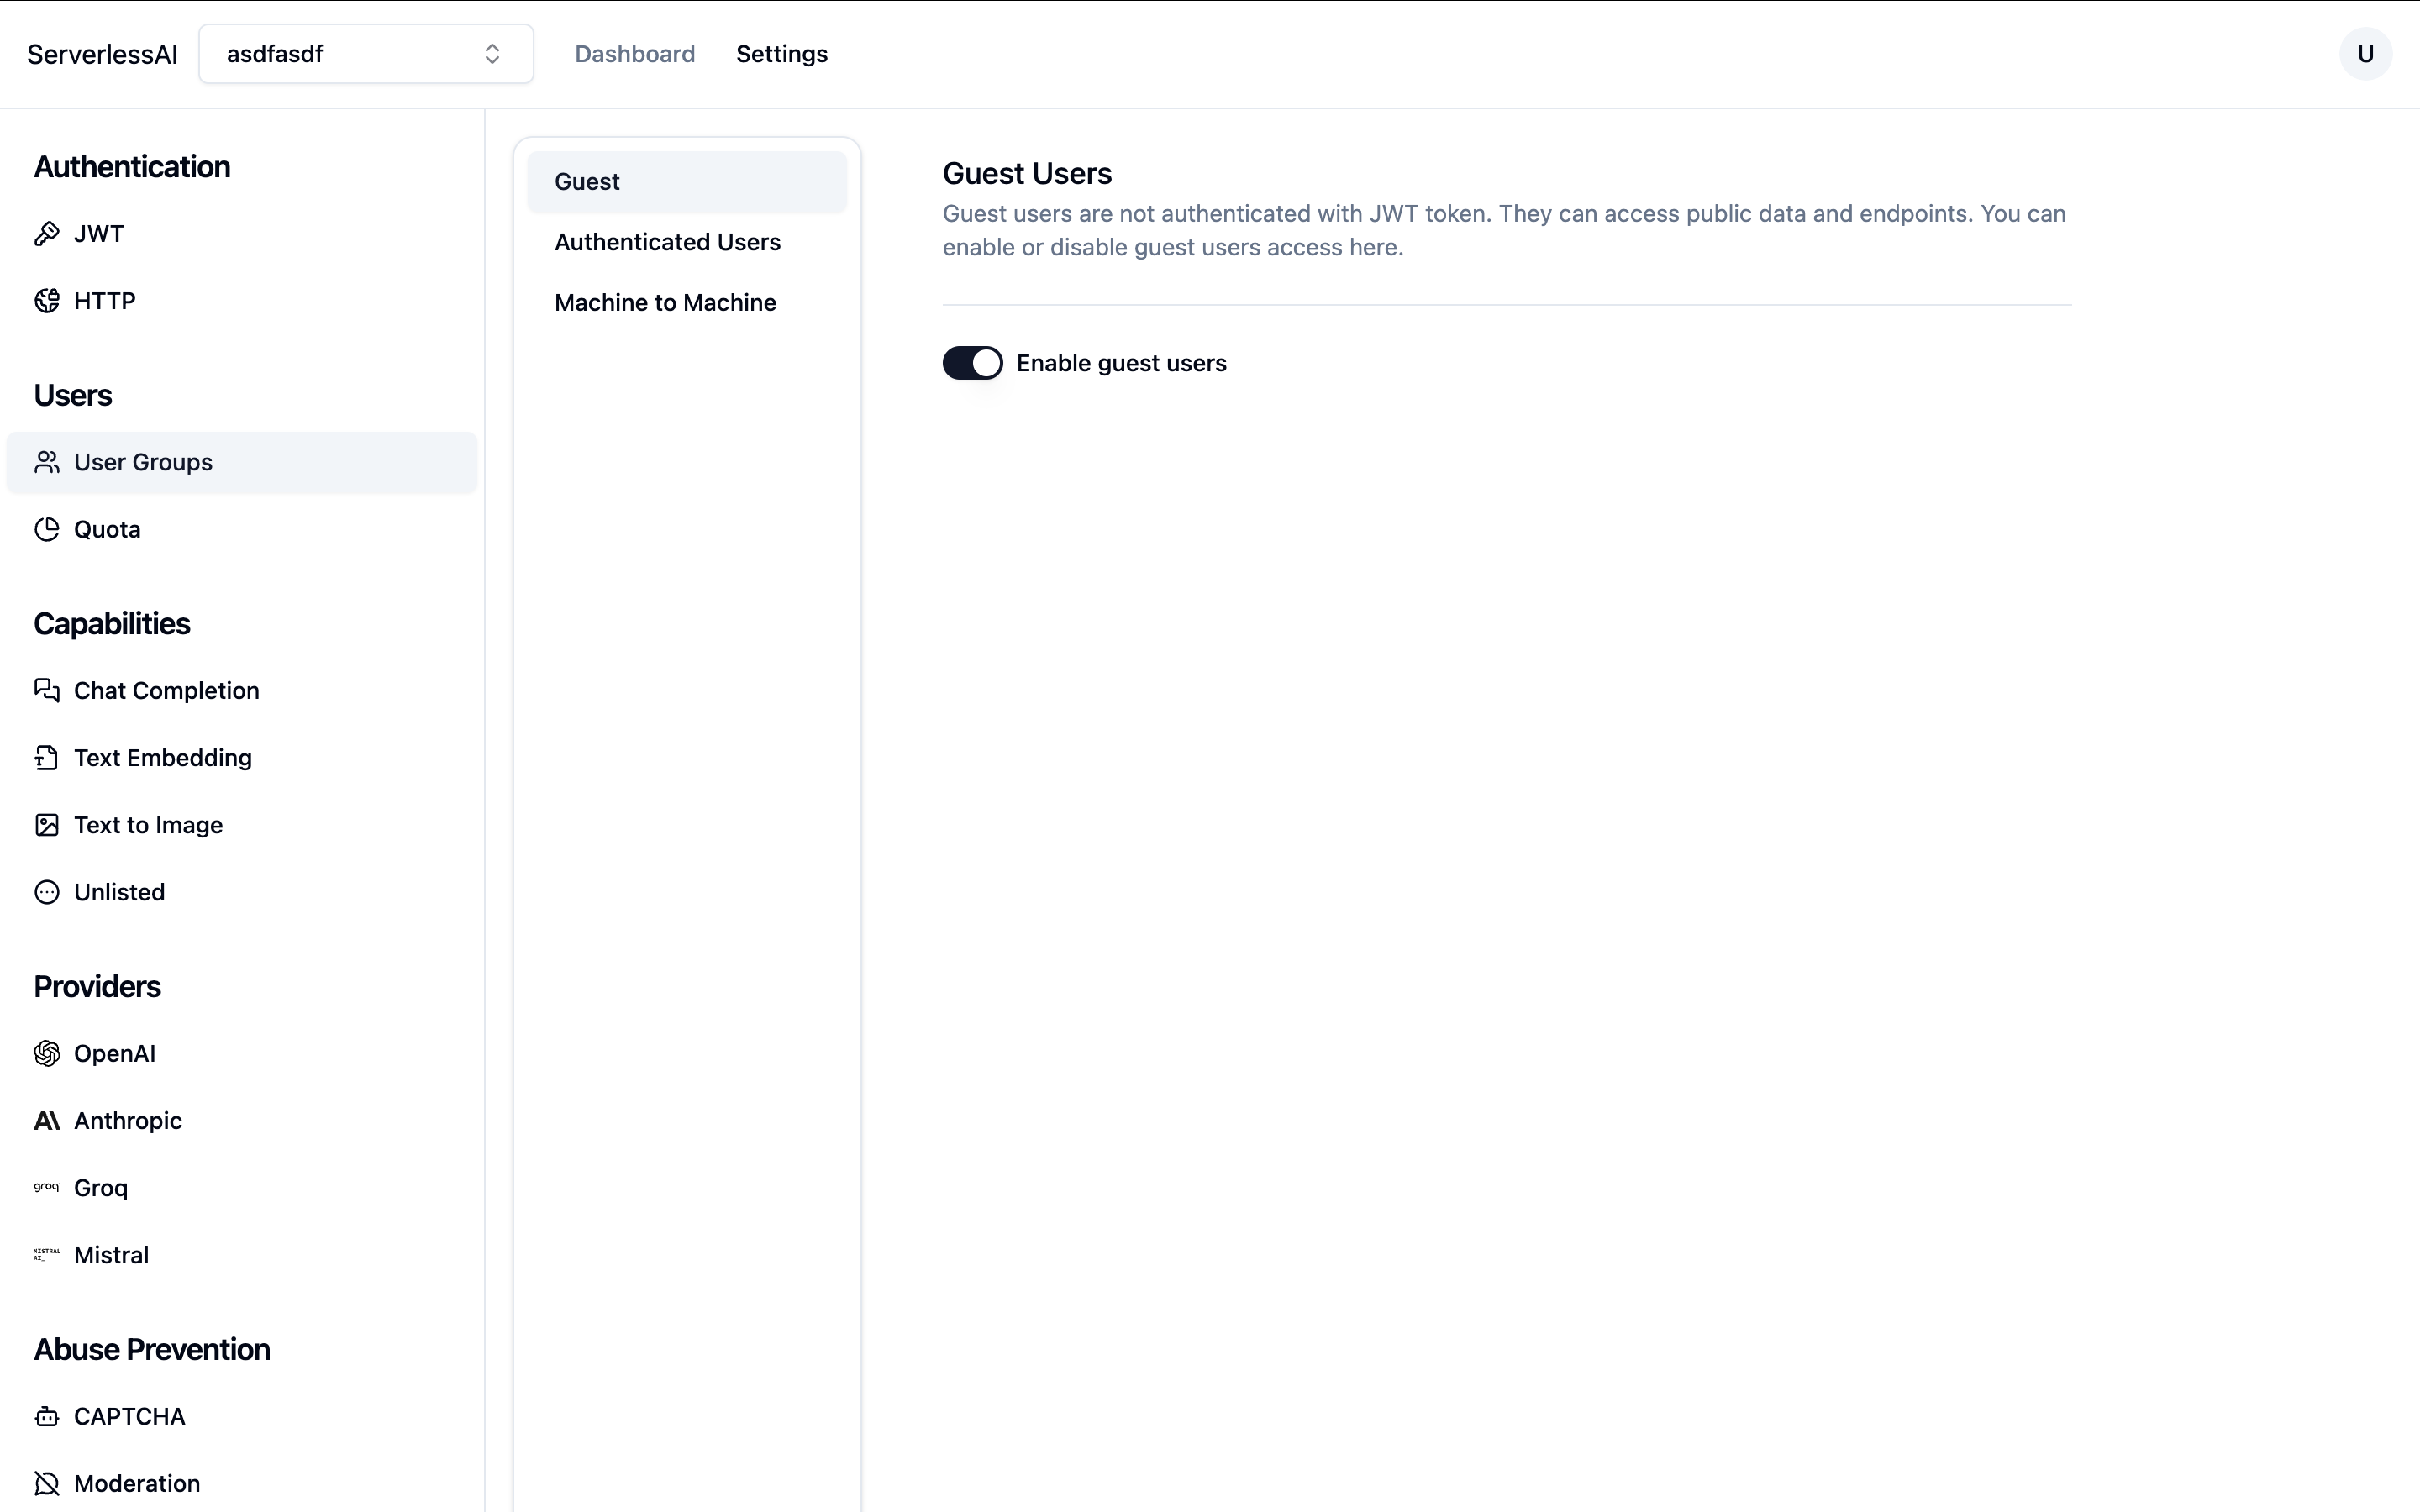
Enable Guest User
- Go to Users - User Groups - Guest.
- Ensure the guest user is enabled.
-
Enable Chat Completion Capability
- In Capabilities - Chat Completion, ensure the capability is enabled.
- Next, enable this capability for user groups:
- Go to Users - Quota, select Authenticated Users, and enable the Chat Completion capability.
- Optionally, set a usage quota.
-
Configure provider API Key
- Pick any provider you like under Providers, and enter the API key
Setting Up the Xcode Project
- Open Xcode and create a new iOS project using Swift.
- Choose a project name and package identifiers based on your preference.
Adding the OpenAI Client
We'll be using MacPaw's OpenAI client for this project. To add it:
-
Go to
File->Add Package Dependency... -
Add the following package URL:
https://github.com/exyte/Chat.git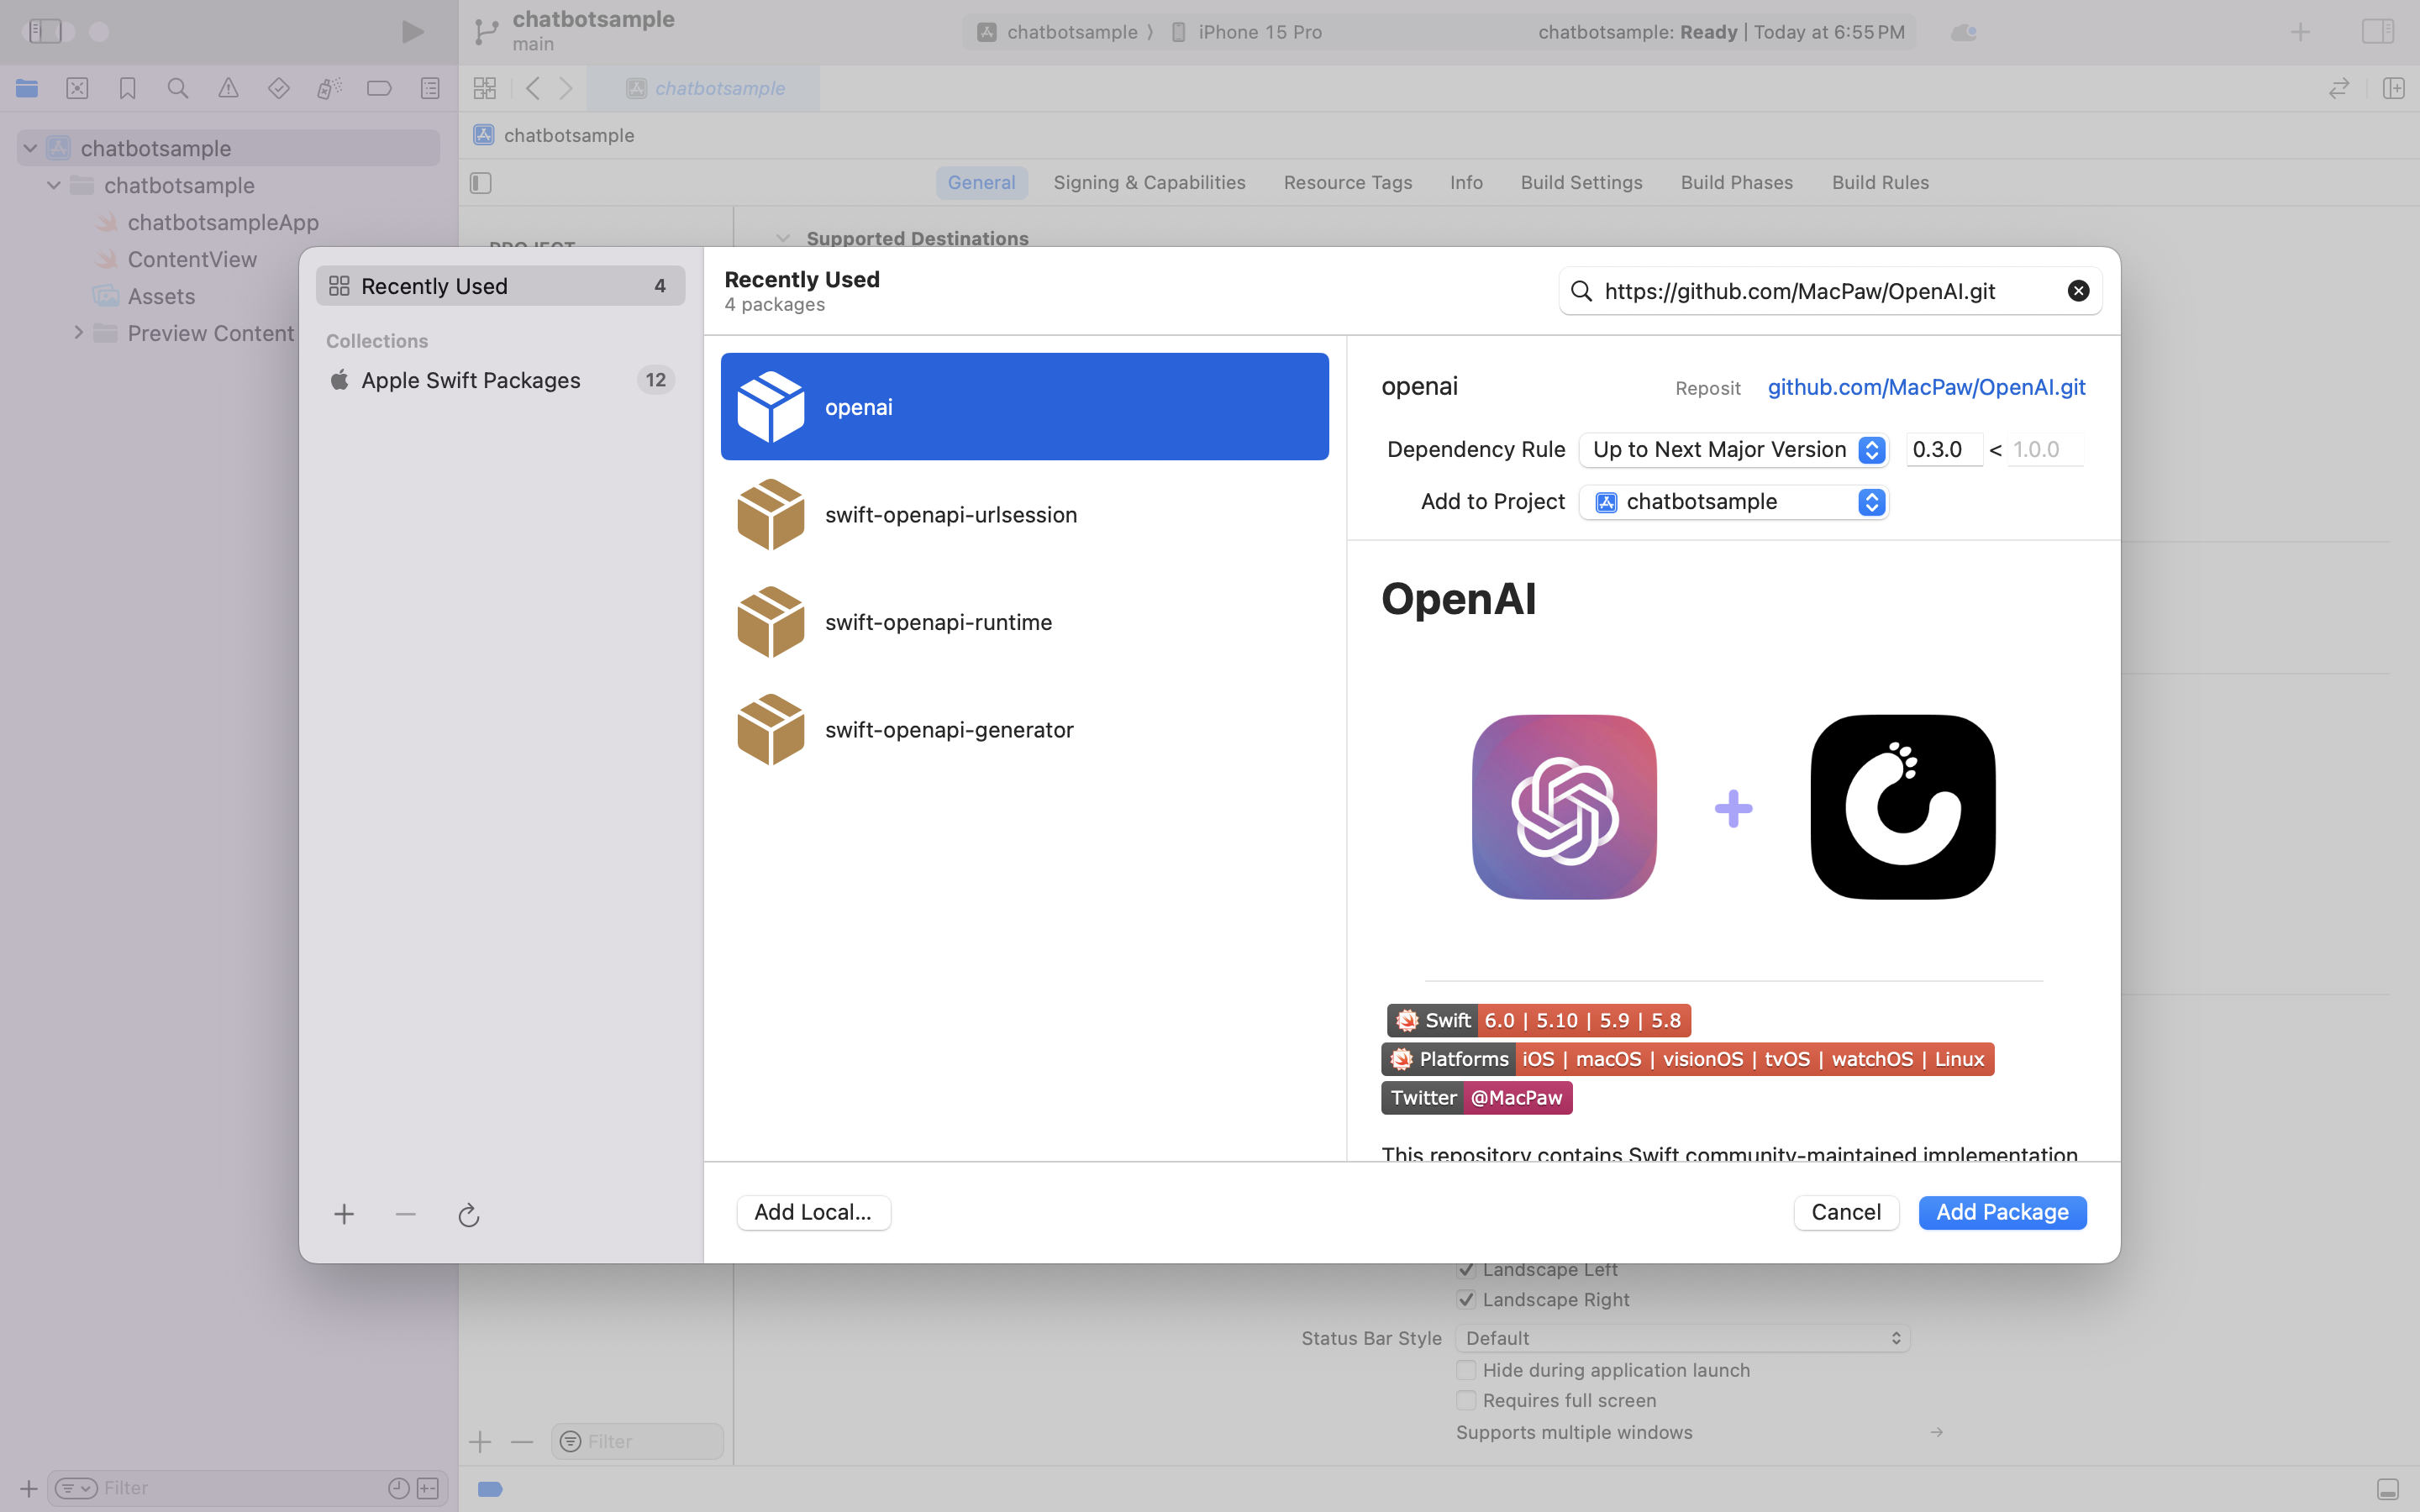
Creating the ViewModel
Create a new file named ViewModel.swift with the following content:
import Foundation
import OpenAI
import UIKit

class ViewModel : ObservableObject {
    @Published var messages: [Message] = []
    @Published var currentInput: String = ""

    private let client = OpenAI(
        configuration: OpenAI.Configuration(
            // Replace <PROJECT ID> with your project ID
            token: "<PROJECT ID>:guest:\(UIDevice.current.identifierForVendor?.uuidString ?? "unknown-ios-user")",
            host: "openai.api.serverlessai.dev"
        )
    )

    func sendMessage() {
        let newMessage = Message(id: UUID(), role: .user, content: currentInput)
        messages.append(newMessage)
        currentInput = ""

        let query = ChatQuery(
            messages: messages.map { ChatQuery.ChatCompletionMessageParam(role: $0.role, content: $0.content)! },
            // ~serverlessai:llm-large is a "virtual model", and we will automatically route your request
            // to a provider and model.
            model: "~serverlessai:llm-large"
        )

        Task {
            let response = try await client.chats(query: query)
            guard let receivedOpenAIMessage = response.choices.first?.message else {
                print("No message received")
                return
            }
            let receivedMessage = Message(id: UUID(), role: receivedOpenAIMessage.role, content: receivedOpenAIMessage.content!.string!)
            await MainActor.run {
                messages.append(receivedMessage)
            }
        }
    }
}


struct Message: Decodable {
    let id: UUID
    let role: ChatQuery.ChatCompletionMessageParam.Role
    let content: String
}
Creating the View
Modify the ContentView.swift file with the following content:
import SwiftUI

struct ContentView: View {
    @ObservedObject var viewModel = ViewModel()
    var body: some View {
        VStack {
            ScrollView {
                ForEach(viewModel.messages.filter({$0.role != .system}), id: \.id) { message in
                    messageView(message: message)
                }
            }
            HStack {
                TextField("Write your message", text: $viewModel.currentInput)
                Button {
                    viewModel.sendMessage()
                } label: {
                    Text("Send")
                }
            }
        }
        .padding()
    }

    func messageView(message: Message) -> some View {
        HStack {
            if message.role == .user { Spacer(minLength: 32) }
            Text(message.content)
                .padding(10)
                .foregroundColor(message.role == .user ? Color.white : Color.black)
                .background(message.role == .user ? Color.blue : Color(red: 240/255, green: 240/255, blue: 240/255))
                .cornerRadius(10)
            if message.role == .assistant { Spacer(minLength: 32) }
        }
    }
}

#Preview {
    ContentView()
}
Running your app
Now you can run your app! Click the Run button, and you can start chatting!